Easy No Bake Chocolate Pie
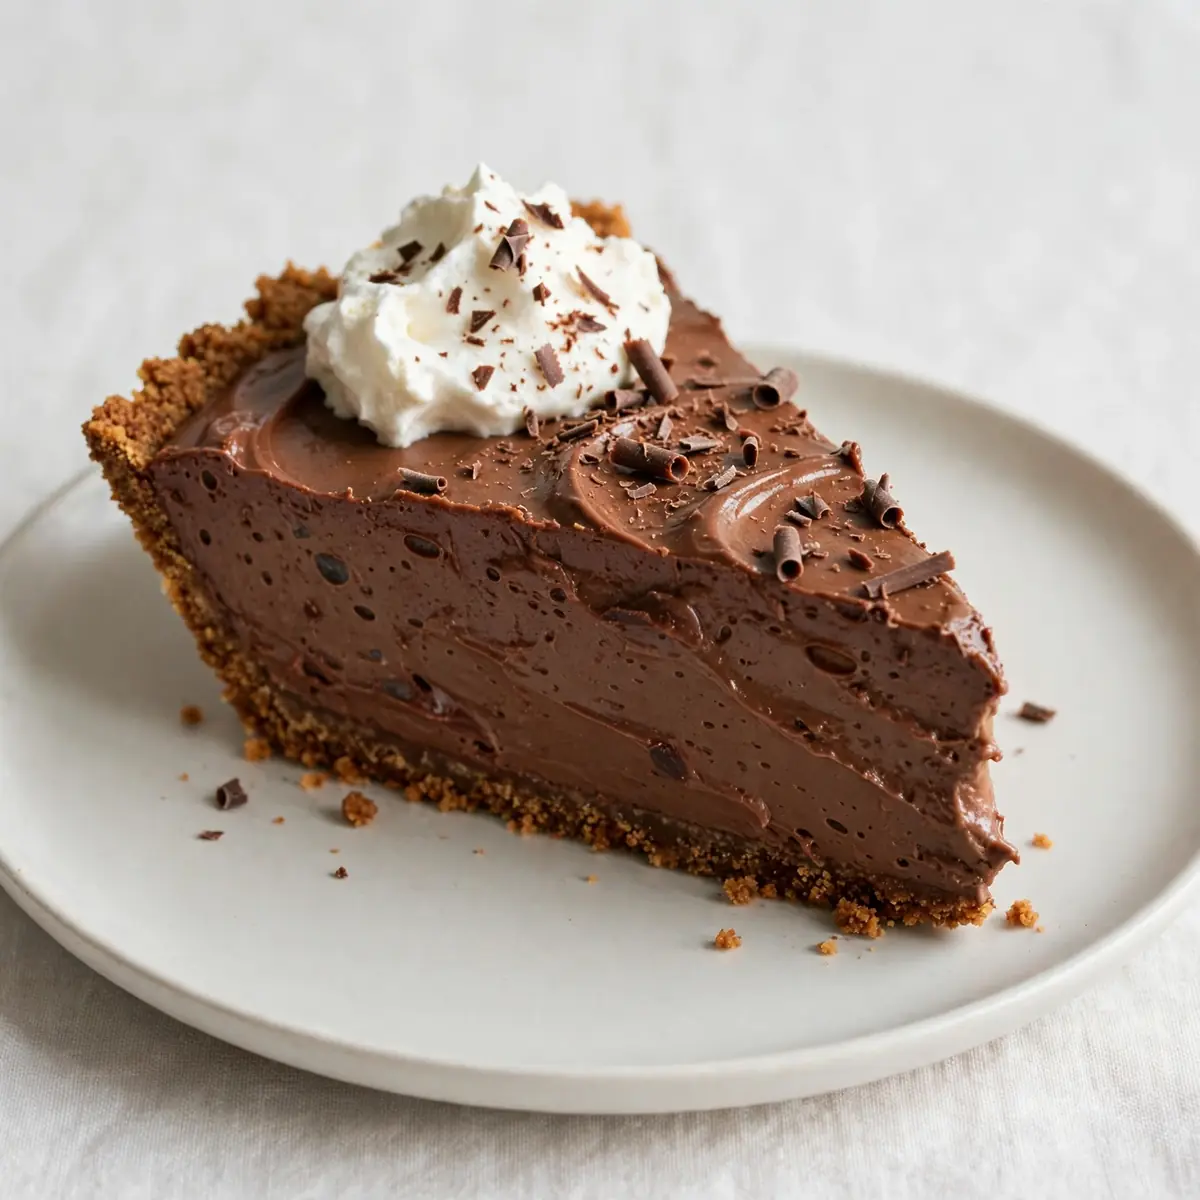
There are some desserts that feel like a proper achievement, but this easy no bake chocolate pie is so straightforward you’ll wonder why you ever bothered with the oven. I stumbled upon this combination by accident, and it’s been a hit ever since, especially on those warm afternoons when you want something indulgent without heating up the kitchen.
Recipe Overview
- Prep Time: 20 minutes
- Chill Time: 4 hours (minimum)
- Total Time: 4 hours 20 minutes
- Servings: 8 generous slices
- Difficulty: Easy
Why You’ll Love This Easy No Bake Chocolate Pie
- No oven required: This pie comes together entirely on your worktop, making it ideal for hot weather or when your oven is otherwise occupied.
- Silky smooth filling: The texture is luxuriously creamy, with a rich chocolate flavour that satisfies the deepest cravings.
- Simple ingredients: You’ll find everything you need at your local supermarket, and most items are pantry staples.
- Make-ahead friendly: This pie actually improves after a good chill, so you can prepare it the day before a gathering.
- Customisable base: The biscuit crust adapts beautifully to whatever chocolate biscuits you have on hand.
Ingredients You’ll Need
- 250g digestive biscuits (or chocolate digestives for extra richness)
- 100g unsalted butter, melted
- 2 tablespoons golden caster sugar
- 300ml double cream
- 200g dark chocolate (70% cocoa), broken into pieces
- 100g milk chocolate, broken into pieces
- 50g unsalted butter, cubed
- 1 teaspoon vanilla extract
- Pinch of sea salt
- 300ml full-fat cream cheese, at room temperature
- 3 tablespoons icing sugar, sifted
- Optional: cocoa powder for dusting
Tip: Use a good-quality dark chocolate here — the filling relies on it for depth of flavour, so cheap chocolate will yield a flat, waxy result.
How to Make Easy No Bake Chocolate Pie
- Prepare the biscuit base: Place the digestive biscuits in a sealed plastic bag and crush them with a rolling pin until you have fine crumbs with a few slightly larger pieces for texture. Alternatively, pulse them in a food processor until they resemble wet sand. Transfer the crumbs to a mixing bowl, pour in the melted butter and golden caster sugar, and stir until every crumb is coated. The mixture should clump together when pressed between your fingers.
- Form the crust: Tip the buttery crumbs into a 23cm loose-bottomed tart tin. Press them firmly and evenly into the base and up the sides using the back of a spoon or the bottom of a glass. Pay attention to the edges — a compact crust holds together better after chilling. Place the tin in the refrigerator for 20 minutes to set. The surface should feel firm and cool to the touch.
- Make the chocolate ganache: Pour the double cream into a small saucepan and warm it over a medium heat. As soon as you see tiny bubbles forming around the edge — do not let it boil — remove the pan from the heat. Add the dark chocolate, milk chocolate, cubed butter, vanilla extract, and sea salt. Let it sit undisturbed for 2 minutes, then stir gently with a spatula until the mixture is completely smooth and glossy. You should see a deep, mirror-like sheen across the surface.
- Cool the ganache slightly: Set the ganache aside at room temperature for 15 minutes. It needs to cool enough that it won’t melt the cream cheese later, but it should still be pourable. Stir it occasionally; it will thicken subtly and lose its initial heat.
- Prepare the cream cheese layer: In a large mixing bowl, beat the cream cheese with an electric mixer until it is soft and fluffy, about 2 minutes. Sift in the icing sugar and beat again until fully incorporated. The mixture should be smooth, pale, and free of any lumps.
- Combine the layers: With the mixer running on low speed, slowly pour the cooled ganache into the cream cheese mixture. Stop to scrape down the sides of the bowl, then beat on medium speed for 30 seconds until the filling is uniformly dark, thick, and velvety. It should hold a soft peak when you lift the beaters.
- Assemble the pie: Remove the chilled crust from the refrigerator. Spoon the chocolate filling into the crust and spread it evenly with a spatula, smoothing the top. Give the tin a gentle tap on the worktop to release any air bubbles. The surface should be flat and glossy.
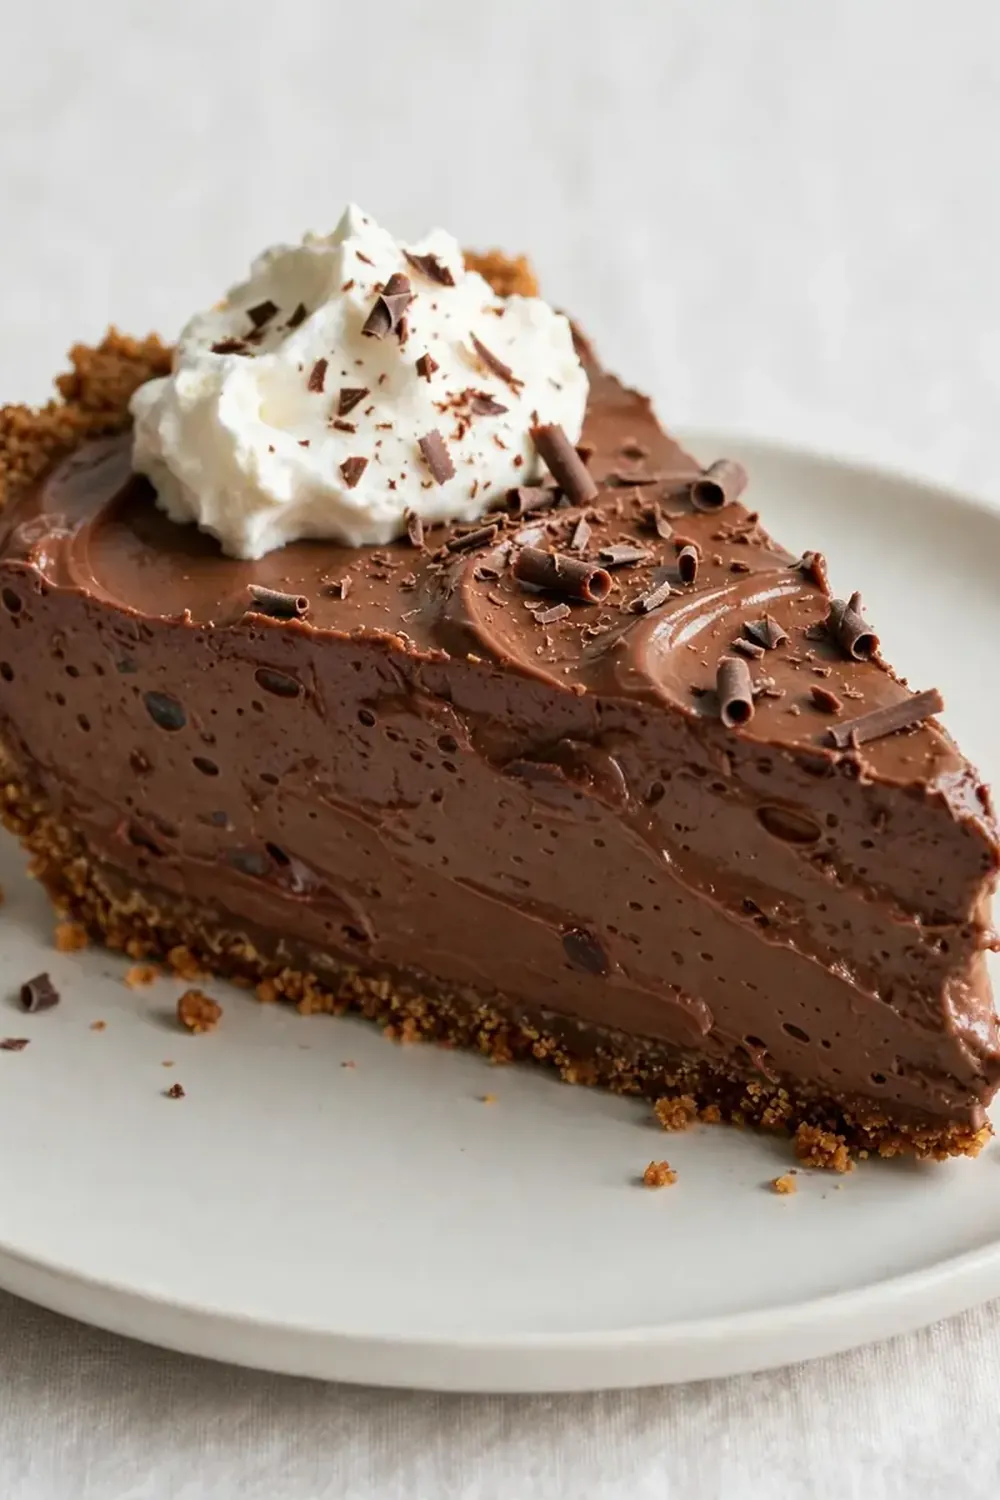
- Chill and serve: Place the pie in the refrigerator for at least 4 hours, preferably overnight. The filling should be firm to the touch and slice cleanly. Before serving, dust the top with a light layer of cocoa powder if desired. My kids absolutely devour this every time I make it, and the slices come out perfectly neat when the pie is well chilled.
Tips From My Kitchen
- Chill the bowl and beaters: For the cream cheese layer, a cold bowl and cold beaters help the cream cheese whip up lighter and fluffier. Pop them in the fridge for 10 minutes before you start.
- Don’t skip the salt: A small pinch of sea salt in the ganache might seem odd, but it elevates the chocolate flavour dramatically. It balances the sweetness and makes the chocolate taste more intense.
- Press the crust with a measuring cup: Using a flat-bottomed measuring cup to press the biscuit crumbs ensures an even, compact base. Uneven pressing can lead to a crust that crumbles when you slice the pie.
- Let the ganache cool properly: If you add warm ganache to the cream cheese, it will turn runny and the pie won’t set properly. Wait until the ganache is just warm to the touch — like a cup of tea that’s been sitting for a few minutes.
- Use full-fat ingredients: Low-fat cream cheese or single cream will result in a thinner filling that doesn’t set firmly. For the best texture and flavour, stick with full-fat double cream and full-fat cream cheese.
Equipment You’ll Need
- 23cm loose-bottomed tart tin
- Rolling pin or food processor
- Mixing bowls (large and medium)
- Electric hand mixer or stand mixer
- Small saucepan
- Spatula
- Measuring jug
- Fine-mesh sieve (for icing sugar and cocoa dusting)
Common Mistakes to Avoid
- Overcrowding the pan: This pie needs room to chill evenly. If you use a tin that’s too small, the filling will be too thick and may not set properly in the centre. Stick to a 23cm tin for the proportions given here.
- Wrong temperature: The cream cheese must be at room temperature before you beat it. Cold cream cheese creates lumps that won’t smooth out, leaving your filling grainy. Take it out of the fridge 30 minutes before you begin.
- Skipping the rest time: The 4-hour minimum chill is non-negotiable. If you rush this pie, it will be soft and difficult to slice. Overnight chilling gives the filling time to set into a firm, sliceable texture.
What to Serve With Easy No Bake Chocolate Pie
- A dollop of softly whipped cream with a hint of vanilla
- Fresh raspberries or strawberries to cut through the richness
- A dusting of cocoa powder or shaved dark chocolate
- For an extra treat, serve alongside our Easy Homemade Strawberry Popsicles for a contrast of cold and creamy
- A cup of strong black coffee or a glass of cold milk
Still hungry for ideas? You might also love Chocolate Croissant Breakfast Bake Recipe, Dark Chocolate Raspberry Pie Bars from our sister kitchens.
Frequently Asked Questions
easy no bake chocolate pie
Ingredients
Method
-
Prepare the biscuit base: Place the digestive biscuits in a sealed plastic bag and crush them with a rolling pin until you have fine crumbs with a few slightly larger pieces for texture. Alternatively, pulse them in a food processor until they resemble wet sand. Transfer the crumbs to a mixing bowl, pour in the melted butter and golden caster sugar, and stir until every crumb is coated. The mixture should clump together when pressed between your fingers.
-
Form the crust: Tip the buttery crumbs into a 23cm loose-bottomed tart tin. Press them firmly and evenly into the base and up the sides using the back of a spoon or the bottom of a glass. Pay attention to the edges — a compact crust holds together better after chilling. Place the tin in the refrigerator for 20 minutes to set. The surface should feel firm and cool to the touch.
-
Make the chocolate ganache: Pour the double cream into a small saucepan and warm it over a medium heat. As soon as you see tiny bubbles forming around the edge — do not let it boil — remove the pan from the heat. Add the dark chocolate, milk chocolate, cubed butter, vanilla extract, and sea salt. Let it sit undisturbed for 2 minutes, then stir gently with a spatula until the mixture is completely smooth and glossy. You should see a deep, mirror-like sheen across the surface.
-
Cool the ganache slightly: Set the ganache aside at room temperature for 15 minutes. It needs to cool enough that it won’t melt the cream cheese later, but it should still be pourable. Stir it occasionally; it will thicken subtly and lose its initial heat.
-
Prepare the cream cheese layer: In a large mixing bowl, beat the cream cheese with an electric mixer until it is soft and fluffy, about 2 minutes. Sift in the icing sugar and beat again until fully incorporated. The mixture should be smooth, pale, and free of any lumps.
-
Combine the layers: With the mixer running on low speed, slowly pour the cooled ganache into the cream cheese mixture. Stop to scrape down the sides of the bowl, then beat on medium speed for 30 seconds until the filling is uniformly dark, thick, and velvety. It should hold a soft peak when you lift the beaters.
-
Assemble the pie: Remove the chilled crust from the refrigerator. Spoon the chocolate filling into the crust and spread it evenly with a spatula, smoothing the top. Give the tin a gentle tap on the worktop to release any air bubbles. The surface should be flat and glossy.
-
Chill and serve: Place the pie in the refrigerator for at least 4 hours, preferably overnight. The filling should be firm to the touch and slice cleanly. Before serving, dust the top with a light layer of cocoa powder if desired. My kids absolutely devour this every time I make it, and the slices come out perfectly neat when the pie is well chilled.
Notes
I hope this easy no bake chocolate pie becomes a favourite in your kitchen as it has in mine. If you give it a go, I’d love to know how you get on — drop a comment below and share your experience. For more no-fuss desserts, you might also enjoy our Easy No Bake Oreo Dessert or the No Bake Chocolate Avocado Mousse Tart for another twist on chocolatey indulgence.