Cream Cheese No Bake Key Lime Pie
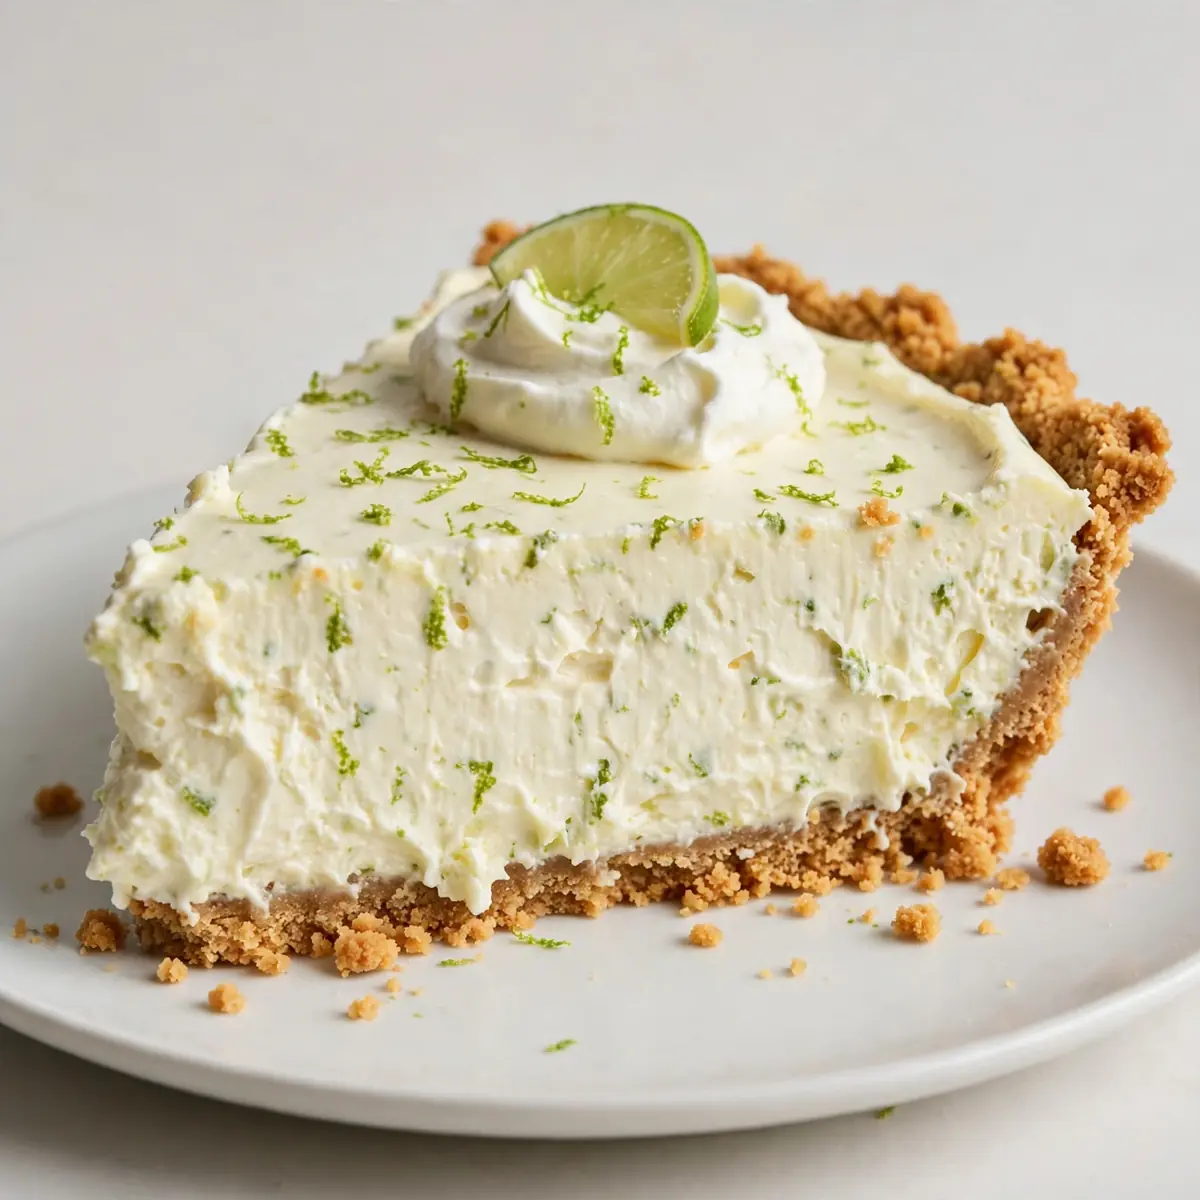
There’s something deeply satisfying about a pie that delivers a bright, tangy flavour with a creamy, luscious texture, all without you having to switch on the oven. This cream cheese no bake key lime pie is my go-to for a stunning dessert that feels like a little slice of sunshine, and it’s so simple to put together. After testing this recipe five times, I finally got it just right, and I’m thrilled to share it with you today.
Recipe Overview
- Prep Time: 25 minutes
- Chill Time: 4 hours (minimum) or overnight
- Total Time: 4 hours 25 minutes
- Servings: 8-10 slices
- Difficulty: Easy
Why You’ll Love This Cream Cheese No Bake Key Lime Pie
- Incredibly creamy with a sharp citrus kick: The tangy lime juice perfectly cuts through the rich, velvety cream cheese filling, creating a balanced and refreshing dessert.
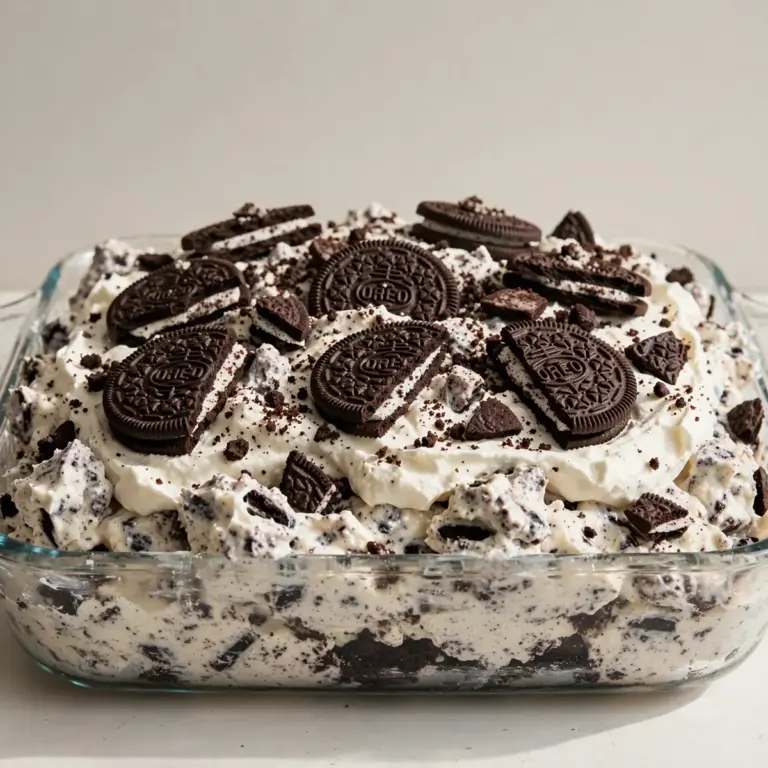
- No need to heat up the kitchen: This pie is entirely no-bake, making it ideal for warm weather or when you want a fuss-free dessert, perhaps even to Suggest Some Easy No Bake Oreo Desserts.
- A simple, foolproof method: With just a few straightforward steps and a little patience for chilling, you’ll have a professional-looking pie every single time.
- Adaptable for any occasion: It’s elegant enough for a dinner party yet simple enough for a casual family pudding. I make this at least once a week – it’s become a family favourite.
- Make-ahead wonder: This pie tastes even better the next day, making it perfect for prepping ahead of time for gatherings or special occasions.
Ingredients You’ll Need
- 200g digestive biscuits (or similar plain sweet biscuits)
- 80g unsalted butter, melted
- 1 tablespoon caster sugar
- 400g full-fat cream cheese, softened to room temperature
- 397g can sweetened condensed milk
- 120ml key lime juice (or regular lime juice; see note)
- 2 teaspoons key lime zest, plus extra for garnish
- 1 teaspoon vanilla extract
- 300ml double cream
- 2 tablespoons icing sugar
Tip: For the best flavour, use fresh key limes if you can find them. Regular limes work beautifully too – just make sure you’re using fresh juice, not the bottled stuff, for that vibrant, zesty taste.
How to Make Cream Cheese No Bake Key Lime Pie
- Make the biscuit base: Place the digestive biscuits in a sealed plastic bag and crush them with a rolling pin until you have fine crumbs. You should hear a consistent crunching sound as they break down. Alternatively, pulse them in a food processor until they resemble fine sand. In a bowl, mix the crumbs with the melted butter and caster sugar until the mixture looks like wet sand and holds together when pressed between your fingers.
- Press the crust into the tin: Tip the crumb mixture into a 20cm loose-bottomed tart tin or pie dish. Use the bottom of a glass or a flat measuring cup to press it down firmly and evenly across the base and up the sides. The crust should feel compact and solid, not crumbly. Place it in the fridge to set while you make the filling.
- Beat the cream cheese: In a large bowl, beat the softened cream cheese with a hand mixer or stand mixer fitted with the paddle attachment until it is completely smooth and fluffy. You’ll notice the colour lighten slightly and the texture become airy, with no lumps remaining.
- Add the condensed milk and lime: Pour in the sweetened condensed milk, key lime juice, key lime zest, and vanilla extract. Mix on low speed until everything is just combined. The mixture will thicken and become a pale, creamy yellow as the lime juice reacts with the condensed milk. Do not overmix, or the filling may become too thin.
- Whip the cream: In a separate, clean bowl, whip the double cream and icing sugar together until soft peaks form. You’re looking for the cream to hold its shape when the whisk is lifted, but it should still be soft and billowy, not stiff or grainy.
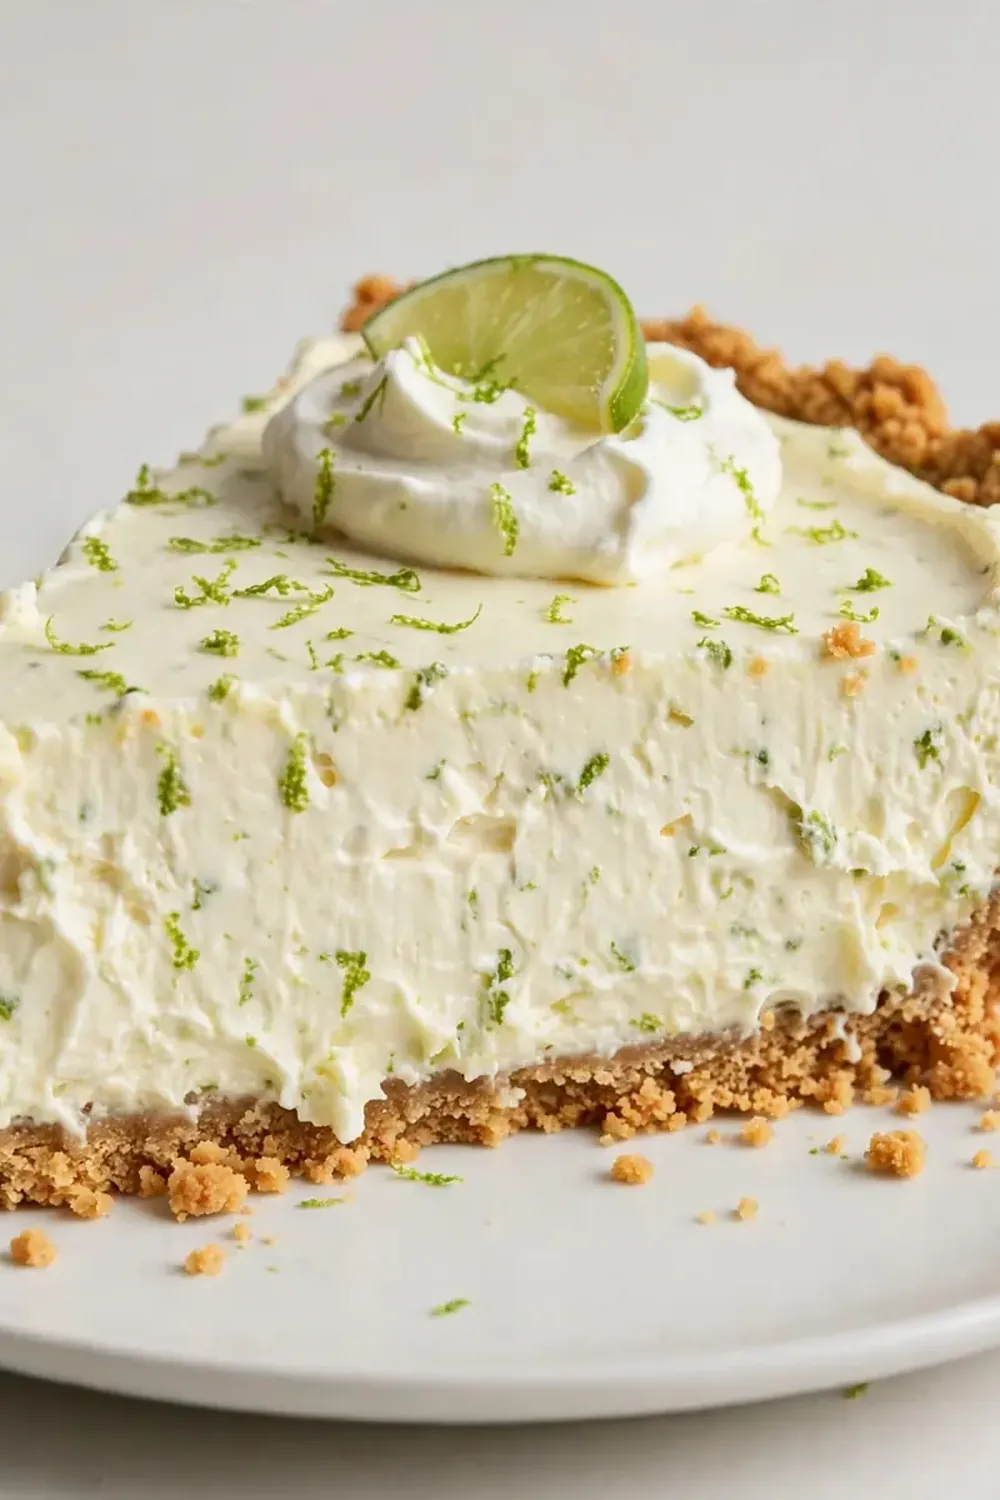
- Fold and fill: Gently fold the whipped cream into the cream cheese and lime mixture using a spatula. Fold until no white streaks remain; the filling should be uniform in colour and light, mousse-like texture. Pour the filling into the chilled biscuit base and spread it out evenly with the spatula. The top should look smooth and glossy.
- Chill to perfection: Cover the pie loosely with cling film and refrigerate for at least 4 hours, but preferably overnight. The filling needs this time to set completely; it should feel firm to the touch and slice cleanly when ready. For the final touch, garnish with extra lime zest just before serving.
Tips From My Kitchen
- Room temperature cream cheese is non-negotiable: Cold cream cheese will create a lumpy filling, even with vigorous beating. Take it out of the fridge at least 30 minutes before you start, or cut it into small cubes to speed up the process. The goal is a silky-smooth texture.
- Don’t skip the zest: The lime zest carries the essential oils that give the pie its intense, aromatic lime flavour. Without it, the pie can taste one-dimensional. Zest the limes before you juice them – it’s much easier.
- Use full-fat ingredients for the best set: Reduced-fat cream cheese or low-fat condensed milk contain more water, which can prevent the pie from setting properly. Full-fat versions guarantee a rich, stable, and creamy filling that slices beautifully.
- Press the crust firmly: A loose, crumbly crust will fall apart when you slice the pie. Take your time to press the biscuit mixture very firmly into the tin, especially into the corners and up the sides. A compact crust provides a solid foundation.
- Patience is a virtue: While it’s tempting to dig in early, a minimum 4-hour chill is essential. For the cleanest slices and the best flavour development, an overnight chill is ideal. The filling will be perfectly set and the flavours will have melded beautifully.
Equipment You’ll Need
- 20cm loose-bottomed tart tin or pie dish
- Rolling pin or food processor
- Stand mixer or hand mixer
- Large mixing bowls
- Spatula
- Fine grater or zester
- Citrus juicer
Common Mistakes to Avoid
- Overcrowding the pan: This isn’t about the pan size, but about overfilling it. If you try to make a taller pie than the tin can handle, the filling may slump over the sides. Stick to the quantities given and use the correct tin size for a perfect, level pie.
- Wrong temperature: Using cold cream cheese is the most common culprit for a lumpy filling. Also, if your kitchen is very warm, the whipped cream can start to melt and deflate when you fold it in. Work in a cool environment for the best results.
- Skipping the rest time: Rushing the chilling time will result in a pie that is soft, runny, and impossible to slice neatly. The structure needs time to set. A full overnight rest is the secret to a firm, clean slice and a perfectly developed flavour.
Delicious Variations to Try
- Spicy Version: Add a pinch of cayenne pepper or a finely chopped red chilli (seeds removed) to the biscuit base for a surprising sweet-heat contrast that works wonderfully with the lime.
- Vegetarian/Vegan Option: Use a plant-based cream cheese and a dairy-free condensed milk (coconut-based versions work well). Swap the double cream for a full-fat coconut cream and the butter for a vegan block butter. The result is still incredibly creamy and tangy.
- Different Protein: For a tropical twist, fold 100g of finely shredded, unsweetened desiccated coconut into the filling. The coconut adds a lovely chewy texture and flavour that pairs beautifully with the lime.
What to Serve With Cream Cheese No Bake Key Lime Pie
- A generous dollop of softly whipped cream or a spoonful of crème fraîche.
- A few thin slices of fresh lime or a sprinkle of toasted coconut flakes for extra texture.
- A light, floral cup of jasmine or chamomile tea to complement the citrus notes.
- For a more indulgent pairing, a side of fresh berries, such as raspberries or blueberries, provides a lovely contrast.
Still hungry for ideas? You might also love Smoked Cream Cheese Recipe, Fluffy Cottage Cheese Egg Bake from our sister kitchens.
Frequently Asked Questions
cream cheese no bake key lime pie
Ingredients
Method
-
Make the biscuit base: Place the digestive biscuits in a sealed plastic bag and crush them with a rolling pin until you have fine crumbs. You should hear a consistent crunching sound as they break down. Alternatively, pulse them in a food processor until they resemble fine sand. In a bowl, mix the crumbs with the melted butter and caster sugar until the mixture looks like wet sand and holds together when pressed between your fingers.
-
Press the crust into the tin: Tip the crumb mixture into a 20cm loose-bottomed tart tin or pie dish. Use the bottom of a glass or a flat measuring cup to press it down firmly and evenly across the base and up the sides. The crust should feel compact and solid, not crumbly. Place it in the fridge to set while you make the filling.
-
Beat the cream cheese: In a large bowl, beat the softened cream cheese with a hand mixer or stand mixer fitted with the paddle attachment until it is completely smooth and fluffy. You’ll notice the colour lighten slightly and the texture become airy, with no lumps remaining.
-
Add the condensed milk and lime: Pour in the sweetened condensed milk, key lime juice, key lime zest, and vanilla extract. Mix on low speed until everything is just combined. The mixture will thicken and become a pale, creamy yellow as the lime juice reacts with the condensed milk. Do not overmix, or the filling may become too thin.
-
Whip the cream: In a separate, clean bowl, whip the double cream and icing sugar together until soft peaks form. You’re looking for the cream to hold its shape when the whisk is lifted, but it should still be soft and billowy, not stiff or grainy.
-
Fold and fill: Gently fold the whipped cream into the cream cheese and lime mixture using a spatula. Fold until no white streaks remain; the filling should be uniform in colour and light, mousse-like texture. Pour the filling into the chilled biscuit base and spread it out evenly with the spatula. The top should look smooth and glossy.
-
Chill to perfection: Cover the pie loosely with cling film and refrigerate for at least 4 hours, but preferably overnight. The filling needs this time to set completely; it should feel firm to the touch and slice cleanly when ready. For the final touch, garnish with extra lime zest just before serving.
Notes
I truly hope you give this no-bake version a try. It’s a dessert that feels both special and achievable, and it never fails to bring a smile to my family’s faces. If you’re looking for other no-bake treats, you might also love these No Bake Strawberry Cheesecake Jars or this vibrant Refreshing Peach Sorbet. I’d love to hear how you get on, so please leave a comment below and let me know how your pie turned out!