Homemade Hot Chocolate (Rich & Creamy)
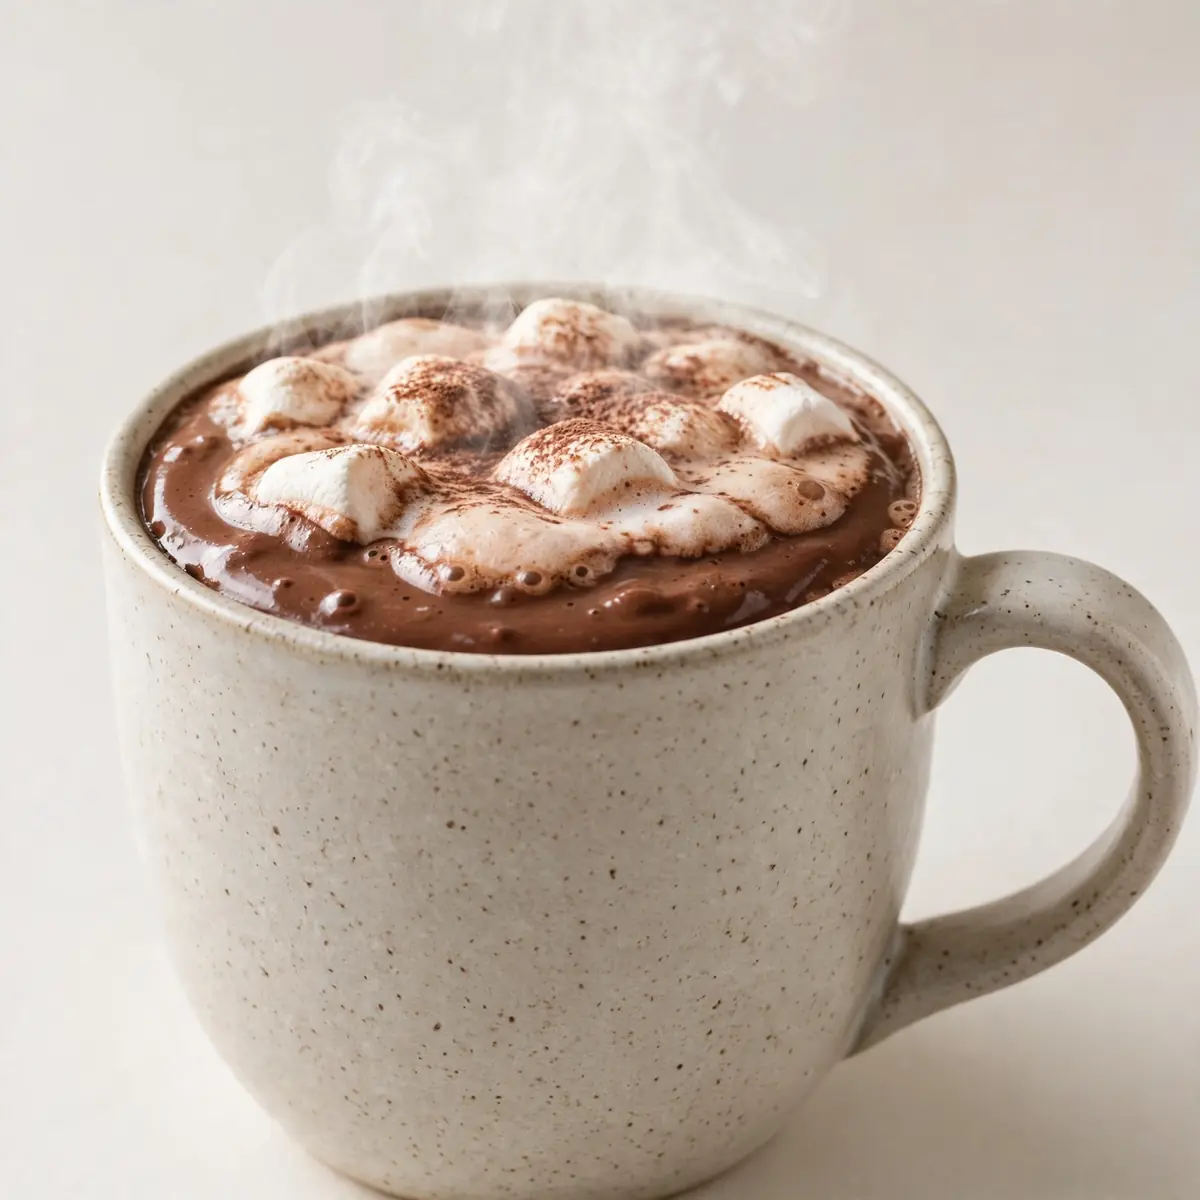
Some evenings, the chaos of homework, after-school clubs, and the frantic countdown to bath time leaves zero room for elaborate desserts. You need something that feels like a hug in a mug, comes together faster than you can argue about brushing teeth, and doesn’t leave a mountain of washing up. This Homemade Hot Chocolate (Rich & Creamy) is my secret weapon for those nights.
Recipe Overview
- Prep time: 3 minutes
- Cook time: 5 minutes
- Total time: 8 minutes
- Servings: 4 mugs
- Difficulty: Very easy
Why You’ll Love This Homemade Hot Chocolate (Rich & Creamy)
- One-Pan Wonder: Everything comes together in a single saucepan, meaning you’re left with just one pot and four mugs to wash. No blender, no double boiler, no fuss.
- Pantry-Friendly Ingredients: I’d wager you have cocoa powder, sugar, and milk in your kitchen right now. No need for a special trip to the shops for obscure chocolate bars or cream.
- Make-Ahead Magic: You can whisk up the dry base in a jar on Sunday, then just add milk and heat on a frantic Tuesday. It shaves a full minute off the process.
- Luxurious Without the Load: This uses whole milk and a touch of real chocolate for richness, but it’s not so heavy that it keeps the kids buzzing past bedtime. It’s rich, but not over-the-top.
- Totally Customisable: Everyone in my house likes it a little different. My eldest adds a pinch of cinnamon, my husband stirs in a splash of vanilla, and I double the dark chocolate. This base handles it all.
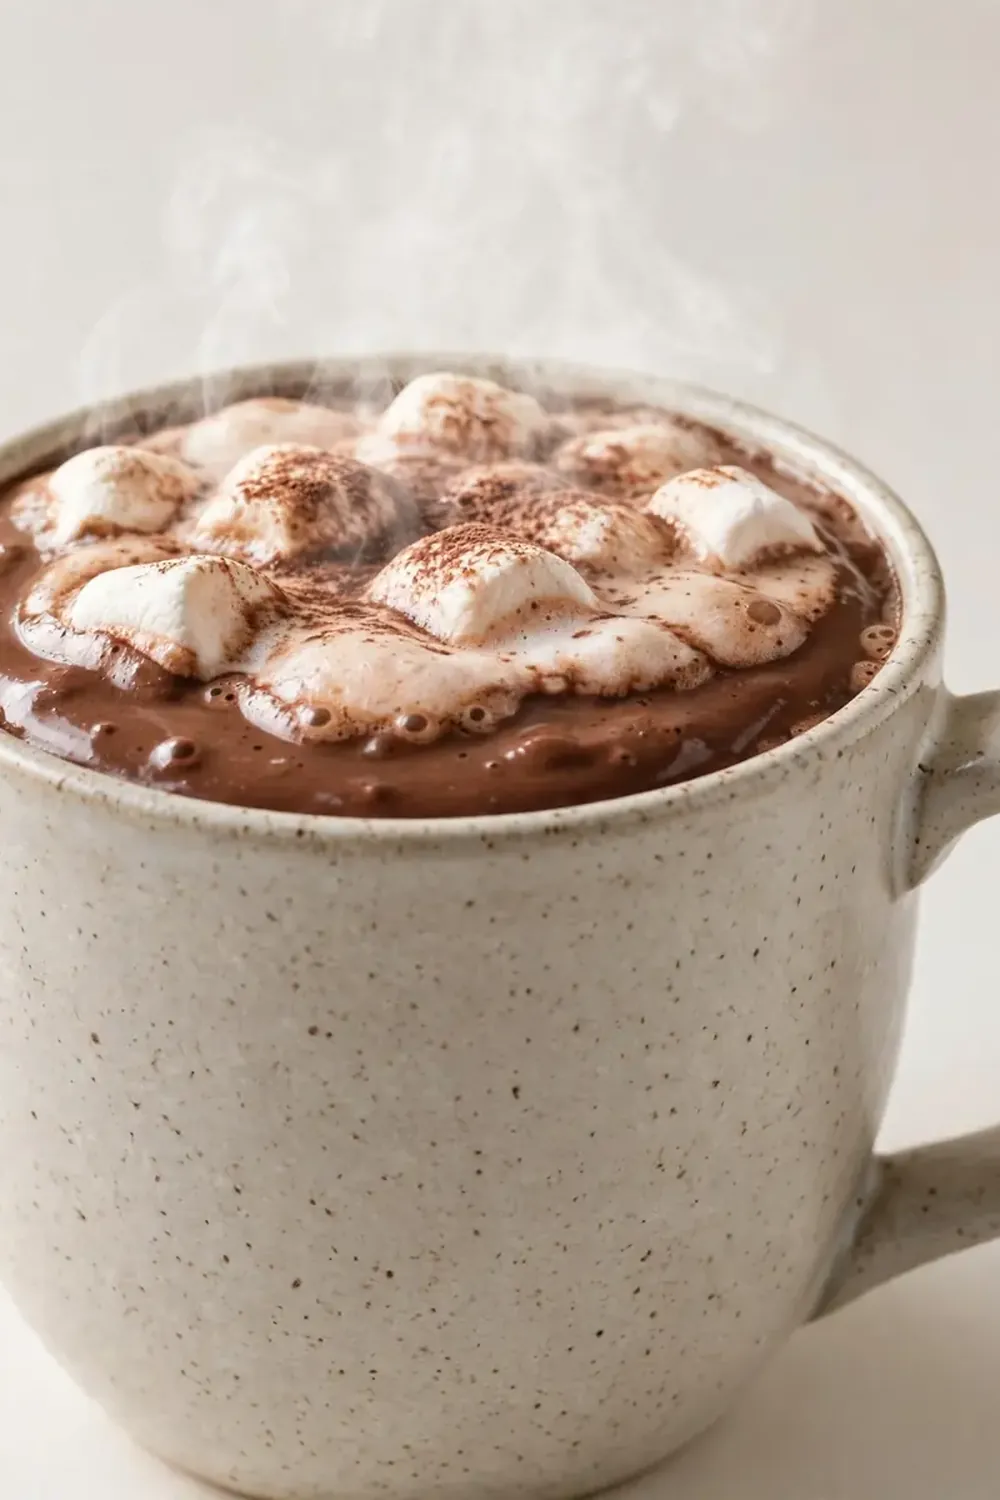
Ingredients You’ll Need
- 900ml whole milk (full-fat is best for creaminess)
- 60g unsalted butter, diced into small cubes
- 40g good-quality cocoa powder (I use a Dutch-processed one for deeper colour)
- 50g caster sugar (adjust up or down depending on how sweet you like it)
- 100g dark chocolate (70% cocoa), finely chopped
- 1 teaspoon vanilla extract
- Pinch of fine sea salt
- Optional: 100ml double cream, for an extra-indulgent version
Tip: To keep cleanup minimal, chop your butter and chocolate on the same small plate. You’re only dirtying one knife and one surface.
How to Make Homemade Hot Chocolate (Rich & Creamy)
- Start the base: Place your saucepan over a medium heat and add the milk. Watch for the first tiny bubbles to appear around the edge of the pan — this takes about 2 minutes. You want it steaming, not boiling. When you see that faint shimmer on the surface, you’re ready.
- Whisk in the dry ingredients: Drop the heat to low. Add the cocoa powder, sugar, and salt directly to the warm milk. Whisk vigorously in a figure-eight motion. You’ll see the mixture turn a deep, matte brown. Keep going until no dry specks remain — about 30 seconds of steady whisking.
- Add the butter and chocolate: Tumble in the diced butter and chopped dark chocolate. Stir gently with a wooden spoon or spatula. Within a minute, you’ll see the butter melt into glossy yellow ribbons, and the chocolate will darken the liquid. The smell shifts from plain milk to a deep, toasty cocoa aroma.
- Simmer gently: Continue stirring for 2 to 3 minutes. You’ll feel the mixture thicken slightly against your spoon — it should coat the back of the spoon lightly. Small bubbles will break the surface, but you don’t want a full boil. The colour will become a rich, velvety brown, like melted dark caramel.
- Finish with vanilla: Pull the pan off the heat. Stir in the vanilla extract. You’ll notice the scent brighten immediately — that warm, sweet note cuts through the deep chocolate. Give it one last stir.
- Serve immediately: Pour into your favourite mugs. If you’re making the extra-creamy version, whisk the double cream until it’s just thick enough to hold a soft ribbon, then spoon it on top. The surface should look glossy and smooth, with no skin forming.
Tips From My Kitchen
- Grate, don’t chop, for speed: If you’re in a real rush, grate the dark chocolate on the large holes of a box grater. It melts in about 15 seconds flat, compared to a minute for chopped pieces. I do this when I’m juggling homework and a crying toddler.
- Pre-mix the dry base: On Sunday evening, combine the cocoa powder, sugar, and salt in a small airtight jar. Shake it well. When you need hot chocolate on a weeknight, you just tip the jar into the warm milk. After testing this recipe five times, I finally got the ratios just right, and this pre-mix trick saves me from measuring when I’m frazzled.
- Low heat is your friend: Milk scorches easily, and scorched milk tastes bitter and thin. Keep the heat on low once you add the cocoa. If you see steam rising aggressively, lift the pan off the burner for a few seconds. The residual heat will keep things moving.
- Don’t skip the salt: That tiny pinch of salt isn’t there to make it salty — it’s there to amplify the chocolate flavour and cut the sweetness. Without it, the drink tastes flat. Think of it as the volume knob for the cocoa.
- Make a double batch and cool it: If you know you’ll want hot chocolate again tomorrow, make a double batch tonight. Let it cool completely, then pour it into a jug and refrigerate. The next evening, just reheat it gently on the stove, whisking to re-emulsify. My husband, who’s usually picky, asked for seconds when I did this — he didn’t even realise it was leftover.
- Warm your mugs: This sounds fussy, but it takes 30 seconds. Swirl a little hot water from the kettle in each mug, then tip it out before pouring the hot chocolate. It keeps the drink hot for the whole 10 minutes it takes the kids to actually drink it.
Equipment You’ll Need
- Medium saucepan (about 2-litre capacity)
- Balloon whisk (a fork works in a pinch, but a whisk is smoother)
- Sharp knife and cutting board
- Measuring spoons and jug
- Wooden spoon or silicone spatula
Delicious Variations to Try
- Spicy Mexican Style: Add ¼ teaspoon of ground cinnamon and a tiny pinch of cayenne pepper to the dry base. The warmth builds slowly and pairs beautifully with the dark chocolate. My eldest calls this “grown-up hot chocolate.”
- Vegan & Dairy-Free Option: Swap the whole milk for a barista-style oat milk (it’s creamier than standard oat milk). Use a vegan block margarine instead of butter, and pick a dark chocolate that’s labelled dairy-free. The texture will be slightly thinner, but still rich and satisfying.
- Mint Chocolate Twist: Replace the vanilla extract with ¼ teaspoon of peppermint extract. Add it at the very end, just like the vanilla. The fresh, cool note turns this into a festive treat without any extra effort.
What to Serve With Homemade Hot Chocolate (Rich & Creamy)
- A simple biscuit for dunking — digestives or shortbread work beautifully.
- A small slice of cheesecake for a more indulgent dessert moment.
- Leftover Best Pumpkin Bread Muffins, warmed slightly, to soak up the chocolate.
Frequently Asked Questions
Homemade Hot Chocolate (Rich & Creamy)
Ingredients
Method
- Start the base: Place your saucepan over a medium heat and add the milk. Watch for the first tiny bubbles to appear around the edge of the pan — this takes about 2 minutes. You want it steaming, not boiling. When you see that faint shimmer on the surface, you’re ready.
- Whisk in the dry ingredients: Drop the heat to low. Add the cocoa powder, sugar, and salt directly to the warm milk. Whisk vigorously in a figure-eight motion. You’ll see the mixture turn a deep, matte brown. Keep going until no dry specks remain — about 30 seconds of steady whisking.
- Add the butter and chocolate: Tumble in the diced butter and chopped dark chocolate. Stir gently with a wooden spoon or spatula. Within a minute, you’ll see the butter melt into glossy yellow ribbons, and the chocolate will darken the liquid. The smell shifts from plain milk to a deep, toasty cocoa aroma.
- Simmer gently: Continue stirring for 2 to 3 minutes. You’ll feel the mixture thicken slightly against your spoon — it should coat the back of the spoon lightly. Small bubbles will break the surface, but you don’t want a full boil. The colour will become a rich, velvety brown, like melted dark caramel.
- Finish with vanilla: Pull the pan off the heat. Stir in the vanilla extract. You’ll notice the scent brighten immediately — that warm, sweet note cuts through the deep chocolate. Give it one last stir.
- Serve immediately: Pour into your favourite mugs. If you’re making the extra-creamy version, whisk the double cream until it’s just thick enough to hold a soft ribbon, then spoon it on top. The surface should look glossy and smooth, with no skin forming.
Notes
I’d love to hear how this quick version works for your family. Did your little ones ask for seconds? Did you try the spicy variation? Drop a comment below and let me know — your feedback helps me tweak the recipes for real, busy kitchens like yours.