Classic Chocolate Cream Pie
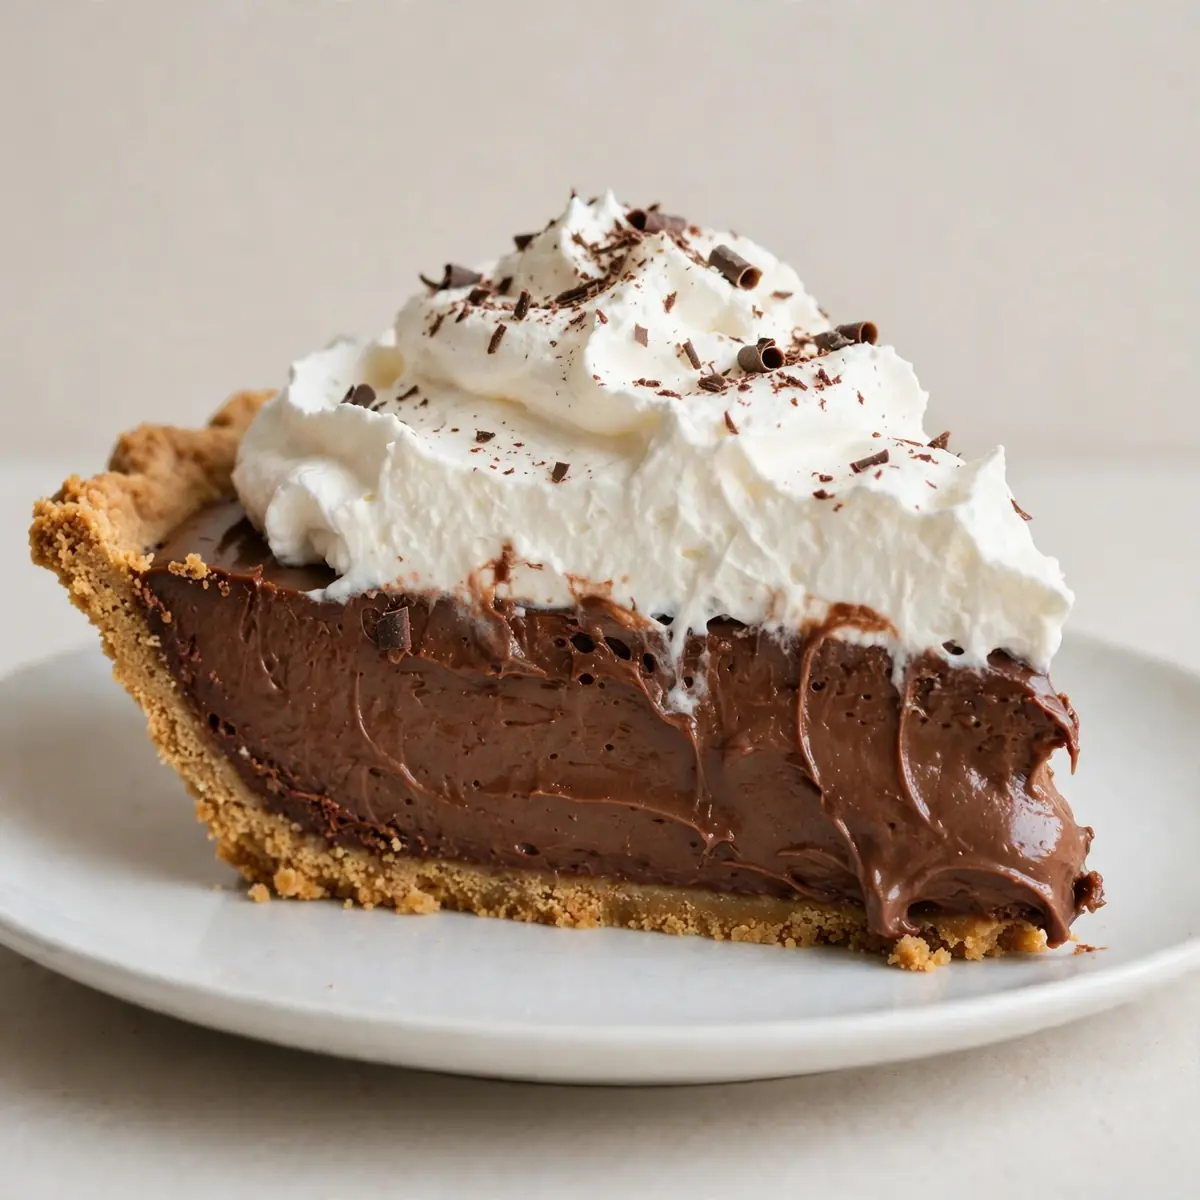
Some nights, you need a dessert that feels like a triumph but takes less effort than the main course. This Classic Chocolate Cream Pie is my secret weapon for those evenings: a silky, rich filling that comes together on the stove in minutes, poured into a ready-made crust, and set in the fridge while you clear the dinner plates. It transforms a Tuesday into something special without keeping you in the kitchen past the evening news.
Recipe Overview
- Prep Time: 15 minutes
- Cook Time: 10 minutes
- Chill Time: 4 hours (or overnight)
- Total Time: 4 hours 25 minutes
- Servings: 8 generous slices
- Difficulty: Easy
Why You’ll Love This Classic Chocolate Cream Pie
- Stove-to-Fridge in 25 Minutes: The filling cooks in a single saucepan, and once it’s poured, the oven stays off. Ideal for warm evenings or busy weeknights when you don’t want to heat the house.
- Minimal Washing Up: One saucepan, one whisk, a mixing bowl, and a pie dish. Your sink will thank you, and so will your tired hands.
- Make-Ahead Magic: This pie improves overnight. The filling sets perfectly, and the flavours deepen. Make it after breakfast, and it’s ready for pudding after tea.
- Uses Store-Cupboard Staples: No obscure ingredients. You likely have cocoa powder, sugar, butter, and milk in the house right now. No last-minute dashes to the shops.
- Family-Friendly Texture: The filling is luxuriously smooth, not too heavy, and the chocolate flavour is deep without being bitter. My husband, who’s usually picky, asked for seconds the first time I made this.
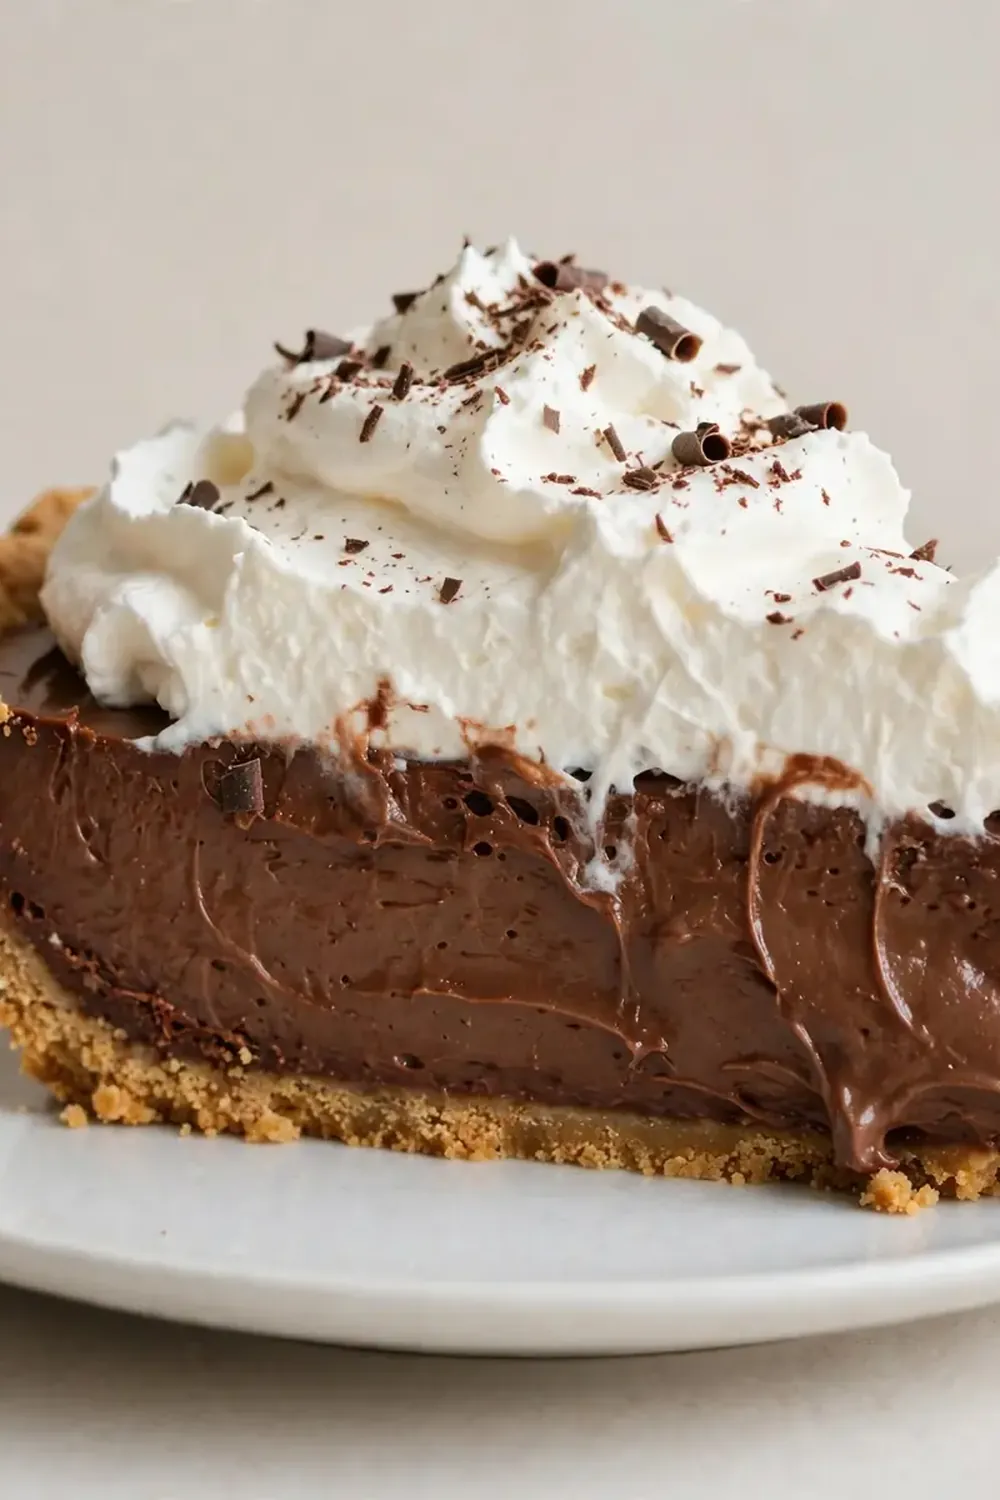
Ingredients You’ll Need
- 200g digestive biscuits (or similar plain sweet biscuit)
- 80g unsalted butter, melted
- 100g caster sugar
- 40g cornflour
- 30g cocoa powder (good quality, unsweetened)
- ¼ teaspoon fine sea salt
- 600ml whole milk
- 4 large egg yolks
- 1 teaspoon vanilla extract
- 150g dark chocolate (70% cocoa), finely chopped
- 300ml double cream
- 1 tablespoon icing sugar
- Chocolate shavings or curls, to decorate (optional)
Tip: For the smoothest filling, use a good-quality dark chocolate you’d happily eat on its own. Cheap chocolate can contain stabilisers that make the texture grainy rather than velvety.
How to Make Classic Chocolate Cream Pie
- Make the biscuit base: Place the digestive biscuits in a sealed plastic bag and crush them with a rolling pin until they resemble coarse sand—you want a few tiny lumps for texture, but no large shards. Tip the crumbs into a bowl, pour in the melted butter, and stir with a fork until every crumb is dampened and the mixture smells warmly of toasted biscuit. Press this firmly into the base and up the sides of a 23cm pie dish, using the flat bottom of a glass to compact it evenly. Pop it in the fridge to firm up while you prepare the filling.
- Whisk the dry ingredients: In a medium saucepan, combine the caster sugar, cornflour, cocoa powder, and salt. Whisk them together thoroughly—you shouldn’t see any white streaks of cornflour against the cocoa. This ensures a lump-free filling later.
- Temper the egg yolks: In a separate bowl, whisk the egg yolks lightly. Pour the milk into the saucepan with the dry ingredients and whisk until smooth, then place the pan over a medium heat. Cook, whisking constantly, until the mixture thickens and begins to bubble at the edges—you’ll hear a soft plopping sound as the first bubbles break the surface. At this point, cook for exactly one more minute, whisking all the while; the mixture will have the glossy, thick texture of a pudding and smell richly of cooked chocolate.
- Finish the filling: Remove the pan from the heat. Immediately add the chopped dark chocolate and the vanilla extract. Stir gently but continuously until the chocolate is fully melted and the mixture is uniformly dark, smooth, and glossy. The residual heat is enough to melt the chocolate without scrambling the eggs.
- Assemble the pie: Pour the hot filling into the chilled biscuit base. Use a spatula to spread it evenly to the edges. The surface should look like a dark, still pond. Place a piece of cling film directly onto the surface of the filling (this prevents a skin from forming) and refrigerate for at least 4 hours, until the filling is firm and slightly springy to the touch.
- Whip the cream: Just before serving, pour the double cream and icing sugar into a chilled bowl. Whisk with an electric mixer on medium speed until soft peaks form—when you lift the whisk, the cream should hold a gentle, drooping peak that doesn’t collapse. Be careful not to overwhip, or you’ll end up with butter.
- Finish and serve: Spread or pipe the whipped cream over the chilled chocolate filling. Scatter with chocolate shavings or curls if you like. Slice with a sharp knife dipped in hot water and wiped dry between cuts for the cleanest edges.
Tips From My Kitchen
- Chill your bowl and beaters for the cream: Double cream whips much faster and holds its shape better when everything is cold. Pop the bowl and whisk attachments in the freezer for ten minutes before you start. This small step makes a real difference on a warm day.
- Use full-fat milk for the best texture: Semi-skimmed works in a pinch, but whole milk gives the filling that luxurious, custard-like body. The fat content helps the cornflour set the mixture properly, and it adds a richness that lower-fat options simply can’t replicate.
- Press the biscuit base firmly and evenly: A loose base will crumble when you slice the pie. Use the bottom of a measuring cup or a straight-sided glass to compact the crumbs. Pay special attention to the edges where the base meets the side of the dish—those corners are where gaps often form.
- Don’t skip the skin-prevention step: Pressing cling film directly onto the hot filling isn’t just about appearance. If a skin forms, it can crack as the pie chills, and you’ll lose that flawless, mirror-smooth surface. It also helps the filling cool more evenly in the fridge.
- Make it a day ahead for the best flavour: The chocolate flavour mellows and deepens overnight. The texture also sets more firmly, making it easier to slice cleanly. If you’re serving this for a dinner party, make it the morning before and keep it chilled, covered, until you’re ready to add the cream.
Equipment You’ll Need
- 23cm pie dish or fluted tart tin with removable base
- Medium saucepan (heavy-bottomed is best)
- Balloon whisk
- Electric hand mixer or stand mixer
- Rolling pin (or a heavy bottle) for crushing biscuits
- Mixing bowls (one large, one medium)
- Cling film
Delicious Variations to Try
- Spicy Aztec Version: Add ½ teaspoon of ground cinnamon and a pinch of cayenne pepper to the dry ingredients. The warmth of the spice lifts the chocolate without making it overtly hot. It’s a subtle background note that grown-ups particularly enjoy.
- Vegan Option: Use 600ml of full-fat oat or coconut milk (from a carton, not a tin) in place of whole milk. Replace the egg yolks with an extra 2 tablespoons of cornflour and 2 tablespoons of coconut cream. Use a vegan dark chocolate and plant-based double cream alternative. The texture will be slightly less firm but still wonderfully creamy.
- White Chocolate Variation: Replace the dark chocolate with 200g of good-quality white chocolate. Omit the cocoa powder from the filling and add an extra 2 tablespoons of cornflour to compensate. The result is a vanilla cream pie with a lighter, sweeter character that children adore.
What to Serve With Classic Chocolate Cream Pie
- A dollop of extra whipped cream and a scattering of fresh raspberries, whose tartness cuts through the richness.
- A small glass of cold milk for the children, or a strong black coffee for the adults to balance the sweetness.
- For a special treat, serve alongside a Rose Lemonade Mocktail for a floral, refreshing contrast.
Still hungry for ideas? You might also love Oatmeal Cream Pie Recipe, Classic Boston Cream Pie Recipe Dessert from our sister kitchens.
Frequently Asked Questions
Classic Chocolate Cream Pie
Ingredients
Method
- Make the biscuit base: Place the digestive biscuits in a sealed plastic bag and crush them with a rolling pin until they resemble coarse sand—you want a few tiny lumps for texture, but no large shards. Tip the crumbs into a bowl, pour in the melted butter, and stir with a fork until every crumb is dampened and the mixture smells warmly of toasted biscuit. Press this firmly into the base and up the sides of a 23cm pie dish, using the flat bottom of a glass to compact it evenly. Pop it in the fridge to firm up while you prepare the filling.
- Whisk the dry ingredients: In a medium saucepan, combine the caster sugar, cornflour, cocoa powder, and salt. Whisk them together thoroughly—you shouldn't see any white streaks of cornflour against the cocoa. This ensures a lump-free filling later.
- Temper the egg yolks: In a separate bowl, whisk the egg yolks lightly. Pour the milk into the saucepan with the dry ingredients and whisk until smooth, then place the pan over a medium heat. Cook, whisking constantly, until the mixture thickens and begins to bubble at the edges—you'll hear a soft plopping sound as the first bubbles break the surface. At this point, cook for exactly one more minute, whisking all the while; the mixture will have the glossy, thick texture of a pudding and smell richly of cooked chocolate.
- Finish the filling: Remove the pan from the heat. Immediately add the chopped dark chocolate and the vanilla extract. Stir gently but continuously until the chocolate is fully melted and the mixture is uniformly dark, smooth, and glossy. The residual heat is enough to melt the chocolate without scrambling the eggs.
- Assemble the pie: Pour the hot filling into the chilled biscuit base. Use a spatula to spread it evenly to the edges. The surface should look like a dark, still pond. Place a piece of cling film directly onto the surface of the filling (this prevents a skin from forming) and refrigerate for at least 4 hours, until the filling is firm and slightly springy to the touch.
- Whip the cream: Just before serving, pour the double cream and icing sugar into a chilled bowl. Whisk with an electric mixer on medium speed until soft peaks form—when you lift the whisk, the cream should hold a gentle, drooping peak that doesn't collapse. Be careful not to overwhip, or you'll end up with butter.
- Finish and serve: Spread or pipe the whipped cream over the chilled chocolate filling. Scatter with chocolate shavings or curls if you like. Slice with a sharp knife dipped in hot water and wiped dry between cuts for the cleanest edges.
Notes
I stumbled upon this combination by accident one harried Wednesday, needing a dessert that wouldn’t demand my full attention, and it’s been a hit ever since. The quiet satisfaction of pulling a perfectly set pie from the fridge, knowing it took barely any effort, never gets old. If you give this one a go, I’d love to hear how it turned out for your family—drop a comment below and tell me about your weeknight dinner victory.