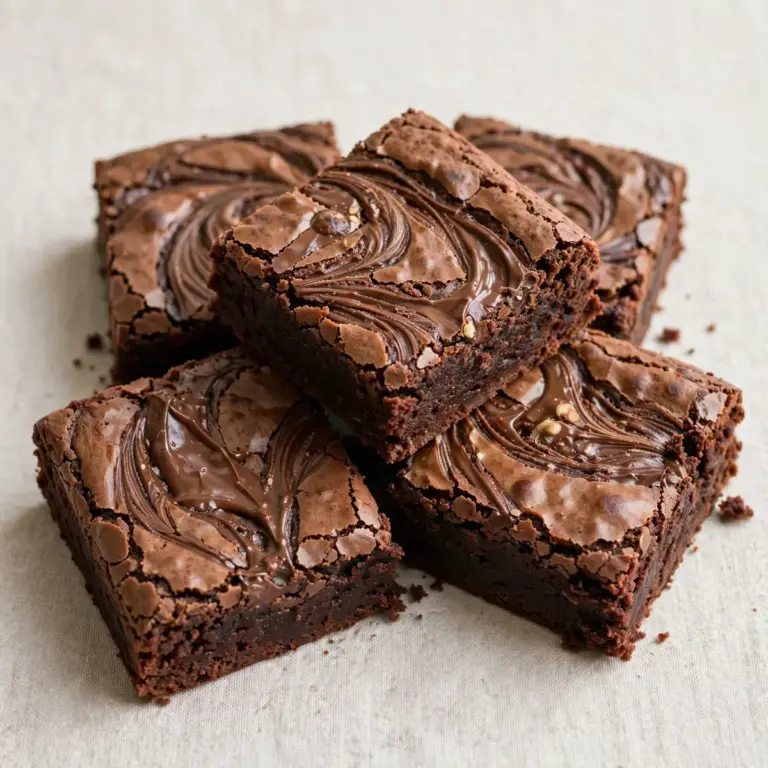
Fudgy Dark Chocolate Brownies
Between school pick-ups, homework battles, and that late-afternoon energy slump, finding a dessert that comes together in a flash without turning your kitchen into a disaster zone feels like a small miracle. That’s exactly where these Fudgy Dark Chocolate Brownies come in — a one-bowl, no-fuss recipe that delivers a deep, rich chocolate hit with barely any washing up, making them the perfect quick weeknight treat for busy families.
Recipe Overview
- Prep Time: 10 minutes
- Cook Time: 22–25 minutes
- Total Time: 35 minutes
- Servings: 16 brownies
- Difficulty: Easy
Why You’ll Love This Fudgy Dark Chocolate Brownies
- One-Bowl Wonder: Everything mixes in a single bowl, meaning you’re left with just a spatula and a baking tin to wash. Minimal cleanup makes this a weeknight winner.
- Speed Is Everything: From pantry to oven in under ten minutes. No waiting for butter to soften or eggs to come to room temperature — we’re using melted butter straight from the microwave.
- Deep, Grown-Up Chocolate Flavour: Using dark chocolate with 70% cocoa solids gives these brownies a rich, intense taste that isn’t overly sweet. My kids absolutely devour this every time I make it, even with the darker chocolate.
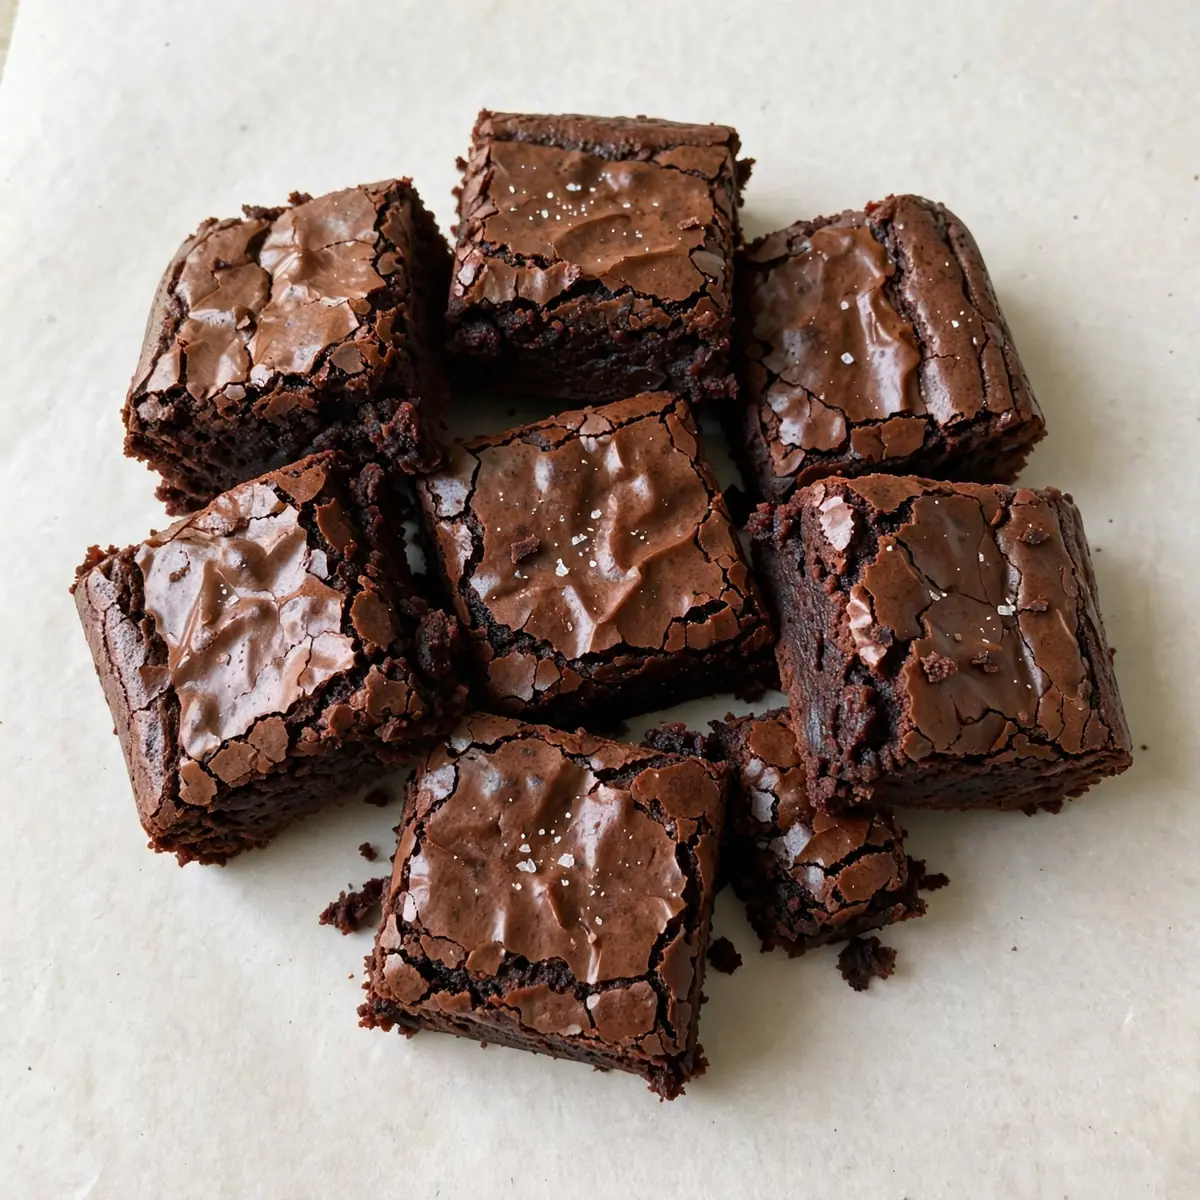
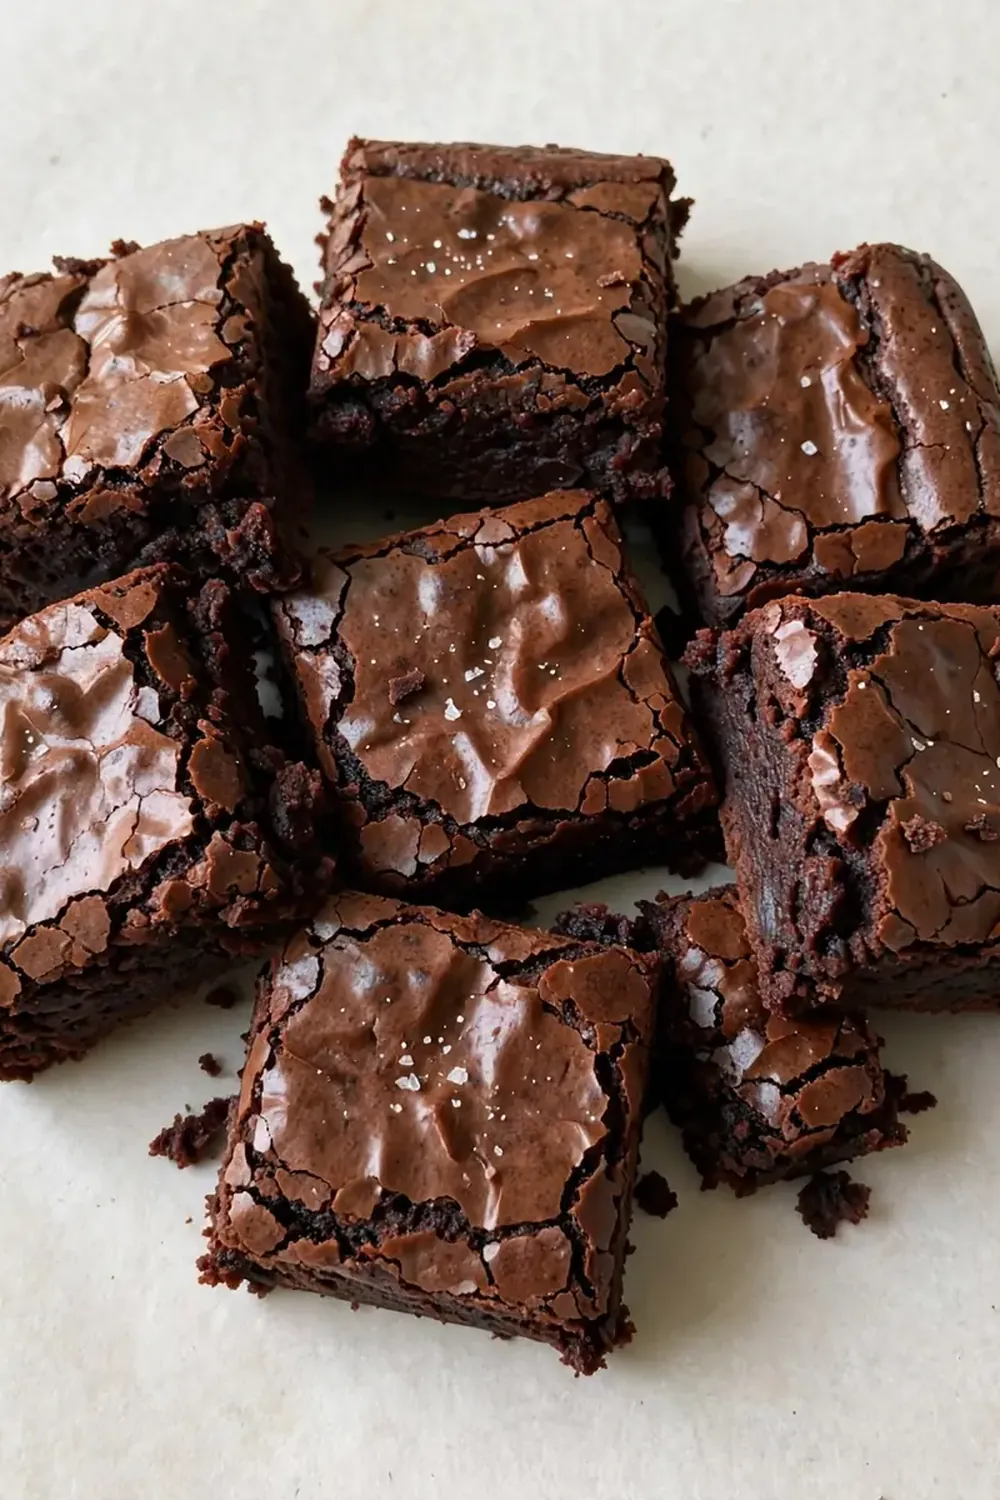
- Perfectly Fudgy Texture: The secret is a higher fat-to-flour ratio and a shorter bake time. You get that dense, gooey centre with a delicate, crackly top every single time.
- Make-Ahead Friendly: You can prepare the dry mix in a jar up to a week in advance, or bake the whole batch and freeze them. They thaw beautifully for lunchboxes or last-minute dessert emergencies.
Ingredients You’ll Need
- 200g dark chocolate (70% cocoa solids), roughly chopped
- 150g unsalted butter, cubed
- 200g caster sugar
- 100g light brown sugar
- 3 large eggs
- 1 tsp vanilla extract
- 100g plain flour
- 40g cocoa powder (unsweetened)
- ½ tsp salt
- 100g dark chocolate chips or chunks (optional, for extra gooey pockets)
Tip: For the richest flavour, use a good-quality dark chocolate you’d happily eat on its own. Cheap chocolate often contains more sugar and less cocoa butter, which can make the brownies greasy rather than fudgy.
How to Make Fudgy Dark Chocolate Brownies
- Preheat and prepare your tin. Preheat your oven to 180°C (160°C fan). Line a 20cm square baking tin with parchment paper, leaving some overhang on two sides — this creates handles for lifting the whole slab out later. The paper should sit flush against the sides, no air pockets.
- Melt the chocolate and butter together. Place the chopped dark chocolate and cubed butter in a large, heatproof bowl. Microwave in 30-second bursts, stirring well after each, until completely smooth and glossy. The mixture should look like thick, dark silk and smell intensely of chocolate. Set aside for 2 minutes to cool slightly — you don’t want to scramble the eggs next.
- Whisk in the sugars and eggs. Add the caster sugar and light brown sugar to the melted chocolate mixture. Whisk vigorously until the sugar begins to dissolve and the mixture looks grainy but uniform. Crack in the eggs one at a time, whisking thoroughly after each addition. Add the vanilla extract. The batter will become thick, glossy, and start to pull away from the sides of the bowl. You’ll notice it looks almost like a thick pudding — that’s exactly what you want.
- Fold in the dry ingredients. Sift the plain flour, cocoa powder, and salt directly over the batter. Use a spatula to fold gently — cut through the centre, scrape the bottom, and turn the mixture over. Stop as soon as you no longer see streaks of flour. Overmixing will develop gluten and give you cakey, not fudgy, brownies. The final batter should be thick, slightly stiff, and have a gorgeous, dark velvety sheen.
- Add the chocolate chips (if using). Fold in the chocolate chips or chunks with just three or four turns of the spatula. They should be evenly distributed without overworking the batter.
- Bake to perfection. Pour the batter into the prepared tin and spread it evenly with the spatula. Bake for 22–25 minutes. The top should look set, dry, and slightly crackly, with a few tiny bubbles around the edges. The real test: insert a skewer into the centre — it should come out with a few moist crumbs clinging to it, not wet batter. If it’s clean, you’ve overbaked them. The brownies will continue to set as they cool, so err on the side of underdone.
- Cool completely before slicing. Place the tin on a wire cooling rack and let the brownies cool for at least 20 minutes. Using the parchment overhang, lift the entire slab onto a chopping board. Let it cool for another 10–15 minutes before slicing into 16 squares with a sharp knife. For clean cuts, wipe the blade between each slice. The edges will be slightly firmer, the centres soft and fudgy — the perfect contrast.
Tips From My Kitchen
- Use room-temperature eggs. Cold eggs can seize the melted chocolate mixture, causing it to become grainy and thick. If you’ve forgotten to take them out of the fridge, place the whole eggs in a bowl of warm water for 5 minutes before cracking. This small step ensures a smooth, emulsified batter.
- Don’t overbake — trust the skewer test. I used to struggle with this dish until I discovered this technique: pull the brownies out when the skewer comes out with moist crumbs, not clean. The residual heat in the tin continues to cook the centre as they cool. Overbaking by even two minutes turns fudgy brownies into dry, crumbly ones.
- Line your tin with care. Parchment paper is your best friend for easy removal and minimal cleanup. Fold the paper so it creases neatly into the corners of the tin. If the paper wrinkles, the brownies will bake with ugly ridges. A perfectly lined tin gives you smooth, professional-looking squares.
- Make-ahead dry mix. For an even faster weeknight dessert, combine the flour, cocoa powder, and salt in a sealed jar or zip-top bag. Store it in your pantry for up to a week. When you’re ready to bake, simply melt the chocolate and butter, whisk in the sugars and eggs, then tip in the pre-mixed dry ingredients. You’ve just cut your prep time to five minutes.
- Freeze for later. These brownies freeze beautifully. Once completely cooled, wrap the whole slab tightly in cling film, then again in foil, and freeze for up to three months. To serve, thaw at room temperature for 30 minutes, or pop individual brownies in the microwave for 15 seconds for a warm, gooey treat. This is a lifesaver for lunchboxes and unexpected visitors.
- Use a metal tin, not glass. Metal conducts heat more efficiently than glass or ceramic, giving you that crackly top and fudgy centre. Glass tends to insulate, which can result in a more cake-like texture and a longer bake time. Stick with a standard metal baking tin for the best results.
Equipment You’ll Need
- 20cm square metal baking tin
- Large heatproof mixing bowl
- Balloon whisk
- Silicone spatula
- Parchment paper
- Wire cooling rack
- Sharp knife for slicing
Delicious Variations to Try
- Spicy Version: Add ½ teaspoon of cayenne pepper and 1 teaspoon of ground cinnamon to the dry ingredients. The heat from the cayenne lifts the dark chocolate’s bitterness, creating a warm, tingling finish that’s surprisingly addictive. A pinch of flaky sea salt on top before baking enhances the contrast.
- Vegan Option: Replace the butter with 150g of coconut oil (refined, for a neutral flavour) or a high-quality vegan block butter. Use 3 tablespoons of ground flaxseed mixed with 9 tablespoons of water in place of the eggs — let it sit for 10 minutes to form a gel. The texture will be slightly more tender, but still deeply fudgy and rich.
- Different Protein Twist: Swirl in 3 tablespoons of smooth peanut butter or almond butter just before baking. Drop spoonfuls over the batter and use a knife to create figure-eight swirls. The nutty, salty pockets cut through the dark chocolate beautifully. Alternatively, fold in 100g of chopped toasted walnuts for crunch.
What to Serve With Fudgy Dark Chocolate Brownies
- A scoop of good-quality vanilla ice cream — the cool creaminess balances the intense chocolate.
- A drizzle of warm salted caramel sauce for extra indulgence.
- A tall glass of cold milk — my kids insist this is non-negotiable.
- A refreshing Rose Lemonade Mocktail on the side for a grown-up, alcohol-free pairing.
- Fresh raspberries or strawberries — their tartness cuts through the richness perfectly.
Still hungry for ideas? You might also love Classic Brownies Fudgy, Fudgy Chocolate Brownies For A Crowd Pleasing Dessert from our sister kitchens.
Frequently Asked Questions
Fudgy Dark Chocolate Brownies
Ingredients
Method
- Preheat and prepare your tin. Preheat your oven to 180°C (160°C fan). Line a 20cm square baking tin with parchment paper, leaving some overhang on two sides — this creates handles for lifting the whole slab out later. The paper should sit flush against the sides, no air pockets.
- Melt the chocolate and butter together. Place the chopped dark chocolate and cubed butter in a large, heatproof bowl. Microwave in 30-second bursts, stirring well after each, until completely smooth and glossy. The mixture should look like thick, dark silk and smell intensely of chocolate. Set aside for 2 minutes to cool slightly — you don’t want to scramble the eggs next.
- Whisk in the sugars and eggs. Add the caster sugar and light brown sugar to the melted chocolate mixture. Whisk vigorously until the sugar begins to dissolve and the mixture looks grainy but uniform. Crack in the eggs one at a time, whisking thoroughly after each addition. Add the vanilla extract. The batter will become thick, glossy, and start to pull away from the sides of the bowl. You’ll notice it looks almost like a thick pudding — that’s exactly what you want.
- Fold in the dry ingredients. Sift the plain flour, cocoa powder, and salt directly over the batter. Use a spatula to fold gently — cut through the centre, scrape the bottom, and turn the mixture over. Stop as soon as you no longer see streaks of flour. Overmixing will develop gluten and give you cakey, not fudgy, brownies. The final batter should be thick, slightly stiff, and have a gorgeous, dark velvety sheen.
- Add the chocolate chips (if using). Fold in the chocolate chips or chunks with just three or four turns of the spatula. They should be evenly distributed without overworking the batter.
- Bake to perfection. Pour the batter into the prepared tin and spread it evenly with the spatula. Bake for 22–25 minutes. The top should look set, dry, and slightly crackly, with a few tiny bubbles around the edges. The real test: insert a skewer into the centre — it should come out with a few moist crumbs clinging to it, not wet batter. If it’s clean, you’ve overbaked them. The brownies will continue to set as they cool, so err on the side of underdone.
- Cool completely before slicing. Place the tin on a wire cooling rack and let the brownies cool for at least 20 minutes. Using the parchment overhang, lift the entire slab onto a chopping board. Let it cool for another 10–15 minutes before slicing into 16 squares with a sharp knife. For clean cuts, wipe the blade between each slice. The edges will be slightly firmer, the centres soft and fudgy — the perfect contrast.
Notes
These Fudgy Dark Chocolate Brownies have become my secret weapon for turning a chaotic Tuesday evening into something a little bit special — with no fuss, no piles of washing up, and a lot of happy faces around the table. If you give them a go, I’d love to hear how they turned out. Drop a comment below and let me know your favourite way to serve them, or if you tried one of the variations. Happy baking!