Thick And Chewy Snickerdoodle Bars
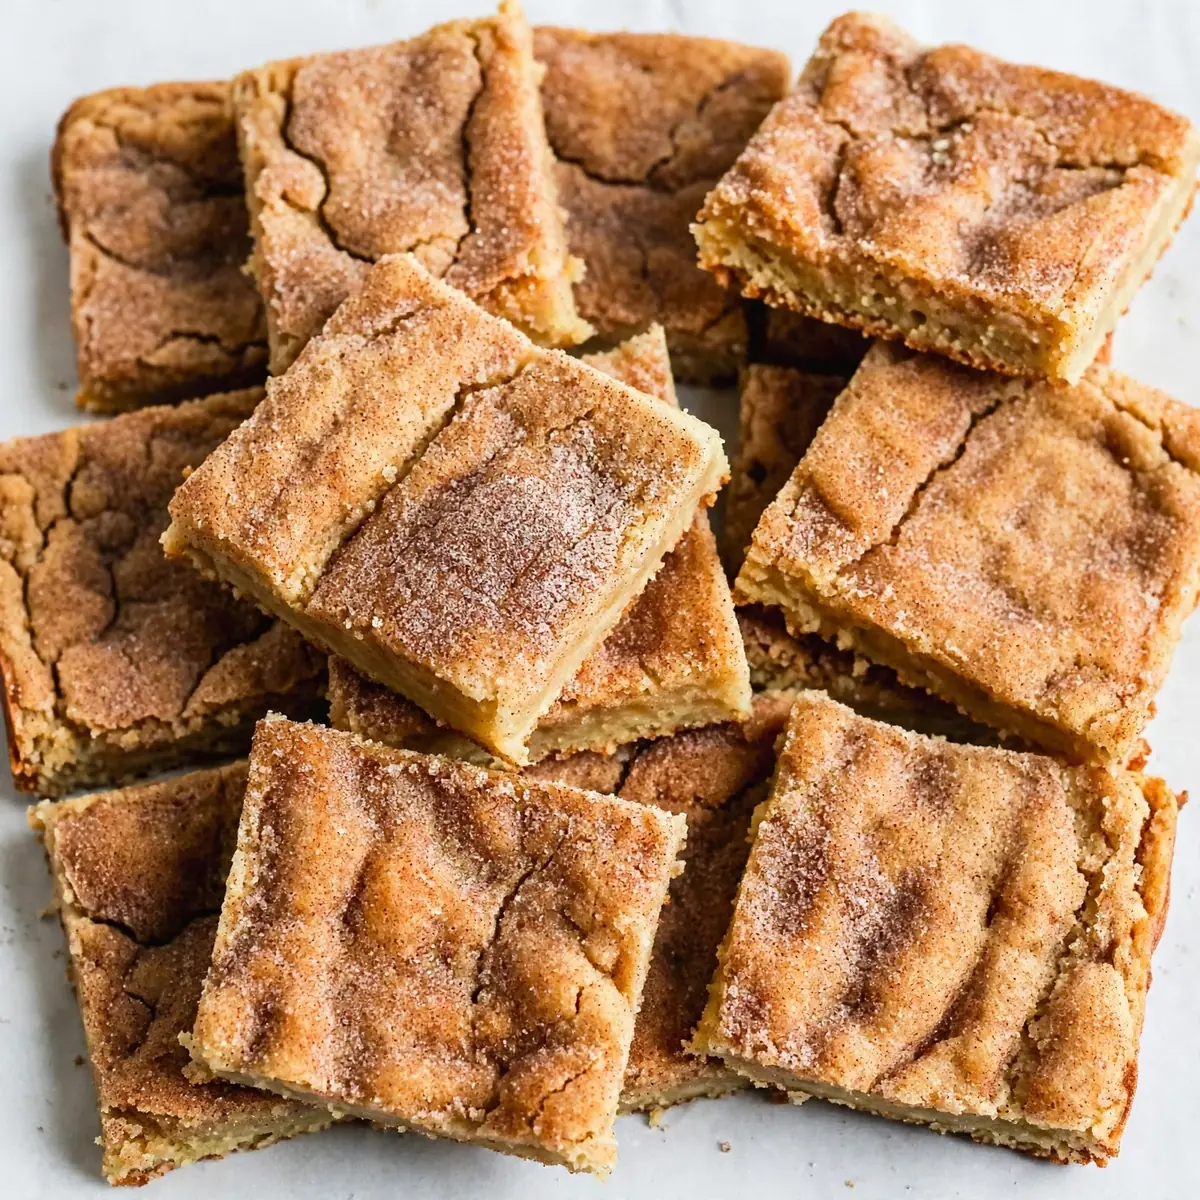
Some evenings call for a proper pudding that doesn’t demand a sink full of washing up or an hour of dedicated kitchen time. These Thick and Chewy Snickerdoodle Bars are my answer to that very scenario—a buttery, cinnamon-laced traybake that comes together in the time it takes to clear the dinner plates.
Recipe Overview
- Prep Time: 10 minutes
- Cook Time: 22 minutes
- Total Time: 32 minutes
- Servings: 16 bars
- Difficulty: Easy
Why You’ll Love This Thick and Chewy Snickerdoodle Bars
- One-bowl mixing, minimal mess: You can whisk everything in a single bowl, which means fewer dishes to tackle after the kids are in bed.
- Ready before the oven timer dings: With just 10 minutes of active prep, these bars are in the oven while you finish loading the dishwasher.
- Make-ahead friendly for busy weeks: The dough rests happily in the fridge for up to three days, so you can bake fresh bars on a Tuesday night without any fuss.
- Thick, chewy texture without the rolling: Unlike traditional snickerdoodle cookies, there’s no chilling, rolling, or shaping required—just press and bake.
- Freezes beautifully for last-minute desserts: Wrap individual bars and stash them in the freezer; they thaw in under 15 minutes at room temperature.
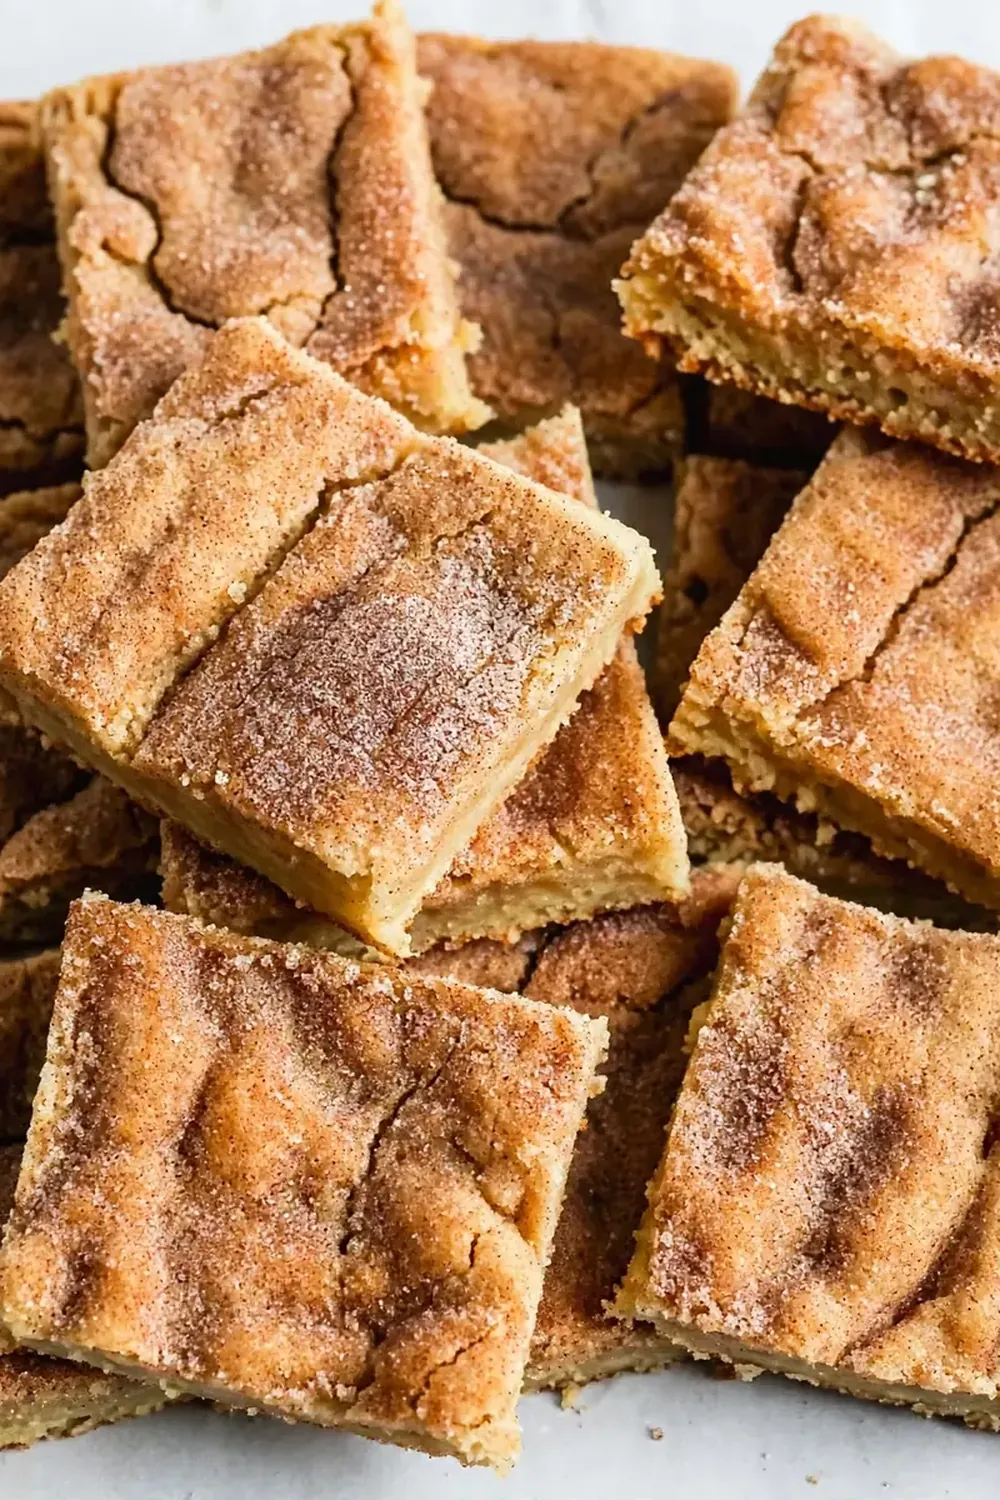
Ingredients You’ll Need
- 120g unsalted butter, melted and slightly cooled
- 200g granulated sugar
- 100g light brown sugar, firmly packed
- 2 large eggs, at room temperature
- 2 teaspoons vanilla extract
- 260g plain flour
- 1 teaspoon cream of tartar
- ½ teaspoon bicarbonate of soda
- ½ teaspoon salt
- 2 teaspoons ground cinnamon (for the topping)
- 30g granulated sugar (for the topping)
Tip: Cream of tartar is non-negotiable here—it gives these bars their signature tangy flavour and helps create that dense, chewy interior. If you cannot find it, check the baking aisle near the spices.
How to Make Thick and Chewy Snickerdoodle Bars
- Preheat your oven to 180°C (fan 160°C). Line a 20cm x 20cm square baking tin with baking parchment, leaving some overhang on two sides so you can lift the bars out later. You should hear the parchment crinkle as you press it into the corners.
- Whisk the melted butter and sugars together in a large mixing bowl until the mixture looks glossy and smooth, like wet sand. It should smell deeply buttery and sweet. Give it a good minute of whisking so the sugars begin to dissolve.
- Add the eggs one at a time, whisking vigorously after each addition. The batter will turn pale and thicken noticeably—you will see it pull away from the sides of the bowl in ribbons when you lift the whisk.
- Stir in the vanilla extract until evenly combined. The mixture should now be a uniform, creamy colour with a fragrant, warm aroma.
- Sift the flour, cream of tartar, bicarbonate of soda, and salt directly into the wet ingredients. Fold gently with a spatula until just combined—stop the moment you cannot see any white streaks. Over-mixing will make the bars tough, so look for a soft, shaggy dough that holds together when pressed.
- Stir together the topping ingredients in a small bowl: 30g granulated sugar and 2 teaspoons ground cinnamon. The cinnamon should smell aromatic and spicy as you mix.
- Transfer the dough to your prepared tin and press it evenly into the corners using a spatula or your fingertips. The dough will be quite thick and slightly sticky, so dampen your fingers slightly if needed. Sprinkle the cinnamon-sugar topping evenly over the surface, covering every bit of dough.
- Bake for 20–22 minutes. The edges will turn a deep golden brown and pull away slightly from the parchment, while the centre will look puffed and set but still feel soft to a light touch. A skewer inserted into the middle should come out with a few moist crumbs attached—not wet batter.
- Cool the tin on a wire rack for 15 minutes. Use the parchment overhang to lift the whole slab out and transfer to a cutting board. The bars will firm up as they cool, so resist the urge to slice them while hot. You will hear a slight crackle as the sugar crust settles.
- Slice into 16 equal squares using a sharp, serrated knife. Wipe the blade clean between cuts for neat edges. The bars should feel dense and springy when you press the tops.
Tips From My Kitchen
- Use room-temperature eggs: Cold eggs will seize the melted butter, leaving you with a lumpy dough that bakes unevenly. Leave your eggs on the counter for 30 minutes before starting, or place them in a bowl of warm water for 5 minutes. The batter will come together smoothly, with a silky, homogenous texture.
- Do not skip the cream of tartar: This ingredient reacts with the bicarbonate of soda to create a tender crumb and that distinctive snickerdoodle tang. Without it, your bars will taste like plain cinnamon sugar cookies—still pleasant, but missing the signature zing. After testing this recipe five times, I finally got it just right by keeping the cream of tartar ratio precise.
- Press the dough evenly into the tin: Uneven thickness means some bars will bake faster than others. Use a small offset spatula or the bottom of a measuring cup to press the dough flat and level. The surface should look smooth and uniform before the topping goes on, ensuring every bar bakes at the same rate.
- Bake until the edges are set, not the centre: The bars continue cooking from residual heat after they leave the oven. Pull them out when the centre still jiggles slightly when you gently shake the tin. Over-baking dries them out, robbing you of that chewy, soft interior. Look for a matte, firm edge and a slightly domed, shiny centre.
- Cool completely before slicing: Warm bars are fragile and will crumble under a knife. Patience here pays off—let them cool for at least 15 minutes in the tin, then another 10 on the wire rack. The crust will set into a crisp, sugary shell that shatters beautifully when you bite into it.
- Double the batch for freezing: These bars freeze exceptionally well. Bake a full tray, cool completely, wrap each bar individually in cling film, then store in a freezer bag for up to three months. Defrost on the counter for 10 minutes, or pop them in a low oven at 150°C for 5 minutes to restore that fresh-baked warmth.
Equipment You’ll Need
- 20cm x 20cm square baking tin
- Baking parchment
- Large mixing bowl
- Balloon whisk
- Spatula or wooden spoon
- Small bowl for topping
- Wire cooling rack
- Sharp serrated knife
What to Serve With Thick and Chewy Snickerdoodle Bars
- A tall glass of cold milk—the contrast between the warm, spiced bar and the icy milk is unbeatable.
- A dollop of vanilla ice cream or a drizzle of double cream for an extra indulgent treat.
- A simple fruit compote, like stewed apples or berries, to balance the sweetness with a touch of acidity.
- A mug of hot chai or spiced tea, which echoes the cinnamon notes in the bars wonderfully.
Still hungry for ideas? You might also love Chewy Banana Oat Breakfast Bars Recipe To Bake from our sister kitchens.
Frequently Asked Questions
Thick and Chewy Snickerdoodle Bars
Ingredients
Method
- Preheat your oven to 180°C (fan 160°C). Line a 20cm x 20cm square baking tin with baking parchment, leaving some overhang on two sides so you can lift the bars out later. You should hear the parchment crinkle as you press it into the corners.
- Whisk the melted butter and sugars together in a large mixing bowl until the mixture looks glossy and smooth, like wet sand. It should smell deeply buttery and sweet. Give it a good minute of whisking so the sugars begin to dissolve.
- Add the eggs one at a time, whisking vigorously after each addition. The batter will turn pale and thicken noticeably—you will see it pull away from the sides of the bowl in ribbons when you lift the whisk.
- Stir in the vanilla extract until evenly combined. The mixture should now be a uniform, creamy colour with a fragrant, warm aroma.
- Sift the flour, cream of tartar, bicarbonate of soda, and salt directly into the wet ingredients. Fold gently with a spatula until just combined—stop the moment you cannot see any white streaks. Over-mixing will make the bars tough, so look for a soft, shaggy dough that holds together when pressed.
- Stir together the topping ingredients in a small bowl: 30g granulated sugar and 2 teaspoons ground cinnamon. The cinnamon should smell aromatic and spicy as you mix.
- Transfer the dough to your prepared tin and press it evenly into the corners using a spatula or your fingertips. The dough will be quite thick and slightly sticky, so dampen your fingers slightly if needed. Sprinkle the cinnamon-sugar topping evenly over the surface, covering every bit of dough.
- Bake for 20–22 minutes. The edges will turn a deep golden brown and pull away slightly from the parchment, while the centre will look puffed and set but still feel soft to a light touch. A skewer inserted into the middle should come out with a few moist crumbs attached—not wet batter.
- Cool the tin on a wire rack for 15 minutes. Use the parchment overhang to lift the whole slab out and transfer to a cutting board. The bars will firm up as they cool, so resist the urge to slice them while hot. You will hear a slight crackle as the sugar crust settles.
- Slice into 16 equal squares using a sharp, serrated knife. Wipe the blade clean between cuts for neat edges. The bars should feel dense and springy when you press the tops.
Notes
These Thick and Chewy Snickerdoodle Bars have become my go-to for those evenings when the family needs something sweet but I need something fast. The cinnamon crust, the soft centre, the fact that I can have them in the oven before the kettle boils—it all adds up to a dessert that feels special without the fuss. If you give them a try, I’d love to hear how they turned out in your kitchen. Drop a comment below and let me know if your crew polished them off as quickly as mine did.