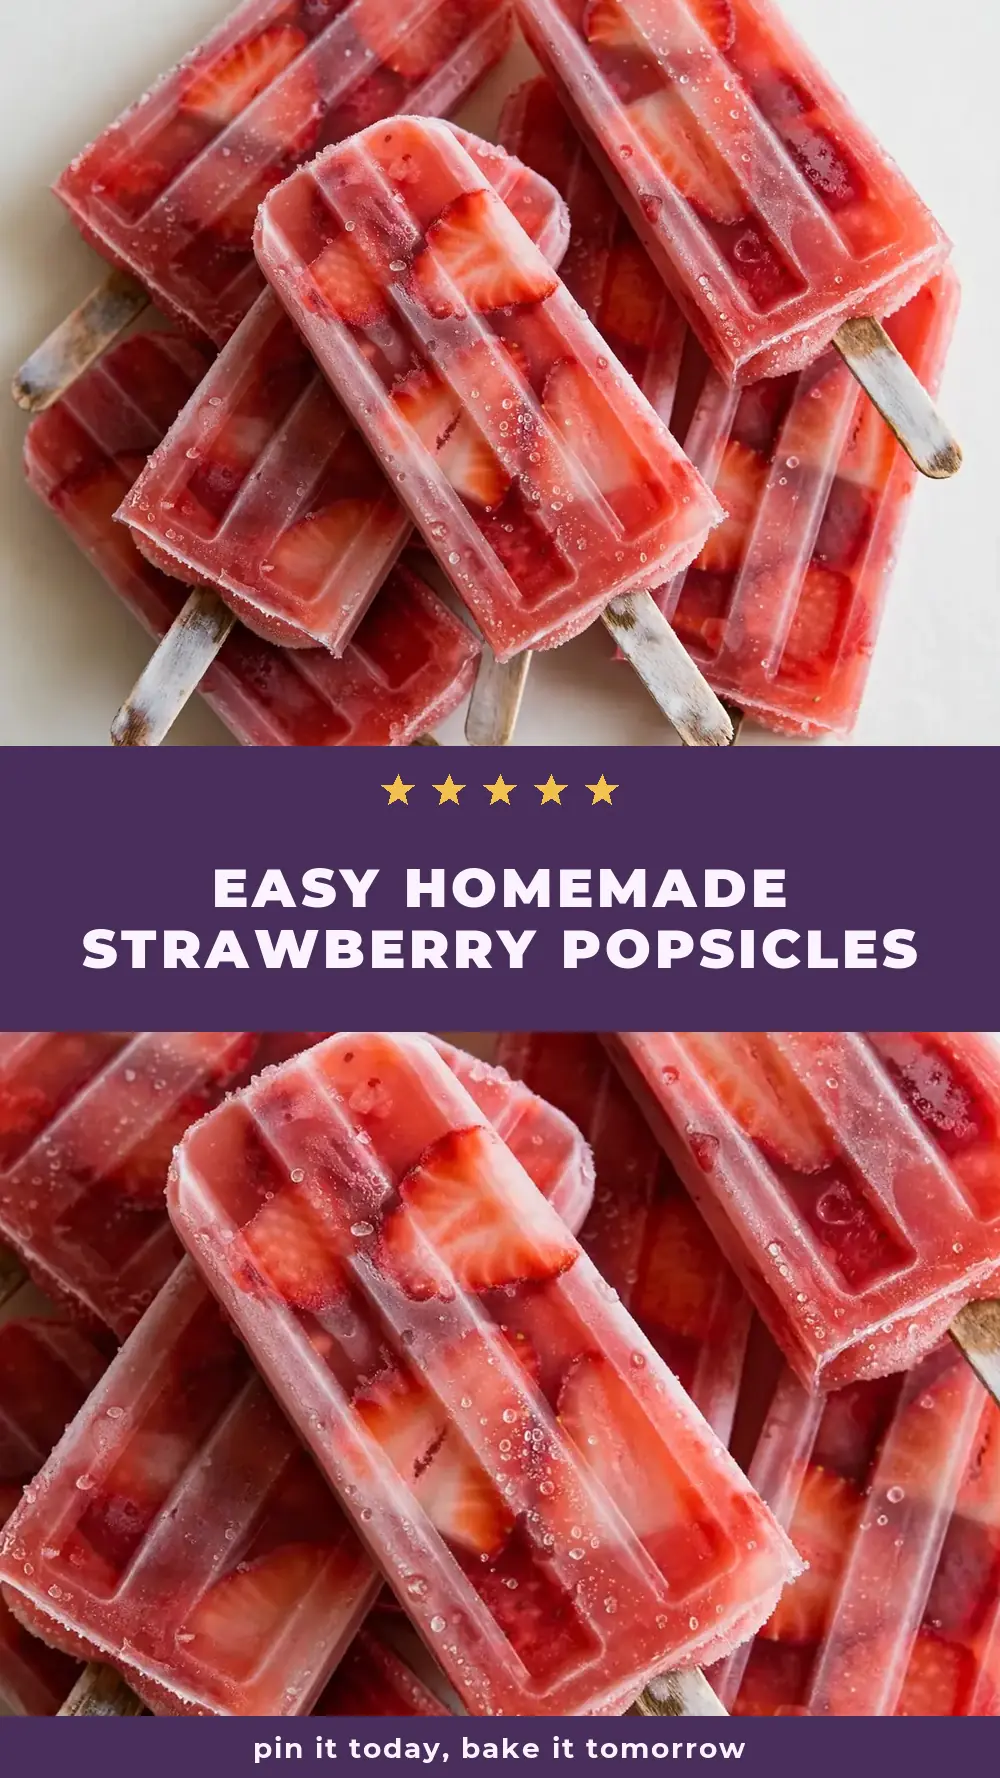
Easy Homemade Strawberry Popsicles
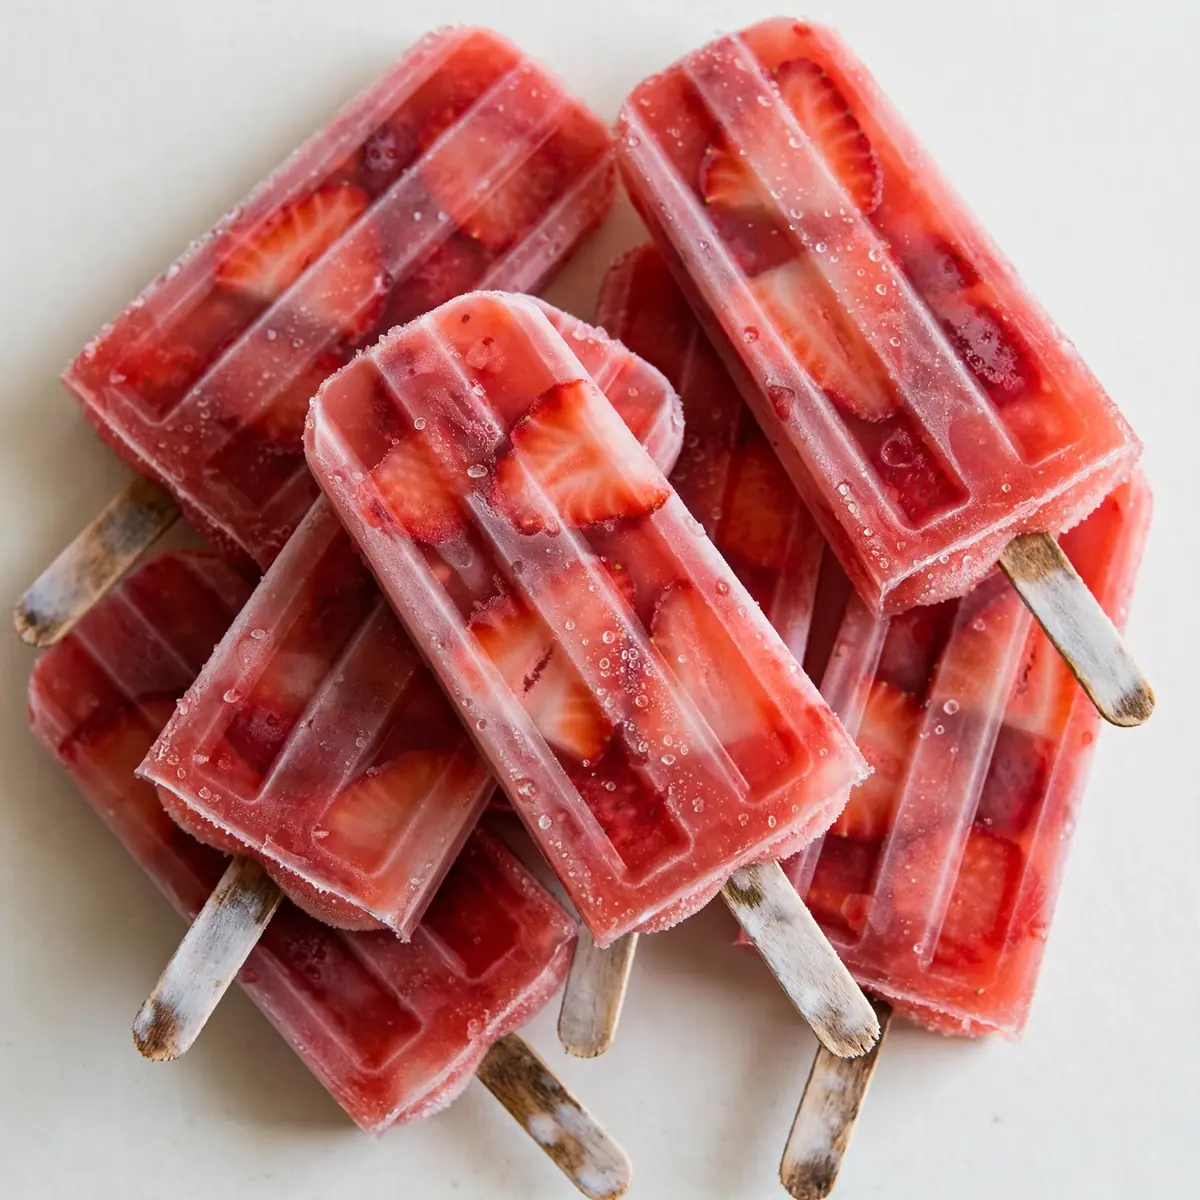
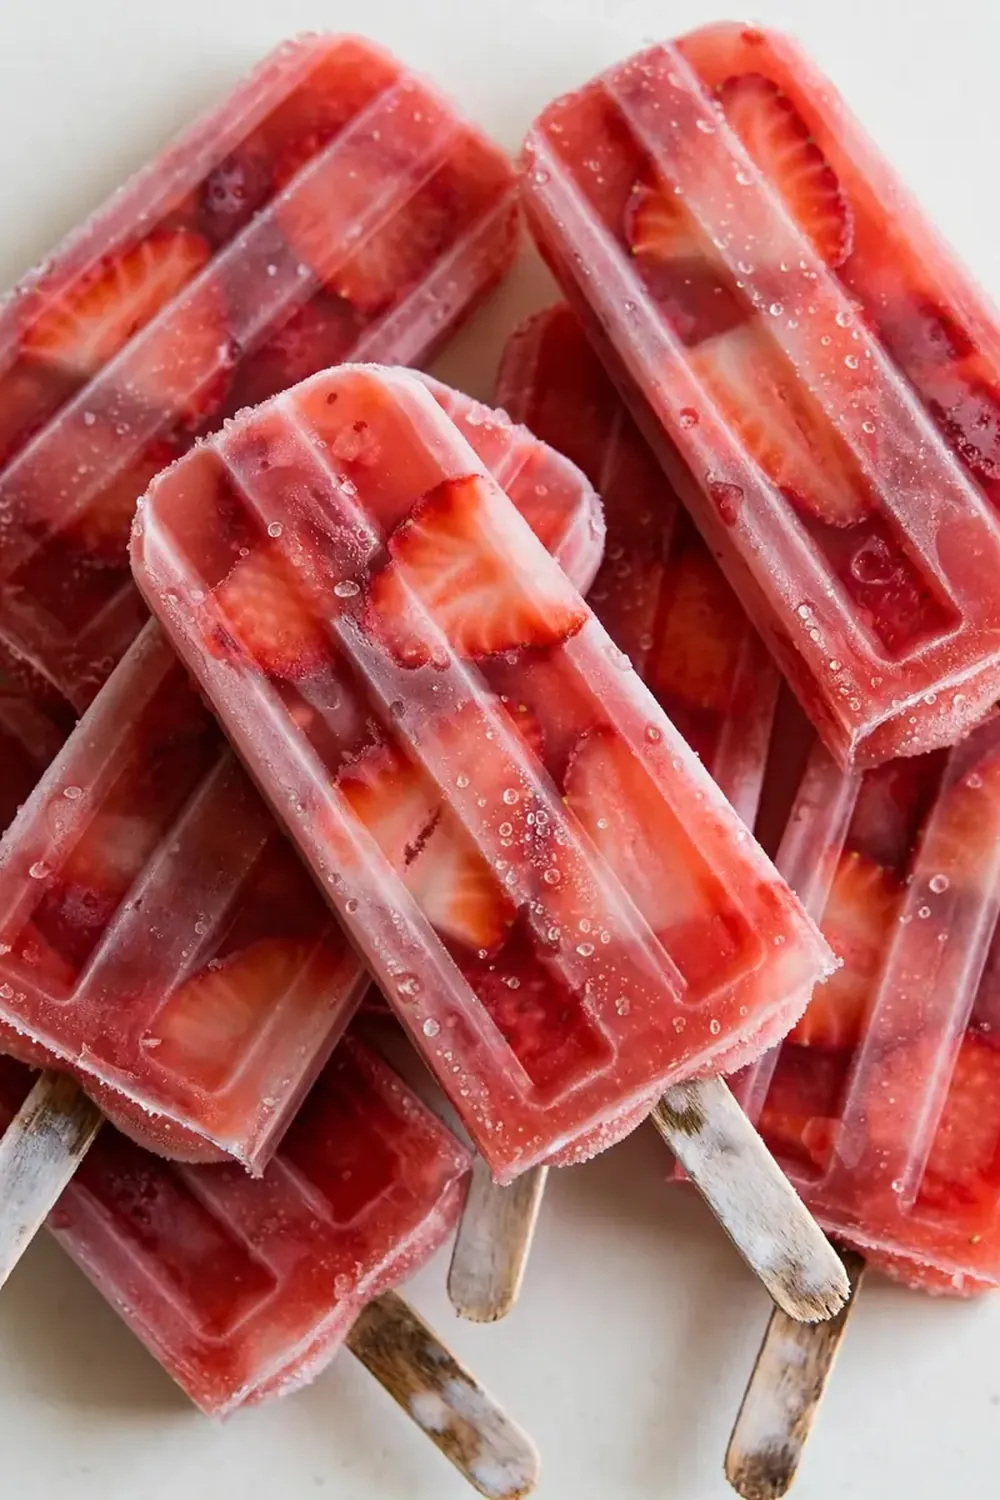
When the sun is blazing and you need something cold, sweet, and utterly refreshing, nothing beats grabbing one of my easy homemade strawberry popsicles from the freezer. I make this at least once a week during the summer – it’s become a family favourite, and once you see how simple it is, you will never buy the plastic-wrapped supermarket versions again.
Recipe Overview
- Prep time: 10 minutes
- Cook time: 5 minutes (if making a syrup base)
- Freeze time: 4-6 hours, or overnight
- Total time: 4 hours 15 minutes
- Servings: 8-10 popsicles (depending on your mould size)
- Difficulty: Beginner friendly
Why You’ll Love This Easy Homemade Strawberry Popsicles
- Real fruit, real flavour: You control exactly what goes in, using ripe strawberries at their peak, with no artificial colours or high-fructose syrups.
- Naturally sweetened: A touch of honey or maple syrup is all you need to bring out the natural sweetness of the berries.
- Perfectly creamy texture: Adding a splash of yoghurt or a bit of banana ensures a smooth, creamy bite rather than a hard, icy block.
- Endless customisation: You can add a handful of blueberries, a squeeze of lime, or a sprig of mint to make it your own every single time.
- No special equipment needed: A simple blender and some popsicle moulds are all that stands between you and the best frozen treat of the summer.
Ingredients You’ll Need
- 500g fresh strawberries, hulled and halved
- 2-3 tablespoons honey or maple syrup (adjust to the sweetness of your berries)
- 120ml full-fat Greek yoghurt (or coconut yoghurt for a dairy-free version)
- 1 small ripe banana (this adds natural creaminess and sweetness)
- 1 tablespoon freshly squeezed lemon juice
- 60ml water or apple juice (to help the blender run smoothly)
- A pinch of fine sea salt
- Optional: 1 teaspoon vanilla extract
- Optional: A handful of fresh mint leaves for a herby note
Tip: Use the ripest, reddest strawberries you can find. If they are not in season, good-quality frozen strawberries work perfectly — just let them thaw for 10 minutes before blending so the mixture isn’t too thick.
How to Make Easy Homemade Strawberry Popsicles
- Prepare the strawberries: Rinse the berries under cold water and pat them dry with a clean tea towel. Remove the green tops and cut each berry in half. You will see their bright red flesh and smell that sweet, earthy strawberry aroma immediately.
- Blend the base: Add the halved strawberries, honey or maple syrup, Greek yoghurt, banana, lemon juice, and a pinch of salt to a high-speed blender. Pour in the water or apple juice. Blend on high for 30 to 45 seconds. The mixture should turn into a thick, smooth purée that is a deep, vibrant pink with tiny flecks of strawberry seeds visible throughout.
- Taste and adjust: Stop the blender and dip a clean spoon into the mixture. Taste it — it should be sweet with a bright, tangy finish from the lemon. If it is not sweet enough, add another teaspoon of honey and blitz for 5 seconds. The texture should feel smooth and velvety on your tongue, not grainy.
- Fill the moulds: Carefully pour the strawberry mixture into your popsicle moulds, leaving about 1cm of space at the top because the liquid will expand slightly as it freezes. If you have a measuring jug with a spout, this step becomes much tidier. You will see the vibrant colour pooling beautifully in each cavity.
- Insert the sticks: Tap the filled moulds gently on the counter a few times to release any air bubbles that have formed. Place the lid on the moulds and insert the popsicle sticks. The sticks should stand upright without wobbling — if they feel loose, the mixture might be too thin, so pop the moulds in the freezer for 30 minutes first, then add the sticks.
- Freeze solid: Place the moulds on a flat surface in the freezer. Freeze for at least 4 to 6 hours, but overnight is best if you want a perfectly solid popsicle that doesn’t melt too fast when you eat it. The mixture will transform from a pourable liquid into a firm, icy treat that has a slight give when you press it.
- Unmould and serve: To release the popsicles, run the outside of the mould under warm tap water for 10 to 15 seconds. Gently wiggle the stick, and the popsicle should slide out smoothly, revealing a glossy, frosty surface. Serve immediately, while the outside is just starting to soften slightly.
Tips From My Kitchen
- Use a ripe banana for creaminess: A spotty banana is not just for banana bread. Its natural sugars and soft texture help create a smoother, less icy popsicle. If you don’t like banana, replace it with half an avocado or 60ml of coconut cream for a similar creamy effect.
- Don’t skip the lemon juice: A little acidity does wonders for frozen fruit. It brightens the strawberry flavour and helps balance the sweetness so the popsicle tastes fresh rather than cloying. You won’t taste the lemon, but you will notice the difference in depth.
- Strain for a smoother texture: If you prefer a completely seed-free popsicle, press the blended mixture through a fine-mesh sieve using the back of a spoon before pouring it into the moulds. This takes a couple of extra minutes but yields a silky, restaurant-quality finish.
- Layer for visual appeal: For a two-tone look, pour a layer of plain yoghurt into the bottom of each mould, freeze for 45 minutes, then add the strawberry mixture and freeze fully. The contrasting white and pink layers look stunning when unmoulded and taste just as good.
- Prevent ice crystals from forming: If your popsicles develop an icy, crunchy texture, it means the mixture has too much water. Stick to the ratio of fruit to liquid in this recipe, and avoid adding extra water or ice. The banana and yoghurt naturally inhibit large crystal formation.
Equipment You’ll Need
- A high-speed blender or food processor
- Popsicle moulds (silicone moulds are easiest for unmoulding)
- Popsicle sticks (if your moulds don’t come with reusable ones)
- A sharp knife and cutting board
- A measuring jug with a spout for easy pouring
- A fine-mesh sieve (optional, for seedless popsicles)
Common Mistakes to Avoid
- Overcrowding the blender: If you pack too many berries in at once, the blades can’t circulate properly and you end up with a chunky, uneven purée. Work in batches if necessary, adding the liquid first to help things move. The mixture should spin freely and look completely uniform with no visible lumps.
- Freezing at the wrong temperature: Your freezer should be at -18°C or colder. If it is too warm, the popsicles will freeze slowly and form large ice crystals, making them grainy and hard. Check your freezer’s setting and ensure the moulds are placed at the back, not near the door where temperatures fluctuate.
- Skipping the resting step before unmoulding: Trying to yank a frozen popsicle out of a cold mould is a recipe for broken sticks and frustration. Always run the mould under warm water for 10-15 seconds. You will hear a slight cracking sound as the popsicle releases, and the stick will slide out with gentle pressure.
What to Serve With Easy Homemade Strawberry Popsicles
- A bowl of fresh berries and a dollop of whipped cream for a simple summer dessert.
- Alongside a slice of Best Pumpkin Bread Muffins for a sweet and fruity contrast.
- Crushed over a glass of sparkling lemonade or soda water for a quick float.
- As a palate cleanser between courses at a barbecue or garden party.
- Drizzled with a little melted dark chocolate and chopped nuts for an indulgent twist.
Frequently Asked Questions
easy homemade strawberry popsicles
Ingredients
Method
-
Prepare the strawberries: Rinse the berries under cold water and pat them dry with a clean tea towel. Remove the green tops and cut each berry in half. You will see their bright red flesh and smell that sweet, earthy strawberry aroma immediately.
-
Blend the base: Add the halved strawberries, honey or maple syrup, Greek yoghurt, banana, lemon juice, and a pinch of salt to a high-speed blender. Pour in the water or apple juice. Blend on high for 30 to 45 seconds. The mixture should turn into a thick, smooth purée that is a deep, vibrant pink with tiny flecks of strawberry seeds visible throughout.
-
Taste and adjust: Stop the blender and dip a clean spoon into the mixture. Taste it — it should be sweet with a bright, tangy finish from the lemon. If it is not sweet enough, add another teaspoon of honey and blitz for 5 seconds. The texture should feel smooth and velvety on your tongue, not grainy.
-
Fill the moulds: Carefully pour the strawberry mixture into your popsicle moulds, leaving about 1cm of space at the top because the liquid will expand slightly as it freezes. If you have a measuring jug with a spout, this step becomes much tidier. You will see the vibrant colour pooling beautifully in each cavity.
-
Insert the sticks: Tap the filled moulds gently on the counter a few times to release any air bubbles that have formed. Place the lid on the moulds and insert the popsicle sticks. The sticks should stand upright without wobbling — if they feel loose, the mixture might be too thin, so pop the moulds in the freezer for 30 minutes first, then add the sticks.
-
Freeze solid: Place the moulds on a flat surface in the freezer. Freeze for at least 4 to 6 hours, but overnight is best if you want a perfectly solid popsicle that doesn’t melt too fast when you eat it. The mixture will transform from a pourable liquid into a firm, icy treat that has a slight give when you press it.
-
Unmould and serve: To release the popsicles, run the outside of the mould under warm tap water for 10 to 15 seconds. Gently wiggle the stick, and the popsicle should slide out smoothly, revealing a glossy, frosty surface. Serve immediately, while the outside is just starting to soften slightly.
Notes
I hope you love these easy homemade strawberry popsicles as much as my family does. Friends always ask me for this recipe after trying it at summer gatherings, and I love seeing how each person puts their own spin on the flavours. If you give them a go, I would be thrilled to hear how they turned out — drop a comment below and let me know your favourite variation. And if you are after more refreshing treats, do have a look at this Fresh Peach Sorbet Recipe or these Healthy No Bake Bliss Balls for another quick, satisfying snack.