Healthy No Bake Bliss Balls
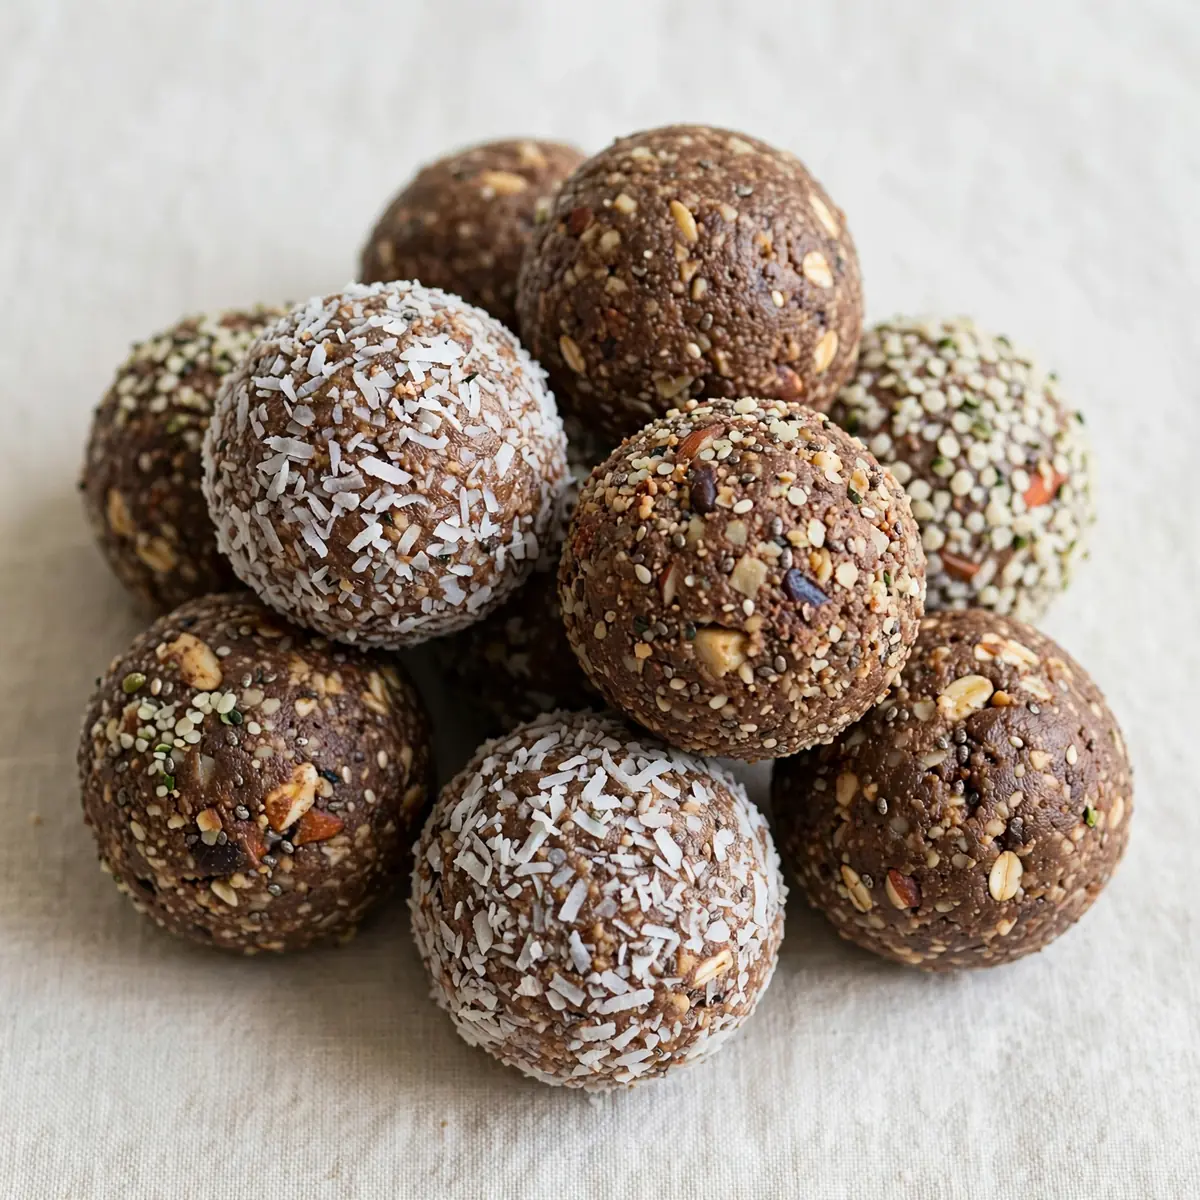
If you are looking for a snack that satisfies a sweet craving without turning on the oven, these healthy no bake bliss balls are exactly what you need. They come together in minutes and are packed with natural energy from wholesome ingredients, making them a brilliant staple for busy weeks. My kids absolutely devour this every time I make it, and I love that I feel good about handing them out.
Recipe Overview
- Prep Time: 15 minutes
- Cook Time: 0 minutes
- Total Time: 15 minutes (plus 30 minutes chilling)
- Servings: Makes 16-18 bliss balls
- Difficulty: Easy
Why You’ll Love This healthy no bake bliss balls
- Ready in a flash: There is no oven time, so you can have a batch made in the time it takes to boil the kettle. This is my go-to recipe when I need something quick but impressive for unexpected visitors.
- Naturally sweetened: We rely on dates and a touch of maple syrup for sweetness, avoiding refined sugars. The fruit provides fibre and a lovely chewy texture.
- Endlessly adaptable: The base recipe is a blank canvas. You can easily swap the nuts, seeds, or dried fruit based on what you have in the cupboard.
- Portable and mess-free: These balls are sturdy enough to pop into lunchboxes or a handbag for a snack on the go without any crumbs or sticky fingers.
- Freezer-friendly: They freeze beautifully, so you can always have a stash ready. Just grab one from the freezer and let it thaw for a few minutes.
Ingredients You’ll Need
- 200g Medjool dates, pitted
- 100g rolled oats (ensure they are certified gluten-free if needed)
- 80g desiccated coconut, plus extra for rolling
- 60g raw almonds
- 30g unsalted pumpkin seeds
- 2 tablespoons cocoa powder (unsweetened)
- 2 tablespoons maple syrup
- 1 tablespoon chia seeds
- 1 tablespoon coconut oil, melted
- ½ teaspoon vanilla extract
- Pinch of sea salt
Tip: If your dates feel a little dry, soak them in warm water for 10 minutes, then drain well before using. This ensures a sticky, cohesive mixture that holds together perfectly.
How to Make healthy no bake bliss balls
- Prepare the dry ingredients: Place the rolled oats, desiccated coconut, raw almonds, pumpkin seeds, cocoa powder, chia seeds, and sea salt into the bowl of a food processor. Pulse 8-10 times until the almonds and oats are broken down into a coarse, sandy crumb. You should see small flecks of almond and seed, but no large chunks.
- Add the wet ingredients: Add the pitted Medjool dates, maple syrup, melted coconut oil, and vanilla extract to the food processor. The dates should feel sticky and soft to the touch.
- Process the mixture: Blitz the mixture continuously for about 30-40 seconds. It will start to clump together and form a cohesive, slightly tacky dough. The colour will turn a deep, uniform brown, and you will smell the rich cocoa and sweet dates. If the mixture feels too dry and crumbly, add one teaspoon of water at a time and pulse again until it holds together when pinched.
- Check the texture: Pinch a small amount of the mixture between your fingers. It should hold firmly without cracking. If it falls apart, it needs a little more moisture. The dough should feel slightly oily from the coconut oil and dates, but not greasy.
- Roll the bliss balls: Scoop out roughly a tablespoon of the mixture and roll it firmly between your palms to form a smooth, round ball. The mixture should feel compact and slightly warm from the friction of your hands. Repeat until all the mixture is used up.
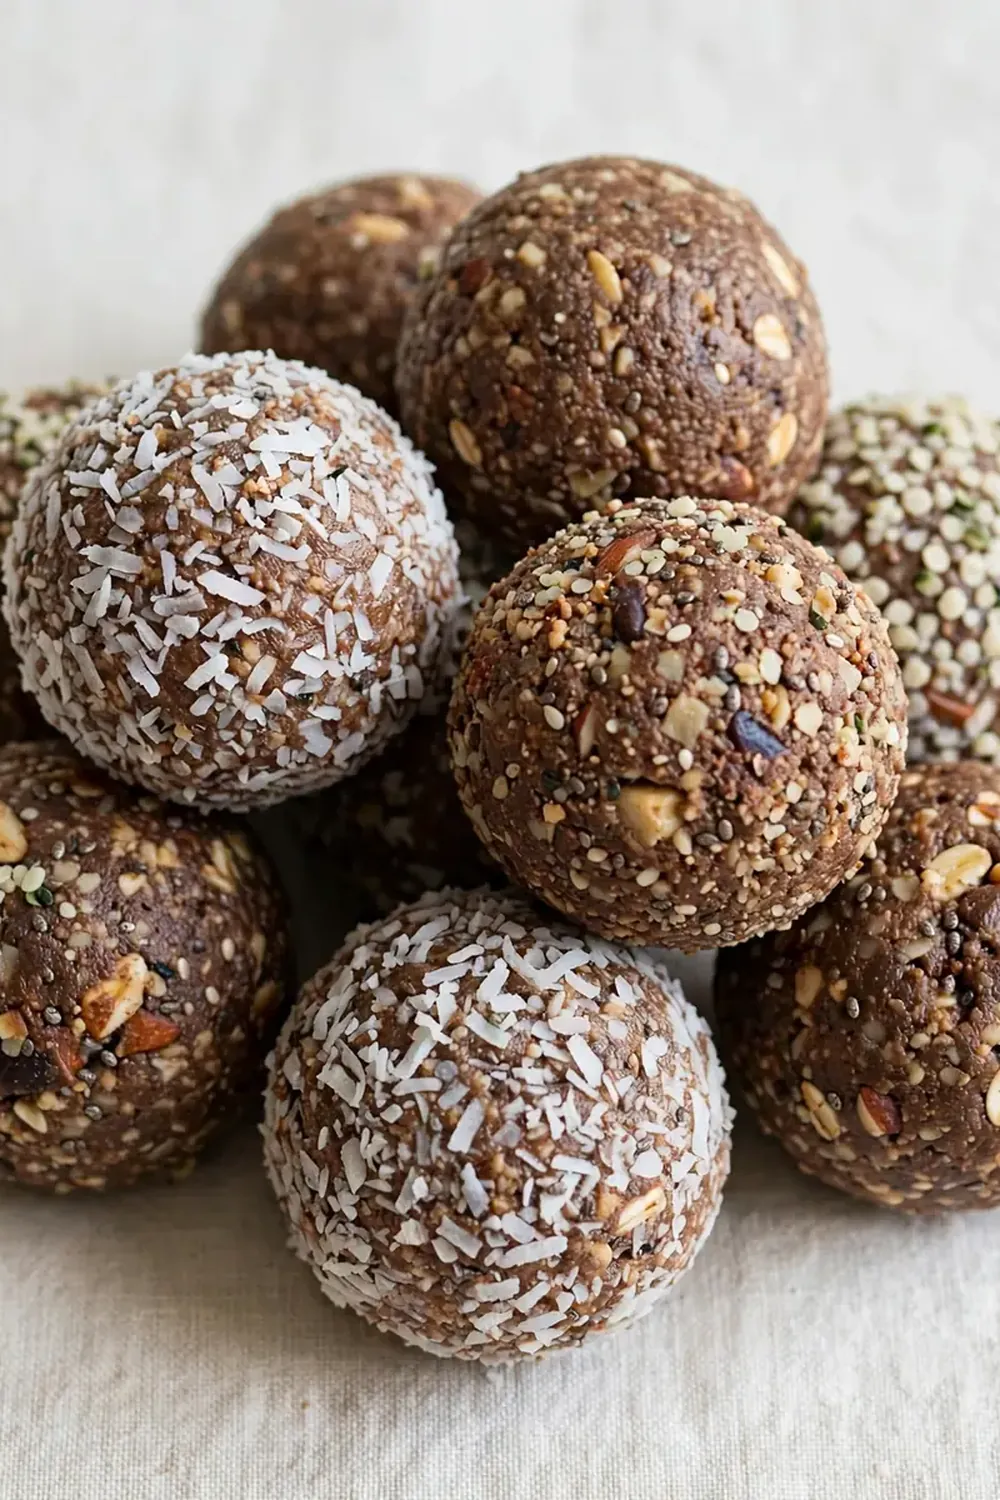
- Coat in coconut: Place the extra desiccated coconut in a shallow bowl. Roll each bliss ball in the coconut until it is fully coated. This gives a lovely textured finish and adds a gentle sweetness to the outside.
- Chill to set: Place the rolled bliss balls on a plate or tray lined with baking paper. Refrigerate for at least 30 minutes. The balls will firm up significantly during this time, becoming less sticky and much easier to handle. They should feel cool and firm to the touch.
Tips From My Kitchen
- Soften your dates properly: The quality of your dates is the single most important factor. Medjool dates are best because they are naturally soft, moist, and caramel-like. If you use drier dates, your mixture will be crumbly and hard to bind. Always soak dry dates in hot water for 10 minutes, then drain them thoroughly before adding to the processor.
- Don’t over-process the oats: You want the oats to break down into a coarse flour, not a fine dust. If you blitz them too much, the mixture can become pasty and heavy. A few small, textured pieces of oat and nut give the bliss balls a much more pleasant, rustic bite.
- Get your hands slightly damp: The mixture can be quite sticky, especially if you are using very fresh dates. Lightly wetting your hands with cold water before rolling each ball prevents the mixture from sticking to your palms and allows you to form perfectly smooth spheres.
- Chill before serving: While you can eat these immediately, they taste significantly better after a rest in the fridge. Chilling allows the coconut oil to solidify, the oats to soften slightly, and the flavours of the dates, cocoa, and vanilla to meld together into a more cohesive, fudge-like texture.
- Use a small cookie scoop: For perfectly uniform-sized bliss balls, use a small cookie or melon scoop. This ensures even chilling and makes the batch look much more professional, which is lovely if you are gifting them.
Equipment You’ll Need
- Food processor (a high-speed blender will also work, but you may need to scrape down the sides more often)
- Mixing bowls
- Baking paper
- Shallow bowl for rolling
- Measuring spoons
Common Mistakes to Avoid
- Using the wrong dates: Do not use the hard, dry dates that are often sold in baking sections. They lack the moisture and natural sugar needed to bind the balls. Always choose Medjool or another soft, sticky variety. Your balls will crumble if the dates are too dry.
- Skipping the chilling step: If you serve these straight away, they will be too soft and sticky to hold their shape properly. The chilling time is non-negotiable for the ideal fudgy, firm texture. It also makes them much more enjoyable to eat.
- Adding too much liquid: It is easy to add extra maple syrup or water if the mixture looks dry, but adding too much will make the balls overly sticky and difficult to roll. Always add liquid one teaspoon at a time, pulsing after each addition.
Delicious Variations to Try
- Spicy Version: Add ½ teaspoon of ground cinnamon and a pinch of cayenne pepper or ground ginger to the dry ingredients. The warmth of the spice cuts through the sweetness of the dates beautifully, giving the balls a gentle, unexpected kick.
- Vegan Option: This recipe is naturally vegan as written, as it uses maple syrup and coconut oil instead of honey and butter. For a protein boost, you can replace the almonds with 60g of shelled hemp seeds or vegan protein powder.
- Different Nut Base: Swap the almonds for cashews for a creamier, milder flavour, or use walnuts for a slightly bitter, earthy note that pairs wonderfully with the dark cocoa. If you are nut-free, replace the almonds with sunflower seeds for a completely seed-based version.
What to Serve With healthy no bake bliss balls
- A handful of fresh berries for a bright, tart contrast.
- A warm cup of herbal tea or a cold glass of oat milk.
- Alongside a fruit salad for a balanced breakfast or brunch spread.
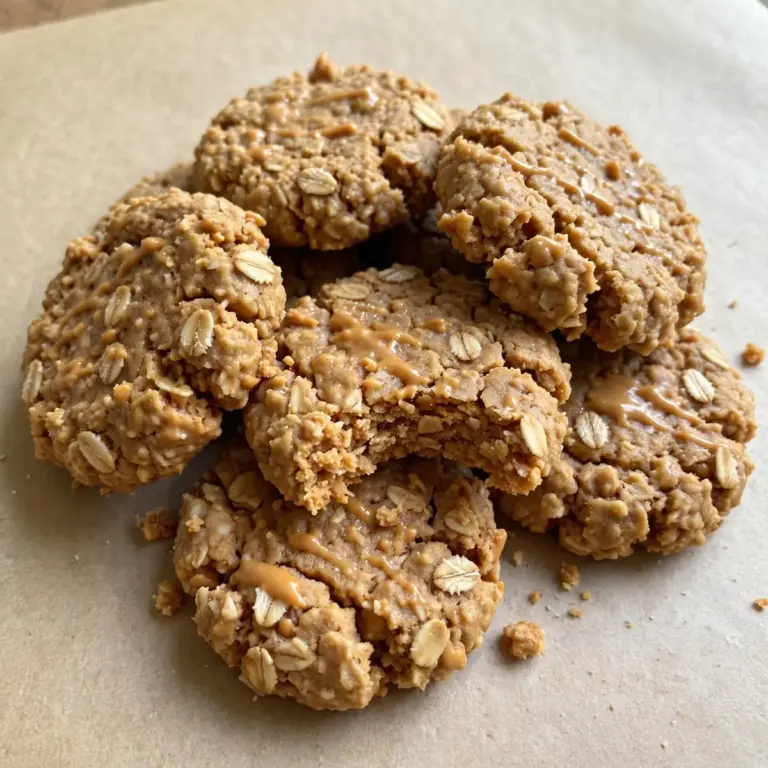
Still hungry for ideas? You might also love No Bake Monster Cookie Energy Balls, No Bake Peanut Butter Cheesecake Balls Recipe from our sister kitchens.
Frequently Asked Questions
healthy no bake bliss balls
Ingredients
Method
-
Prepare the dry ingredients: Place the rolled oats, desiccated coconut, raw almonds, pumpkin seeds, cocoa powder, chia seeds, and sea salt into the bowl of a food processor. Pulse 8-10 times until the almonds and oats are broken down into a coarse, sandy crumb. You should see small flecks of almond and seed, but no large chunks.
-
Add the wet ingredients: Add the pitted Medjool dates, maple syrup, melted coconut oil, and vanilla extract to the food processor. The dates should feel sticky and soft to the touch.
-
Process the mixture: Blitz the mixture continuously for about 30-40 seconds. It will start to clump together and form a cohesive, slightly tacky dough. The colour will turn a deep, uniform brown, and you will smell the rich cocoa and sweet dates. If the mixture feels too dry and crumbly, add one teaspoon of water at a time and pulse again until it holds together when pinched.
-
Check the texture: Pinch a small amount of the mixture between your fingers. It should hold firmly without cracking. If it falls apart, it needs a little more moisture. The dough should feel slightly oily from the coconut oil and dates, but not greasy.
-
Roll the bliss balls: Scoop out roughly a tablespoon of the mixture and roll it firmly between your palms to form a smooth, round ball. The mixture should feel compact and slightly warm from the friction of your hands. Repeat until all the mixture is used up.
-
Coat in coconut: Place the extra desiccated coconut in a shallow bowl. Roll each bliss ball in the coconut until it is fully coated. This gives a lovely textured finish and adds a gentle sweetness to the outside.
-
Chill to set: Place the rolled bliss balls on a plate or tray lined with baking paper. Refrigerate for at least 30 minutes. The balls will firm up significantly during this time, becoming less sticky and much easier to handle. They should feel cool and firm to the touch.
Notes
I hope you enjoy making these healthy no bake bliss balls as much as I do. They have become a weekly staple in my home, and I love hearing how other people adapt the recipe to their own tastes. If you try them, please let me know in the comments how you got on and what variations you added. For more simple, wholesome treats, you might also enjoy our Simple Strawberry Popsicle Recipe or our Easy Lemon Curd Tart for a slightly more indulgent option. Happy rolling!