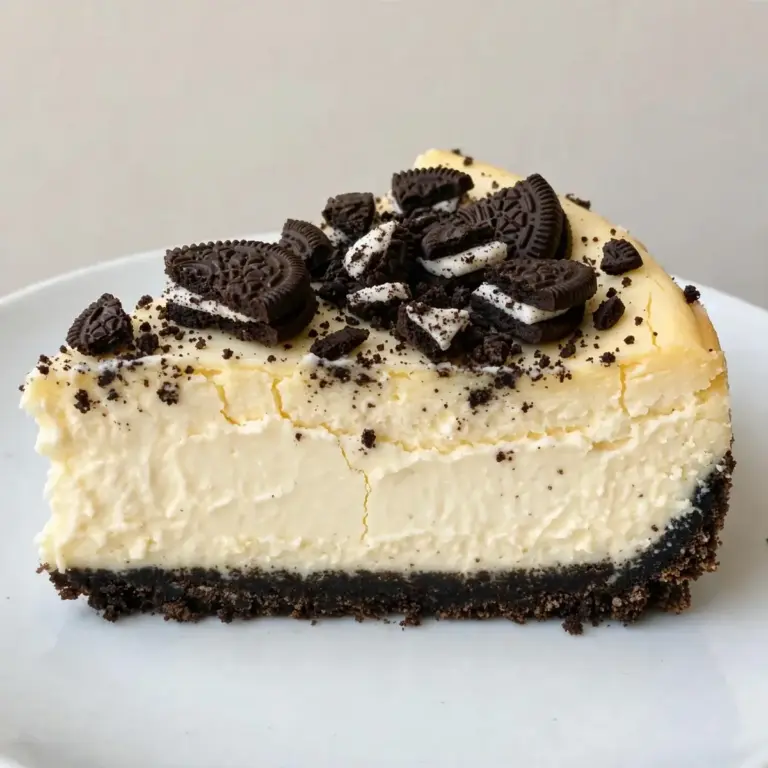
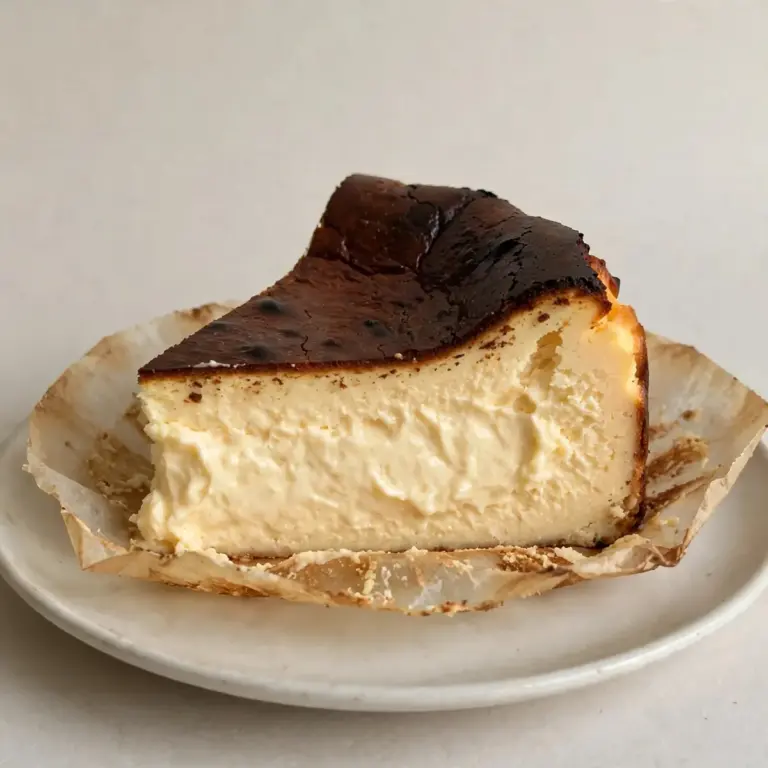
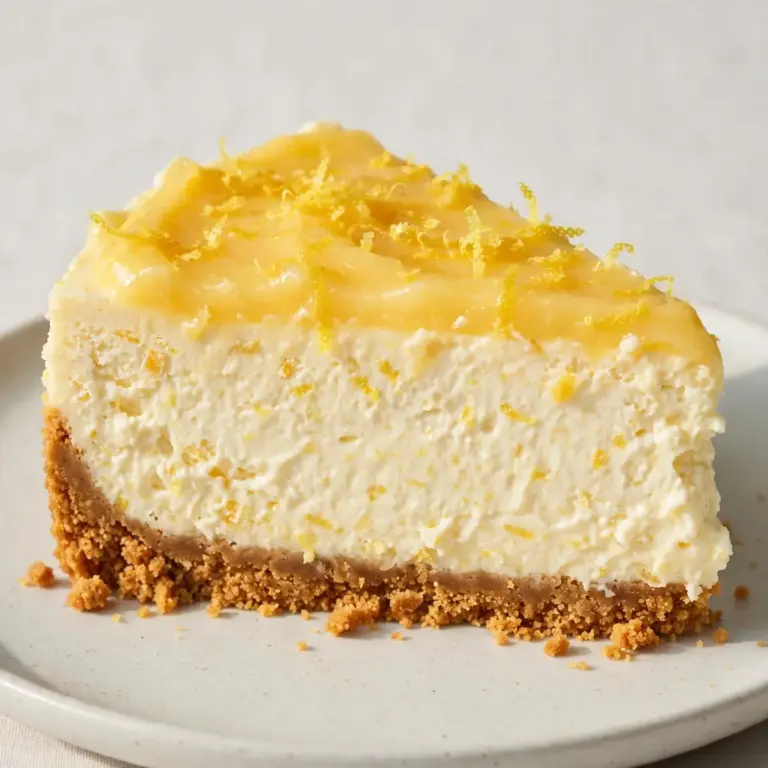
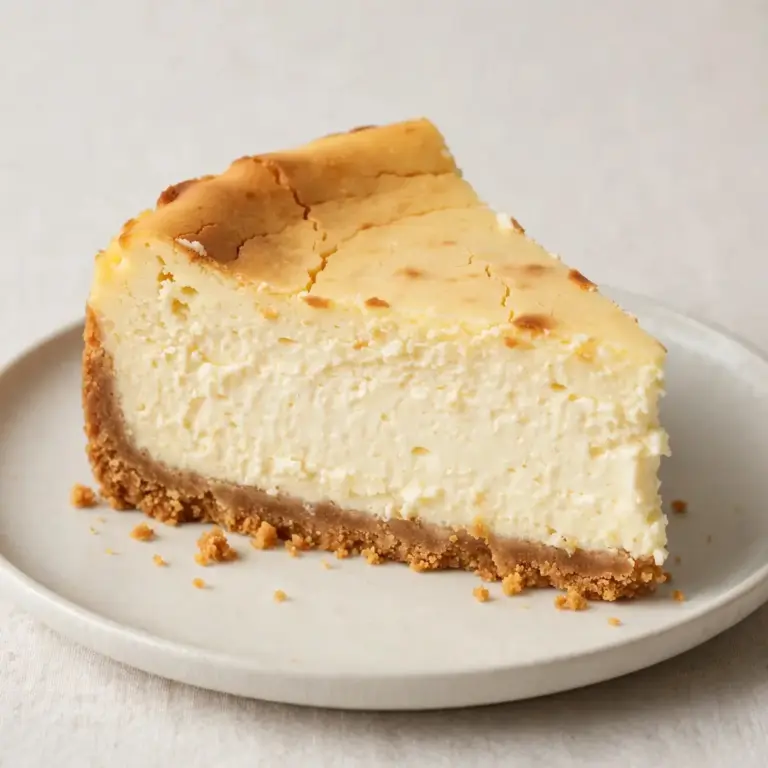
Classic Red Velvet Cheesecake
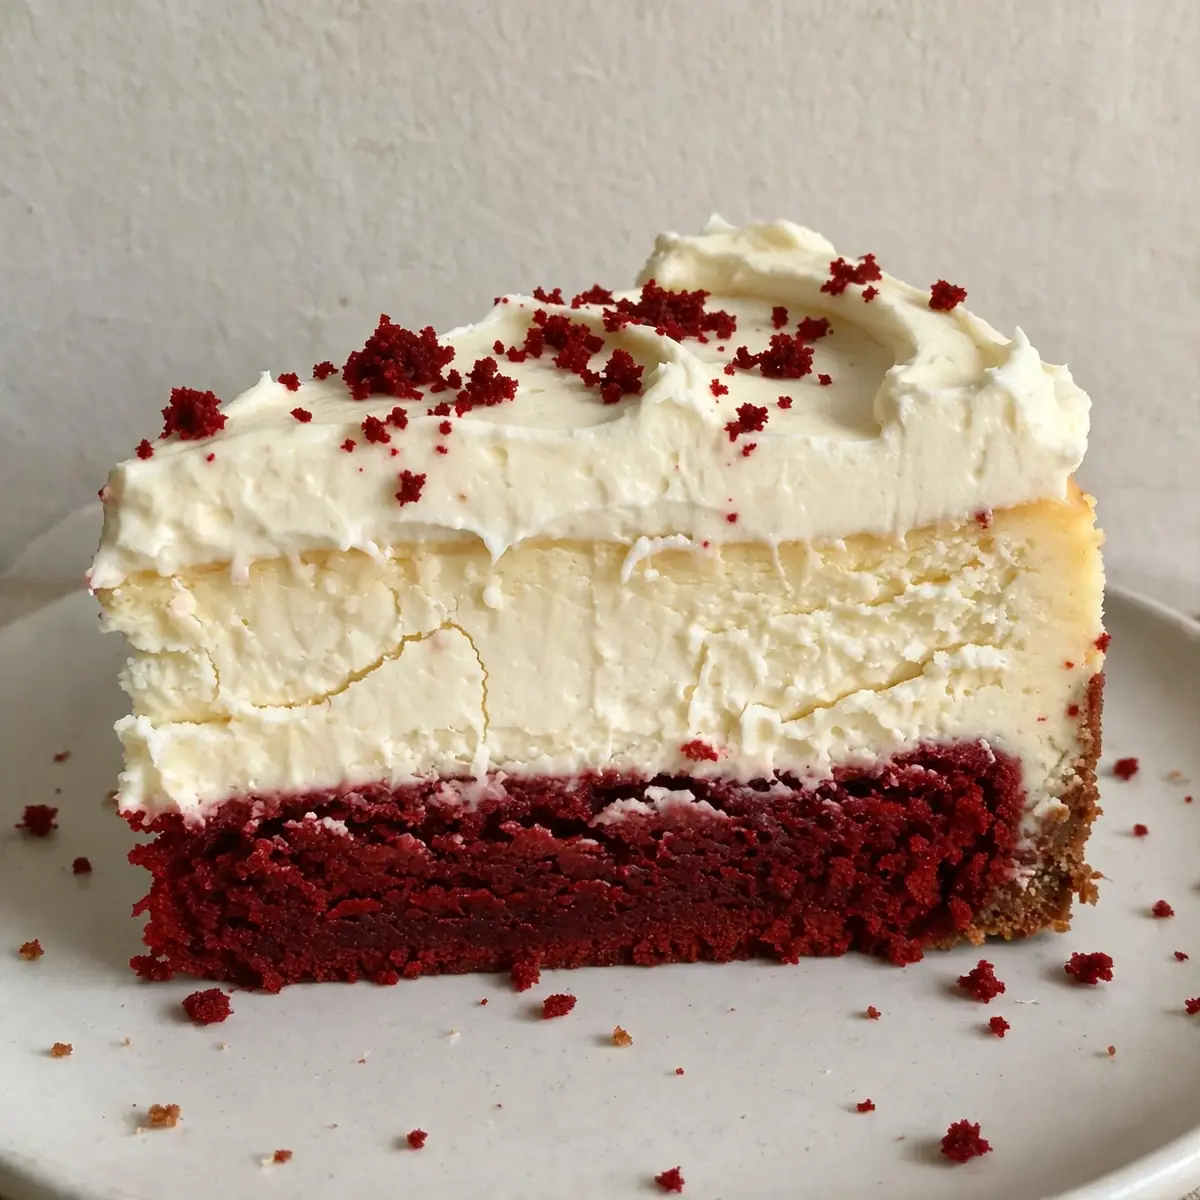
When my three children all have after-school clubs ending at different times and my husband walks through the door ravenous by half past six, I need a dessert that feels special but comes together with the efficiency of a weeknight stir-fry. That’s exactly why I developed this Classic Red Velvet Cheesecake — it’s my secret weapon for turning a frantic Tuesday into something that feels like a celebration without keeping me in the kitchen until bedtime.
Recipe Overview
- Prep Time: 25 minutes
- Cook Time: 55 minutes (plus 4 hours chilling)
- Total Time: 5 hours 20 minutes (mostly hands-off)
- Servings: 12 generous slices
- Difficulty: Intermediate (but totally manageable on a weeknight)
Why You’ll Love This Classic Red Velvet Cheesecake
- One-bowl batter, minimal mess: I mix the cheesecake filling in a single bowl and the red velvet layer in another — that’s it. No food processor, no double boiler, no blender to scrub afterwards. You can wash up while it bakes, similar to the minimal cleanup after a Classic Tres Leches Cake.
- Make it the night before: This cheesecake actually tastes better after an overnight rest in the fridge. I make it on Monday evening, and we enjoy it on Tuesday after dinner with zero last-minute fuss. After testing this recipe five times, I finally got it just right for this exact schedule.
- Uses everyday ingredients: No hunting down obscure items at three different shops. Cocoa powder, cream cheese, eggs, sugar — you probably have most of this in your kitchen right now.
- Built for busy evenings: The active prep time is only 25 minutes. While it bakes, you can help with homework, pack lunches for the next day, or — let’s be honest — just sit down for five minutes.
- That stunning red velvet colour without artificial taste: The natural cocoa and buttermilk create the classic reaction, and a touch of gel food colouring gives that signature look without any chemical aftertaste.
Ingredients You’ll Need
- 200g digestive biscuits (or plain rich tea biscuits)
- 80g unsalted butter, melted
- 400g full-fat cream cheese, at room temperature
- 200g caster sugar
- 3 large eggs, at room temperature
- 200ml double cream
- 1 tablespoon vanilla extract
- 200g plain flour
- 30g unsweetened cocoa powder
- 1½ teaspoons baking powder
- ½ teaspoon bicarbonate of soda
- 120ml buttermilk
- 1 tablespoon red gel food colouring
- 1 teaspoon white vinegar
- Pinch of salt
Tip: For the smoothest, creamiest cheesecake, take your cream cheese and eggs out of the fridge a full hour before you start. Cold ingredients create a lumpy batter that won’t bake evenly, and on a busy weeknight, the last thing you need is to troubleshoot a cracked cheesecake.
How to Make Classic Red Velvet Cheesecake
- Prepare the base: Preheat your oven to 160°C (140°C fan). Crush the digestive biscuits into fine crumbs — I put them in a sealed freezer bag and bash them with a rolling pin until they feel like damp sand. Mix the crumbs with the melted butter until every grain is coated and the mixture holds together when squeezed in your fist. Press this firmly into the bottom of a 20cm springform tin lined with parchment paper. The base should feel compact and even when you run your fingers across it. Bake for 10 minutes, then set aside to cool while you make the filling.
- Make the cheesecake filling: In a large mixing bowl, beat the cream cheese with an electric mixer until it looks pale, fluffy, and feels light as air — about 3 minutes. Add the caster sugar and beat for another 2 minutes until the mixture feels silky smooth with no graininess between your fingers if you rub a tiny bit. Add the eggs one at a time, beating on low speed after each addition until just combined. The mixture should look glossy and smell rich and creamy. Stir in the double cream and vanilla extract until the batter is completely uniform and has a thick, velvety texture.
- Prepare the red velvet layer: In a separate bowl, sift together the flour, cocoa powder, baking powder, bicarbonate of soda, and salt. The cocoa should smell deep and dark, not stale. In a small jug, whisk together the buttermilk, red gel colouring, and white vinegar — the mixture will look almost magenta and smell slightly tangy. Gradually add the dry ingredients to the buttermilk mixture, stirring gently until just combined. The batter should be thick, smooth, and a vibrant red colour with no streaks of white flour. Be careful not to overmix, or the cake layer will become tough.
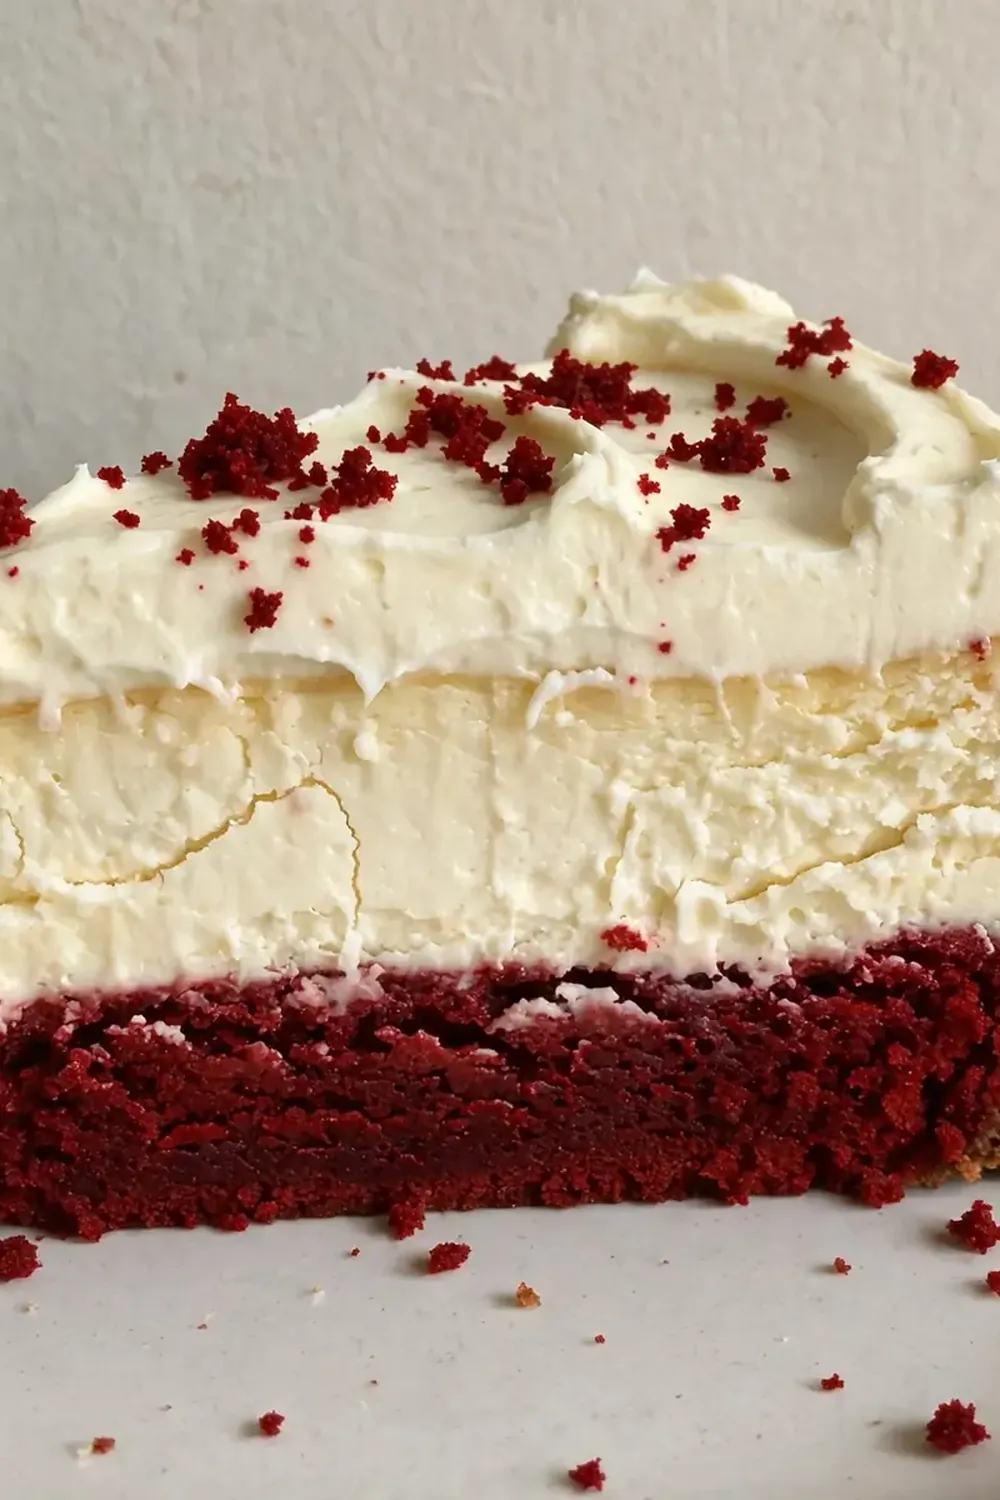
- Layer the cheesecake: Pour the red velvet batter over the cooled biscuit base and spread it evenly with a spatula. The batter should reach about halfway up the sides of the tin. Gently spoon the cheesecake filling on top of the red velvet layer, starting from the edges and working towards the centre so the layers don’t mix. Use a knife to swirl the two batters together very gently — just three or four figure-eight motions — to create a marbled effect. The surface should look like a painter’s palette, with red and cream ribbons swirling together.
- Bake in a water bath: Wrap the outside of the springform tin tightly with two layers of foil, ensuring no seams are exposed where water could seep in. Place the tin in a larger roasting tray and pour boiling water into the tray until it reaches halfway up the sides of the springform tin. The water should be steaming gently, not bubbling. Bake for 50–55 minutes. The cheesecake is ready when the edges look set and slightly puffed, but the centre still wobbles like jelly when you gently shake the tin. The surface should be pale gold with no cracks, and the kitchen should smell of warm cocoa and creamy vanilla.
- Cool and chill: Turn the oven off and leave the cheesecake inside with the door slightly ajar for 1 hour — this gentle cooling prevents the top from cracking. Remove the cheesecake from the water bath, take off the foil, and let it cool completely on a wire rack at room temperature. You’ll hear it settle as it cools, and the surface will firm up slightly. Once cool, cover with cling film and refrigerate for at least 4 hours, though overnight is best. My husband, who’s usually picky, asked for seconds when I served this after a full 24 hours of chilling.
Tips From My Kitchen
- Room temperature ingredients are non-negotiable: Cold cream cheese creates a lumpy batter that bakes unevenly, leading to cracks and a grainy texture. Take everything out of the fridge an hour before you start — I set a timer on my phone so I don’t forget during the after-school rush. When the cream cheese is properly softened, it should give easily when you press it with your finger and feel like soft butter.
- Don’t skip the water bath: The steam from the hot water creates a humid environment inside the oven, which helps the cheesecake bake slowly and evenly without cracking. It also prevents the edges from setting too quickly while the centre remains undercooked. If you’re short on time, you can place a small oven-safe dish of boiling water on the rack below the cheesecake — it’s not quite as effective, but it works in a pinch.
- Use gel food colouring, not liquid: Liquid food colouring adds extra water to the batter, which can throw off the delicate balance of wet and dry ingredients and make the red velvet layer gummy. Gel colouring gives a vibrant red without altering the texture. You only need a tablespoon — any more and the cake can taste slightly bitter.
- Let it rest overnight for best flavour: Cheesecake is like a good stew — it needs time for the flavours to meld and deepen. The cocoa, vanilla, and cream cheese develop a more complex, rounded taste after 12–24 hours in the fridge. I make this on Sunday evening, and we enjoy it on Monday. The texture also becomes creamier and more sliceable after a full night’s rest.
- Slice with a hot, dry knife: For clean, restaurant-quality slices, run your knife under hot water, wipe it completely dry, then cut. Wipe the blade clean between each slice. This prevents the cheesecake from sticking to the knife and keeps those beautiful red and cream layers distinct rather than smeared together.
Equipment You’ll Need
- Stand mixer or hand mixer
- 20cm springform tin
- Large roasting tray for the water bath
- Mixing bowls (2 large, 1 small)
- Parchment paper
- Aluminium foil
- Wire cooling rack
- Rolling pin or food processor for the biscuit base
- Spatula and offset spatula
Common Mistakes to Avoid
- Overmixing the red velvet batter: When you overmix the flour and buttermilk, you develop too much gluten, which makes the cake layer dense and rubbery rather than tender and light. Stop mixing as soon as the flour disappears — a few small lumps are fine and will bake out perfectly. The batter should look thick but not stiff, and it should fall from the spatula in a slow, heavy ribbon.
- Baking at too high a temperature: Cheesecake is a custard, and custards need gentle, even heat. Baking at 180°C or higher will cause the edges to set and puff up while the centre remains liquid, leading to a dramatic crack down the middle when it cools. Stick to 160°C (140°C fan) and trust the process. The cheesecake should jiggle like jelly in the centre when it’s done, not look completely firm.
- Skipping the water bath seal: If water seeps into your springform tin through a gap in the foil, you’ll end up with a soggy biscuit base and a cheesecake that weeps watery liquid when sliced. Use two layers of heavy-duty foil and fold them tightly around the base and up the sides. I also run my finger along the seam to make sure it’s completely sealed before placing it in the water.
Delicious Variations to Try
- Chocolate Swirl Red Velvet Cheesecake: Melt 100g of dark chocolate and let it cool slightly. Before swirling the two layers together, drizzle the melted chocolate in zigzags over the cheesecake filling, then use a skewer to create dramatic chocolate ribbons. This adds a deeper cocoa flavour and looks stunning when sliced. For more chocolate inspiration, try our Easy No Bake Chocolate Pie for another quick weeknight treat.
- White Chocolate Raspberry Version: Fold 100g of finely chopped white chocolate into the cheesecake filling before layering. Dot the top with fresh or frozen raspberries before baking — they sink slightly into the batter and create little pockets of tart fruit that cut through the richness. The raspberries also add a beautiful pop of colour against the red velvet.
- Individual Mini Cheesecakes: Line a 12-hole muffin tin with paper cases and divide the biscuit base evenly among them. Follow the same layering steps but reduce the baking time to 20–22 minutes. These are brilliant for packed lunches or when you need portion-controlled desserts for a busy week. They also freeze beautifully for up to a month.
What to Serve With Classic Red Velvet Cheesecake
- A dollop of lightly whipped double cream with a pinch of cinnamon — the creaminess balances the cocoa and adds a touch of elegance
- Fresh strawberries or raspberries on the side for a bright, fruity contrast
- A cup of strong black coffee or a cold glass of milk — the bitterness of coffee cuts through the sweetness, while milk complements the creamy texture
- For an extra special touch, drizzle a simple raspberry coulis made by simmering frozen raspberries with a tablespoon of sugar and a squeeze of lemon juice, then straining out the seeds
Still hungry for ideas? You might also love Red Velvet Oreo Cheesecake, Cheesecake Factory Red Velvet Cheesecake Copycat from our sister kitchens.
Frequently Asked Questions
Classic Red Velvet Cheesecake
Ingredients
Method
-
Prepare the base: Preheat your oven to 160°C (140°C fan). Crush the digestive biscuits into fine crumbs — I put them in a sealed freezer bag and bash them with a rolling pin until they feel like damp sand. Mix the crumbs with the melted butter until every grain is coated and the mixture holds together when squeezed in your fist. Press this firmly into the bottom of a 20cm springform tin lined with parchment paper. The base should feel compact and even when you run your fingers across it. Bake for 10 minutes, then set aside to cool while you make the filling.
-
Make the cheesecake filling: In a large mixing bowl, beat the cream cheese with an electric mixer until it looks pale, fluffy, and feels light as air — about 3 minutes. Add the caster sugar and beat for another 2 minutes until the mixture feels silky smooth with no graininess between your fingers if you rub a tiny bit. Add the eggs one at a time, beating on low speed after each addition until just combined. The mixture should look glossy and smell rich and creamy. Stir in the double cream and vanilla extract until the batter is completely uniform and has a thick, velvety texture.
-
Prepare the red velvet layer: In a separate bowl, sift together the flour, cocoa powder, baking powder, bicarbonate of soda, and salt. The cocoa should smell deep and dark, not stale. In a small jug, whisk together the buttermilk, red gel colouring, and white vinegar — the mixture will look almost magenta and smell slightly tangy. Gradually add the dry ingredients to the buttermilk mixture, stirring gently until just combined. The batter should be thick, smooth, and a vibrant red colour with no streaks of white flour. Be careful not to overmix, or the cake layer will become tough.
-
Layer the cheesecake: Pour the red velvet batter over the cooled biscuit base and spread it evenly with a spatula. The batter should reach about halfway up the sides of the tin. Gently spoon the cheesecake filling on top of the red velvet layer, starting from the edges and working towards the centre so the layers don’t mix. Use a knife to swirl the two batters together very gently — just three or four figure-eight motions — to create a marbled effect. The surface should look like a painter’s palette, with red and cream ribbons swirling together.
-
Bake in a water bath: Wrap the outside of the springform tin tightly with two layers of foil, ensuring no seams are exposed where water could seep in. Place the tin in a larger roasting tray and pour boiling water into the tray until it reaches halfway up the sides of the springform tin. The water should be steaming gently, not bubbling. Bake for 50–55 minutes. The cheesecake is ready when the edges look set and slightly puffed, but the centre still wobbles like jelly when you gently shake the tin. The surface should be pale gold with no cracks, and the kitchen should smell of warm cocoa and creamy vanilla.
-
Cool and chill: Turn the oven off and leave the cheesecake inside with the door slightly ajar for 1 hour — this gentle cooling prevents the top from cracking. Remove the cheesecake from the water bath, take off the foil, and let it cool completely on a wire rack at room temperature. You’ll hear it settle as it cools, and the surface will firm up slightly. Once cool, cover with cling film and refrigerate for at least 4 hours, though overnight is best. My husband, who’s usually picky, asked for seconds when I served this after a full 24 hours of chilling.
Notes
I’d love to hear how this Classic Red Velvet Cheesecake works for your family on those busy weeknights. Does your crew prefer it with extra chocolate swirls, or do they love the classic two-layer look as much as mine does? Drop a comment below and let me know — and if you’re looking for another make-ahead dessert that disappears fast, our No Bake Strawberry Cheesecake Jars are a brilliant no-oven option for those evenings when even the oven feels like too much effort.