Burnt Basque Cheesecake
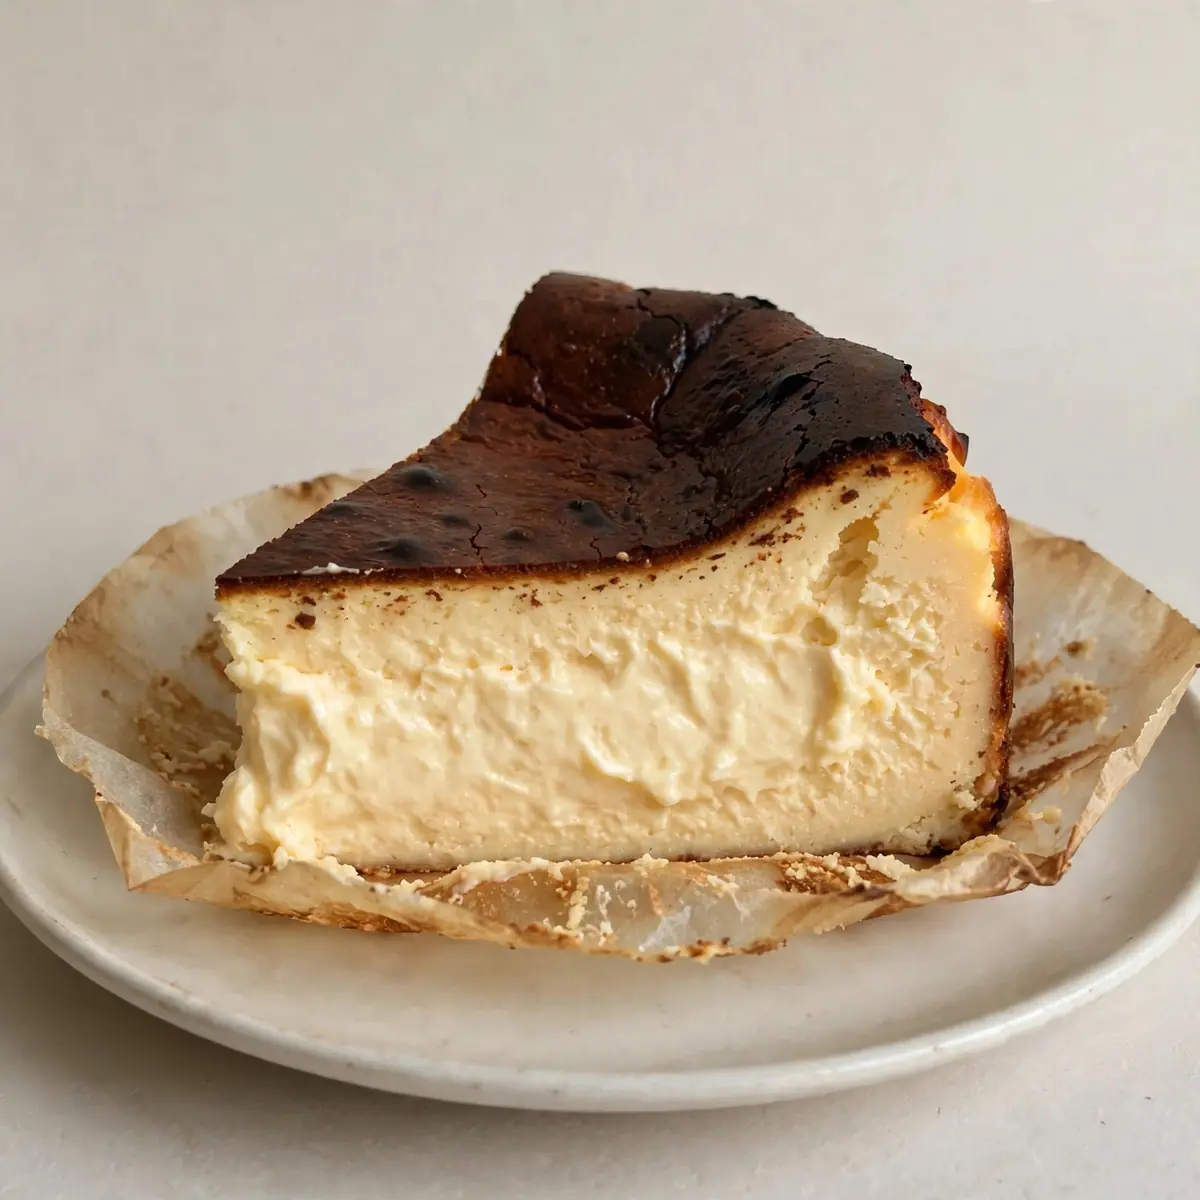
I remember the first time I attempted a Basque cheesecake; I thought my oven had finally given up the ghost. The top was black, the centre a wobbly mess, and my kitchen looked like a flour bomb had detonated. After testing this recipe five times, I finally got it just right. This Burnt Basque Cheesecake has become my secret weapon for a weeknight dessert that feels like a weekend indulgence, with minimal fuss and maximum reward.
Recipe Overview
- Prep Time: 15 minutes
- Cook Time: 55 minutes
- Total Time: 1 hour 10 minutes (plus 2 hours cooling)
- Servings: 8 generous slices
- Difficulty: Easy
Why You’ll Love This Burnt Basque Cheesecake
- One-bowl mixing: Everything goes into a single bowl, which means less washing up and more time to relax.
- No water bath needed: Unlike traditional cheesecakes, there’s no fiddly bain-marie. This one bakes happily in a dry oven, saving you time and stress.
- Make-ahead friendly: You can bake this the night before, let it cool, and serve it straight from the fridge the next day. It actually tastes better after a good rest.
- Forgiving recipe: The signature burnt top hides any small imperfections. If your batter is slightly lumpy, no one will ever know once it’s baked and caramelised.
- Naturally gluten-free: This cheesecake uses no flour or biscuit base, making it a brilliant option for those avoiding gluten without any special ingredients.
Ingredients You’ll Need
- 900g full-fat cream cheese, at room temperature
- 200g caster sugar
- 4 large eggs, at room temperature
- 300ml double cream
- 1 tablespoon vanilla extract
- 60g plain flour (or gluten-free plain flour blend)
- ½ teaspoon fine sea salt
- Zest of 1 unwaxed lemon (optional, for brightness)
- Butter, for greasing
Tip: Room temperature ingredients are non-negotiable here. Cold cream cheese will give you a lumpy batter. Take everything out of the fridge at least an hour before you start. If you’re short on time, cut the cream cheese into small cubes and let it sit on the counter for 30 minutes — that usually does the trick.
How to Make Burnt Basque Cheesecake
- Preheat the oven to 210°C (fan 190°C). Place a baking tray on the middle shelf to heat up. This helps the bottom of the cheesecake cook evenly. You should hear the tray ping as it expands.
- Prepare the tin. Tear off two large sheets of parchment paper, each about 40cm long. Crumple them up under the tap, shake off the excess water, then smooth them out. Line a 20cm round springform tin, pressing the paper into the corners. The paper should come at least 5cm above the rim. Butter the inside of the tin first to help the paper stick.
- Beat the cream cheese. In a large mixing bowl, beat the cream cheese with an electric mixer on medium speed for 2 minutes until it’s smooth, pale, and looks like thick Greek yoghurt. Scrape down the sides of the bowl with a rubber spatula.
- Add the sugar. Pour in the caster sugar and beat on medium speed for another 2 minutes. The mixture will become glossy and slightly grainy to the touch. You should see the sugar crystals disappear into the cream cheese.
- Add the eggs one at a time. Crack the first egg into a small bowl to avoid shell bits, then add it to the mixture. Beat on low until just combined — about 15 seconds. Repeat with the remaining three eggs. The batter will look a little looser and silky.
- Add the cream, vanilla, and salt. Pour in the double cream and vanilla extract. Sprinkle over the salt and lemon zest if using. Beat on low for 30 seconds until everything comes together. The batter should be smooth, pourable, and the colour of pale honey. If you see any streaks, give it a quick stir with the spatula.
- Sift in the flour. Sift the flour over the batter. Fold it in gently with a spatula until no white streaks remain. Do not overmix — you want a uniform batter, not a stiff one. The mixture will thicken slightly.
- Pour into the tin. Pour the batter straight into the lined tin. Give the tin a gentle tap on the counter to release any air bubbles. The batter should come about three-quarters of the way up the tin.
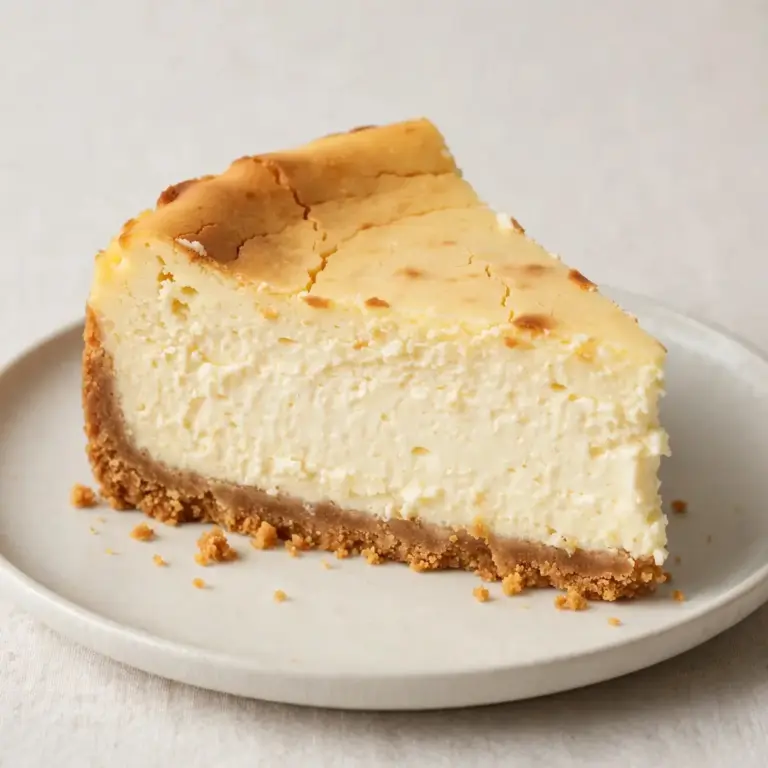
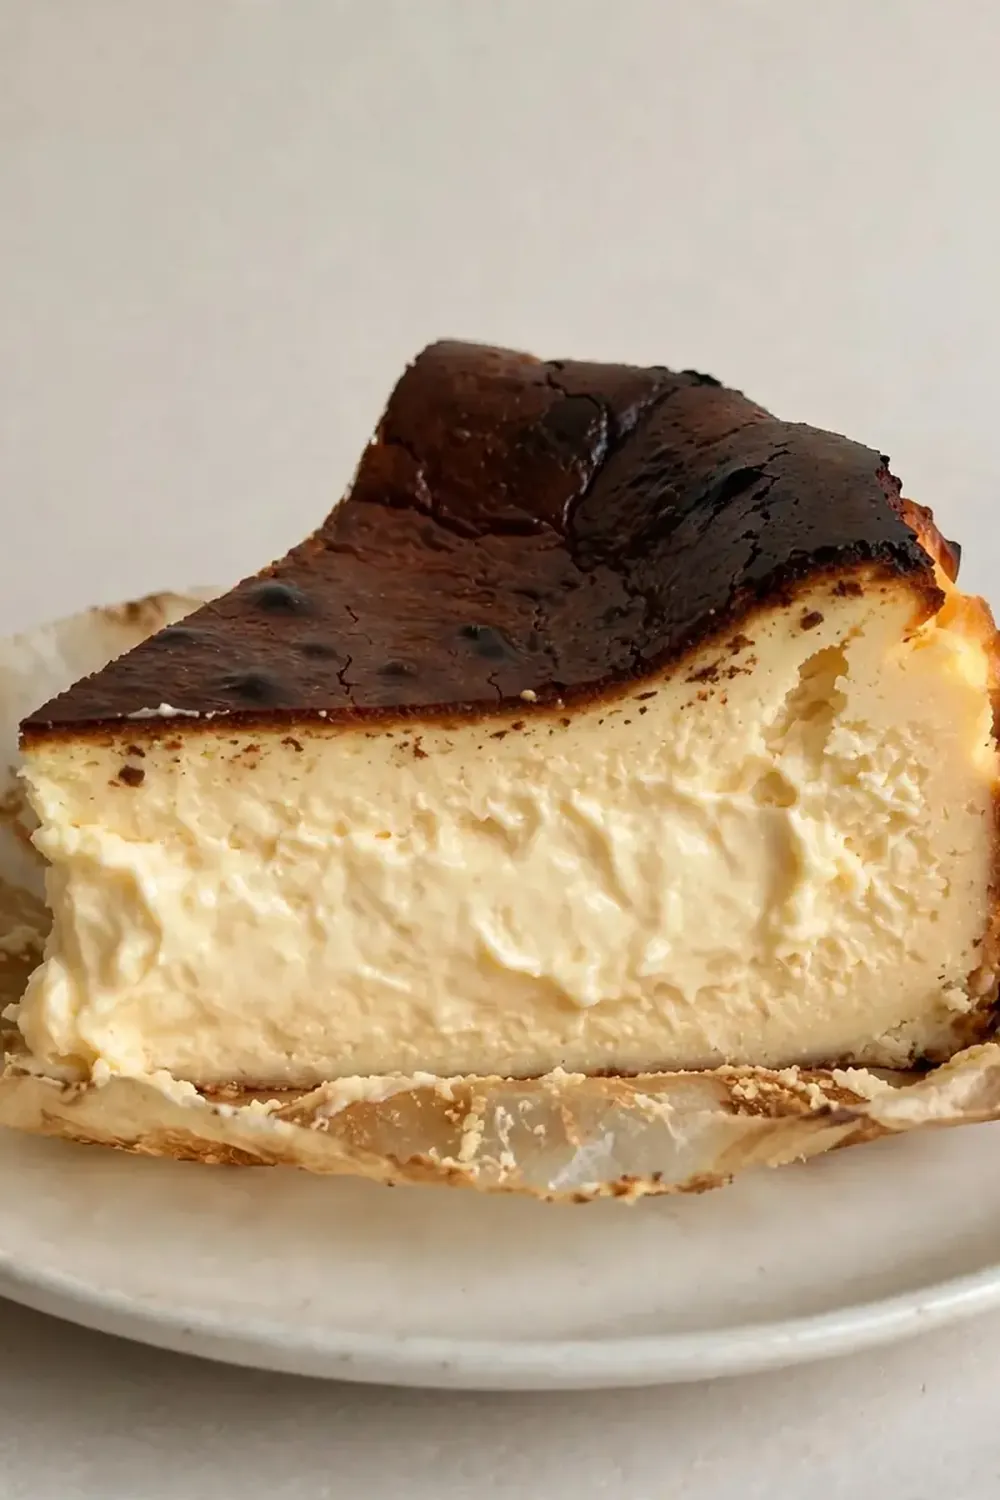
- Bake for 50–55 minutes. Place the tin on the hot baking tray. Bake for 50 minutes. At the 45-minute mark, check the colour. The top should be a deep, dark brown — almost black in places — and the centre should jiggle like a panna cotta when you gently shake the tin. The edges will look set and slightly puffed. If the top is still pale after 45 minutes, increase the oven temperature to 220°C (fan 200°C) for the final 5–10 minutes.
- Cool completely. Remove the cheesecake from the oven. It will look alarmingly dark and wobbly — this is exactly right. Let it cool in the tin on a wire rack for 1 hour. The top will sink slightly and crack. After an hour, transfer the tin to the fridge and chill for at least 2 hours, or overnight. The texture will firm up beautifully.
Tips From My Kitchen
- Use the highest fat cream cheese you can find: Full-fat cream cheese (at least 33% fat) is essential for that rich, creamy texture. Low-fat versions contain too much water and will make the cheesecake weep and crack excessively. Splurge on the good stuff — it makes a real difference.
- Don’t skip the crumpled parchment trick: Wetting and crumpling the parchment paper before lining the tin makes it pliable and easy to shape. It also creates those beautiful rustic folds that give Basque cheesecake its signature look. Dry paper will fight you and create sharp creases that tear.
- Bake until the centre wobbles, not until it’s set: The biggest mistake is overbaking. The centre should still jiggle when you take it out. It will continue to cook from residual heat as it cools. A fully set centre when it comes out of the oven means a dry, dense cheesecake when it’s chilled.
- Chill overnight for the best texture: While 2 hours of chilling will give you a sliceable cheesecake, an overnight rest transforms it. The flavours meld, the texture becomes silky and dense, and the burnt top softens slightly into a caramelised layer. It’s genuinely better the next day.
- Slice with a hot, dry knife: For clean slices, run a long knife under hot water, dry it with a clean cloth, and then slice. Wipe the blade clean between each cut. This prevents the cheesecake from sticking and gives you those Instagram-worthy slices.
Equipment You’ll Need
- Stand mixer or hand mixer
- 20cm round springform cake tin
- Parchment paper (unbleached is fine)
- Wire cooling rack
- Large rubber spatula
- Baking tray (for preheating)
Common Mistakes to Avoid
- Overcrowding the pan: This recipe is designed for a 20cm tin. Using a smaller tin will cause the batter to overflow and the centre to undercook. Using a larger tin will give you a thin, flat cheesecake that dries out. Stick to the recommended size for the perfect height and texture.
- Wrong temperature: The high heat is what creates the burnt top and the creamy interior. Baking at a lower temperature will result in a pale, cake-like cheesecake that lacks the distinctive caramelised crust. Trust the 210°C (fan 190°C) — your oven will smell slightly of toast, and that’s a good sign.
- Skipping the rest time: I used to struggle with this dish until I discovered this technique. Cutting into a warm Basque cheesecake is a disaster — it will collapse into a puddle. The resting time in the fridge allows the proteins to set and the flavours to concentrate. Patience is your best friend here.
What to Serve With Burnt Basque Cheesecake
- A dollop of clotted cream or crème fraîche to cut the sweetness
- A handful of fresh berries — raspberries or strawberries work beautifully
- A drizzle of honey or a sprinkle of flaky sea salt on top just before serving
- A strong cup of black coffee or an espresso to balance the richness
- A simple berry compote made by simmering frozen berries with a little sugar and lemon juice
Frequently Asked Questions
Burnt Basque Cheesecake
Ingredients
Method
- Preheat the oven to 210°C (fan 190°C). Place a baking tray on the middle shelf to heat up. This helps the bottom of the cheesecake cook evenly. You should hear the tray ping as it expands.
- Prepare the tin. Tear off two large sheets of parchment paper, each about 40cm long. Crumple them up under the tap, shake off the excess water, then smooth them out. Line a 20cm round springform tin, pressing the paper into the corners. The paper should come at least 5cm above the rim. Butter the inside of the tin first to help the paper stick.
- Beat the cream cheese. In a large mixing bowl, beat the cream cheese with an electric mixer on medium speed for 2 minutes until it’s smooth, pale, and looks like thick Greek yoghurt. Scrape down the sides of the bowl with a rubber spatula.
- Add the sugar. Pour in the caster sugar and beat on medium speed for another 2 minutes. The mixture will become glossy and slightly grainy to the touch. You should see the sugar crystals disappear into the cream cheese.
- Add the eggs one at a time. Crack the first egg into a small bowl to avoid shell bits, then add it to the mixture. Beat on low until just combined — about 15 seconds. Repeat with the remaining three eggs. The batter will look a little looser and silky.
- Add the cream, vanilla, and salt. Pour in the double cream and vanilla extract. Sprinkle over the salt and lemon zest if using. Beat on low for 30 seconds until everything comes together. The batter should be smooth, pourable, and the colour of pale honey. If you see any streaks, give it a quick stir with the spatula.
- Sift in the flour. Sift the flour over the batter. Fold it in gently with a spatula until no white streaks remain. Do not overmix — you want a uniform batter, not a stiff one. The mixture will thicken slightly.
- Pour into the tin. Pour the batter straight into the lined tin. Give the tin a gentle tap on the counter to release any air bubbles. The batter should come about three-quarters of the way up the tin.
- Bake for 50–55 minutes. Place the tin on the hot baking tray. Bake for 50 minutes. At the 45-minute mark, check the colour. The top should be a deep, dark brown — almost black in places — and the centre should jiggle like a panna cotta when you gently shake the tin. The edges will look set and slightly puffed. If the top is still pale after 45 minutes, increase the oven temperature to 220°C (fan 200°C) for the final 5–10 minutes.
- Cool completely. Remove the cheesecake from the oven. It will look alarmingly dark and wobbly — this is exactly right. Let it cool in the tin on a wire rack for 1 hour. The top will sink slightly and crack. After an hour, transfer the tin to the fridge and chill for at least 2 hours, or overnight. The texture will firm up beautifully.
Notes
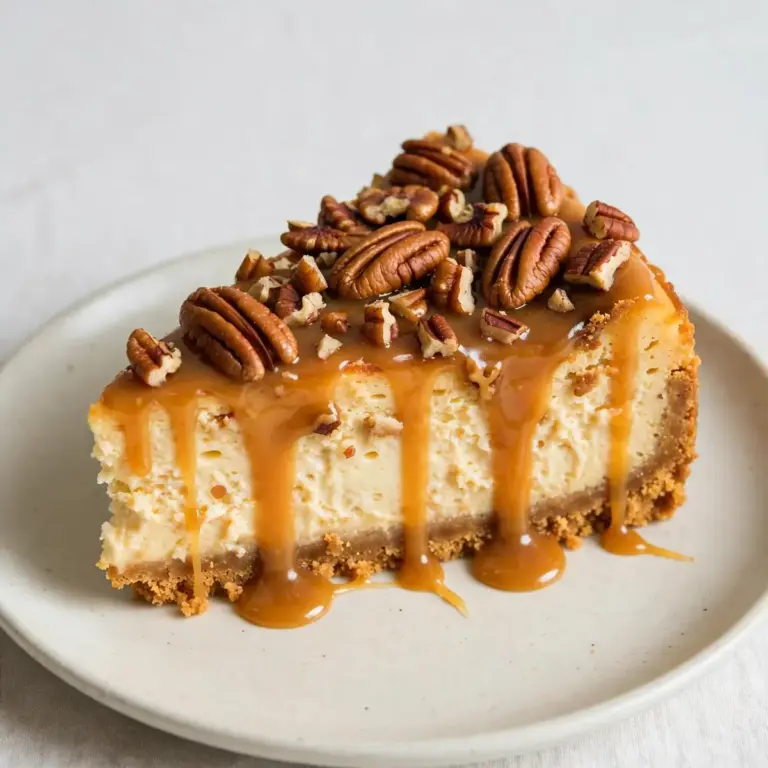
There you have it — a Burnt Basque Cheesecake that fits seamlessly into a busy weeknight. It’s the kind of dessert that looks like you’ve spent hours perfecting it, but really, it’s just a matter of throwing things into a bowl and letting the oven do the heavy lifting. I love that I can make it while the kids are doing homework, pop it in the fridge, and have a showstopper ready for the next day. If you’re after another simple yet impressive bake, you might also enjoy my Classic Caramel Pecan Cheesecake or a batch of Best Zucchini Nut Muffins for a quick breakfast treat. I’d love to hear how yours turns out — leave a comment below and let me know if the jiggle test worked for you!