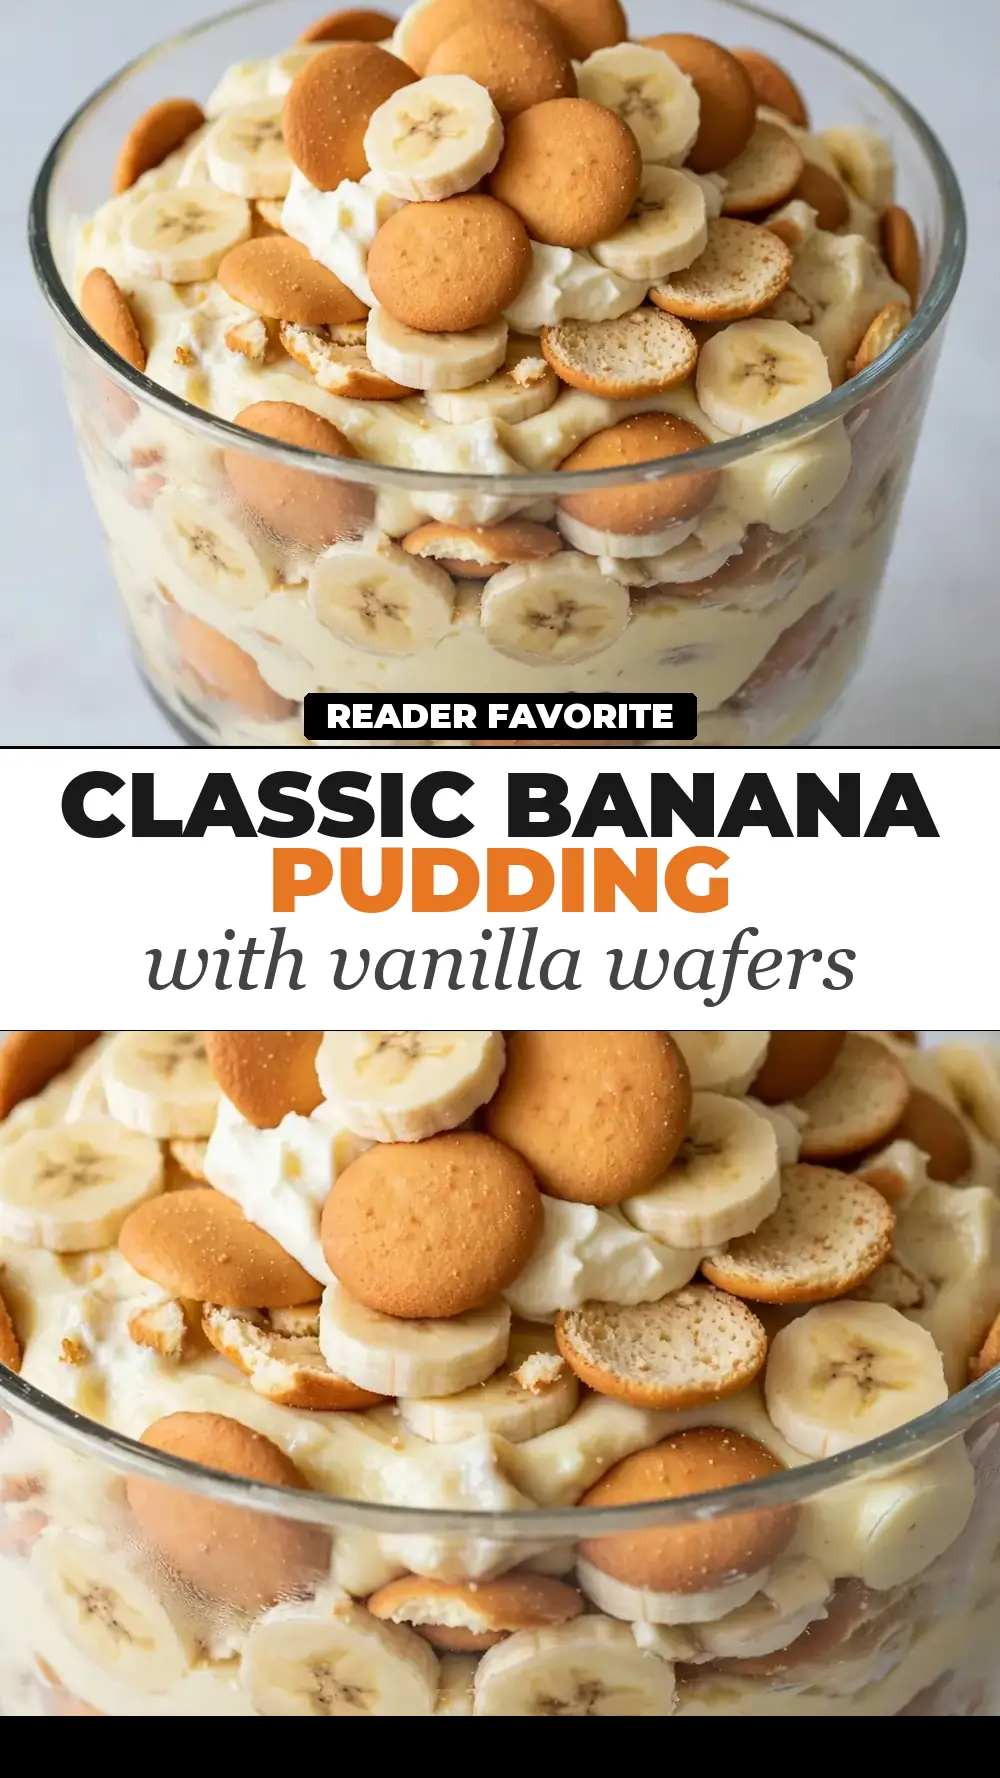
Classic Banana Pudding With Vanilla Wafers
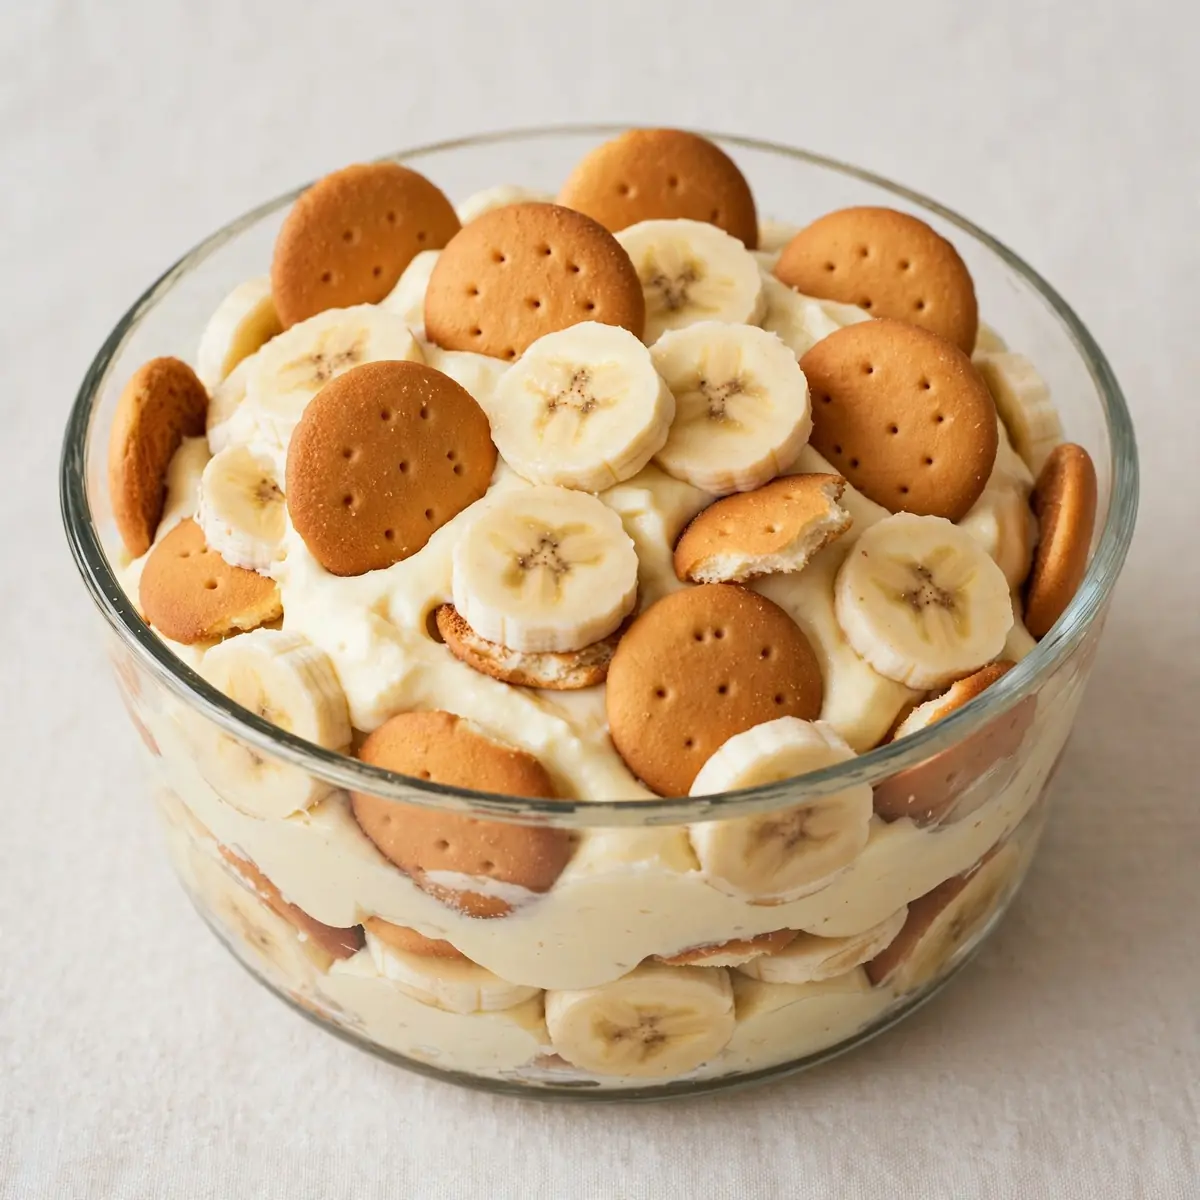
After a chaotic weeknight, when homework battles and after-school clubs have left you frazzled, the last thing you need is a complicated pudding that demands hours of attention. This Pair this with a Sparkling Watermelon Lemonade Mocktail for a fun dessert-and-drink combo., however, comes together in under twenty minutes of actual work, uses just one mixing bowl, and actually improves if you make it the night before.
Recipe Overview
- Prep Time: 15 minutes
- Cook Time: 5 minutes (stovetop for the custard)
- Total Time: 20 minutes active, plus 2 hours chilling
- Servings: 8 generous portions
- Difficulty: Easy — no tricky techniques required
Why You’ll Love This Classic Banana Pudding with Vanilla Wafers
- Minimal Washing Up: You only need one saucepan and a single mixing bowl for the entire dessert. No food processor, no stand mixer, no separate bowls for dry ingredients. I’ve been making this for over 3 years, and it never disappoints on the cleanup front, much like our Salted Caramel Cheesecake. For another banana-based dessert with minimal cleanup, try Moist Banana Cake With Brown Butter Frosting.
- Ready When You Are: This pudding actually tastes better after sitting overnight in the fridge. You can assemble it during naptime or while the kids finish homework, and dessert is sorted hours before you need it.
- No Fancy Equipment: No blowtorch, no double boiler, no electric whisk required. A wooden spoon and a sturdy saucepan are all you need to create a silky, smooth custard.
- Budget-Friendly Ingredients: Bananas, milk, eggs, sugar, and a box of vanilla wafers — these are items you likely already have in your kitchen or can grab for a few pounds at any corner shop.
- Foolproof for Novices: The stovetop custard uses a simple technique that gives you clear visual cues. You cannot accidentally split or scramble this mixture if you watch for the right signs.
Ingredients You’ll Need
- 500ml whole milk
- 100g caster sugar
- 3 large egg yolks
- 2 tablespoons cornflour
- 1 teaspoon vanilla extract
- Pinch of sea salt
- 4 large ripe but firm bananas
- 200g vanilla wafers (one standard packet)
- 300ml double cream
- 2 tablespoons icing sugar
- Zest of 1 unwaxed lemon (optional, for brightness)
Tip: Use bananas that are yellow with just a few brown speckles. Overly green bananas lack sweetness, while completely brown ones turn mushy and release too much liquid into the layers.
How to Make Classic Banana Pudding with Vanilla Wafers
- Make the custard base. In a medium saucepan, whisk together the caster sugar, cornflour, and a pinch of salt. In a separate small bowl, whisk the egg yolks with about 50ml of the milk until smooth and pale yellow. Pour the remaining milk into the saucepan and whisk thoroughly. Place the saucepan over medium heat and stir constantly with a wooden spoon. After about 3 minutes, you will feel the mixture begin to thicken against the spoon — it should look like thin single cream. When small bubbles appear around the edges and you hear a gentle simmering sound, reduce the heat to low.
- Temper the eggs. Slowly pour about half a cup of the hot milk mixture into the bowl with the egg yolks, whisking continuously as you pour. This prevents the yolks from scrambling. You will see the mixture become smoother and slightly warmer. Pour the egg mixture back into the saucepan, whisking steadily.
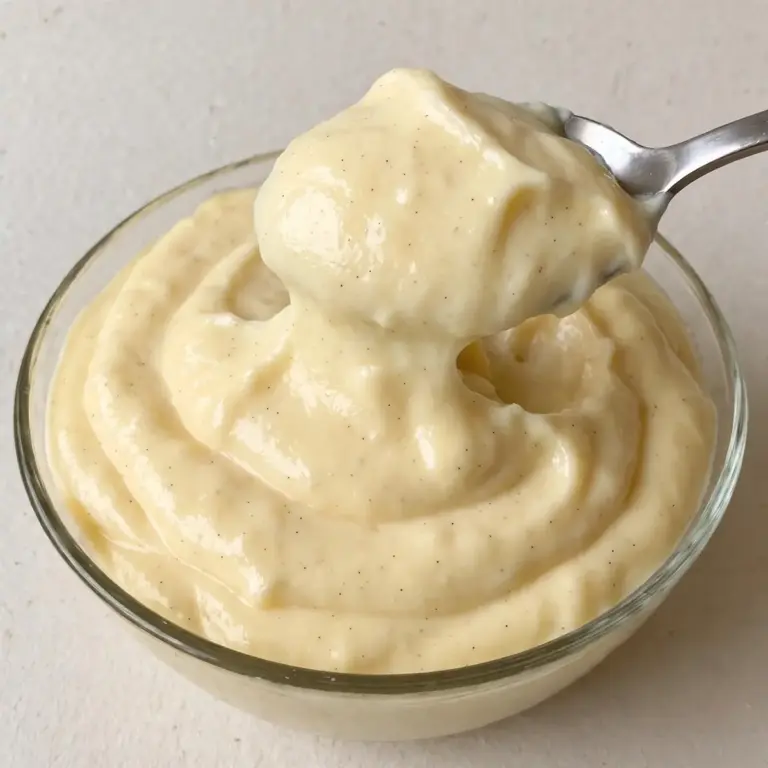
- Cook the custard. Return the saucepan to medium-low heat and stir without stopping. After 2 to 3 minutes, the custard will visibly thicken — it should coat the back of your wooden spoon thickly, and when you drag your finger through the coating, the line should hold its shape. The smell will shift from raw milk to a sweet, creamy aroma. Remove from the heat immediately and stir in the vanilla extract and lemon zest if using. The texture should be luscious and smooth, like a thick pouring cream.
- Slice the bananas. While the custard cools slightly, peel the bananas and slice them into rounds about 1cm thick. Try to keep the slices even so each spoonful gets a consistent distribution. Set aside five or six of the nicest slices for the top decoration.
- Whip the cream. Pour the double cream into a clean mixing bowl. Add the icing sugar. Whisk by hand or with an electric whisk until soft peaks form — the cream should hold its shape but still look silky, not stiff or grainy. You will see the cream catch the whisk marks clearly, and it should feel light and billowy when you lift the whisk.
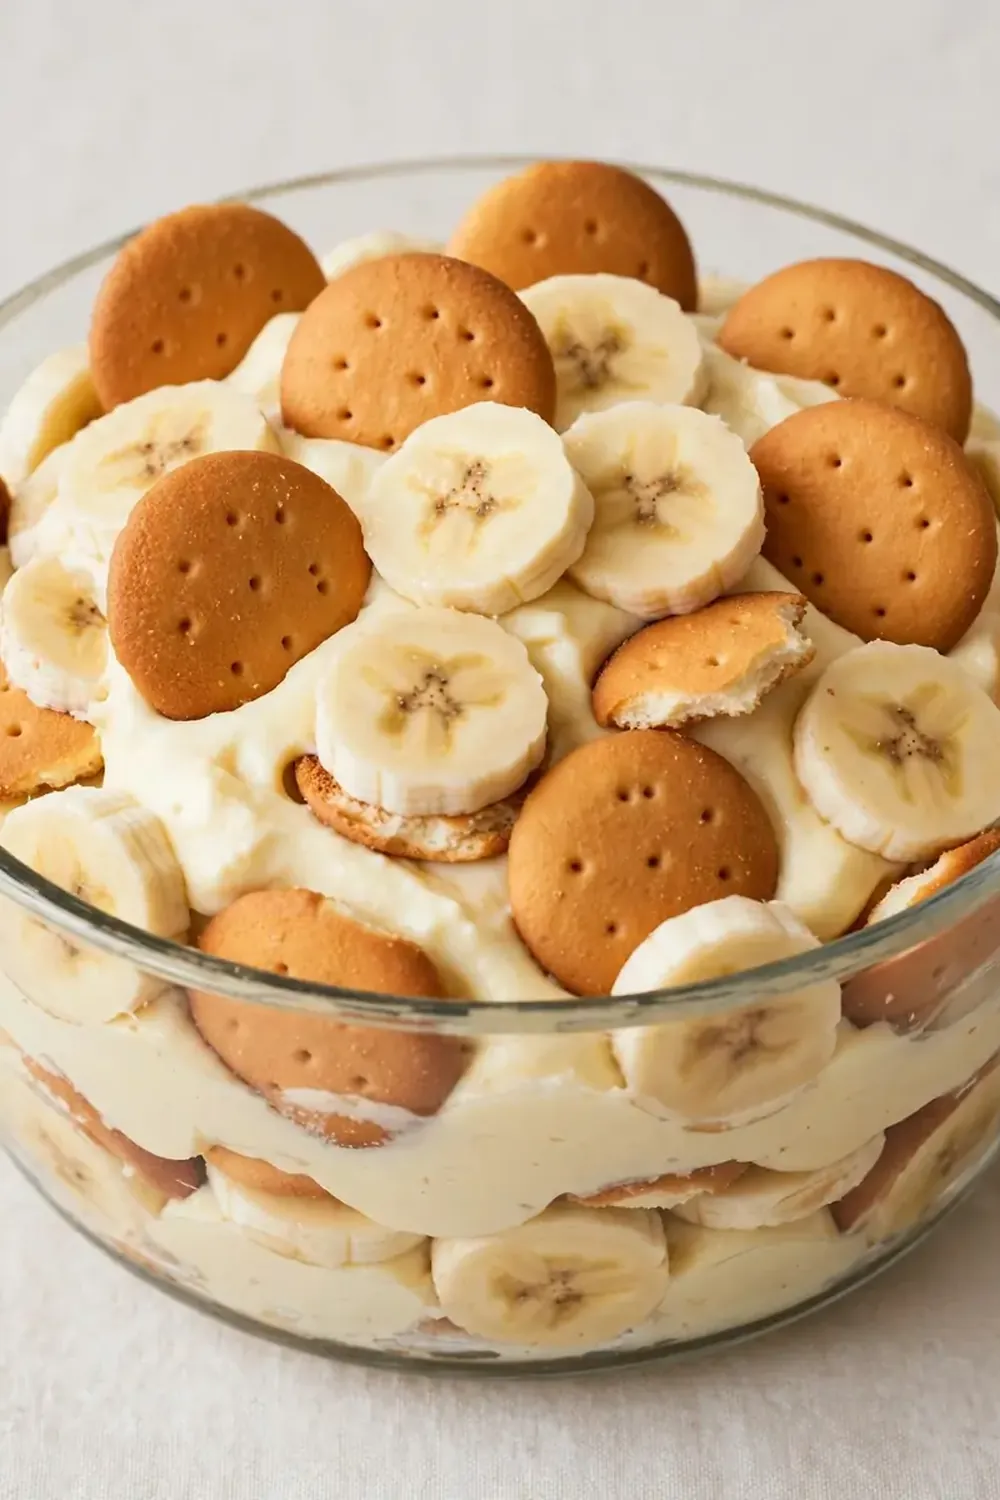
- Layer the pudding. Spread a thin layer of the warm custard (about 3 tablespoons) across the bottom of a 20cm square dish or a deep 1.5-litre serving bowl. Arrange a single layer of vanilla wafers over the custard, breaking some to fill gaps. Scatter half the banana slices over the wafers. Spoon half the remaining custard over the bananas, spreading it gently. Add another layer of wafers, then the remaining bananas, then the final custard layer. The layers should feel sturdy, not swimming in liquid.
- Top and chill. Spread the whipped cream over the top layer of custard. Arrange the reserved banana slices and a few extra vanilla wafers on top for decoration. Cover the dish with cling film and refrigerate for at least 2 hours, though 4 hours or overnight is far better. The wafers will soften into a cake-like texture, and the flavours will meld beautifully.
Tips From My Kitchen
- Warm the milk first for a faster custard. If you microwave the milk for 90 seconds before adding it to the saucepan, the custard comes together in half the time. This matters when you are cooking after a long day and every minute counts. The warmer milk also reduces the risk of lumps forming.
- Use a timer for the stovetop custard. Set a timer for exactly 2 minutes once you see the first bubbles. Overcooking the custard even by 30 seconds can cause it to thin out or develop a grainy texture. The timer keeps you honest when you are juggling other tasks.
- Make it a day ahead for better texture. My kids absolutely devour this every time I make it, but they love it most when I assemble it the night before. The wafers absorb the custard completely, creating a soft, almost cake-like layer that holds everything together beautifully. Plus, the banana flavour infuses the entire pudding rather than staying in distinct slices.
- Line your dish with cling film for zero cleanup. Before you start layering, press two long sheets of cling film into the dish, leaving overhang on all sides. Once the pudding is fully set, you can lift the entire dessert out, slice it neatly on a board, and simply throw the cling film away. Your dish goes straight back into the cupboard without a single wash.
- Keep the bananas away from the very top. Exposed banana slices left on top of the pudding will oxidise and turn brown within a few hours. If you are making this ahead, cover the top banana slices with whipped cream or simply leave them off until just before serving. The whipped cream acts as a protective barrier.
- Use a potato masher for lump-free custard. If you accidentally let the custard develop a few small lumps, do not panic. Pour the hot custard through a fine-mesh sieve directly into your layering dish, pressing it through with the back of a spoon. Alternatively, give it a quick blitz with an immersion blender for 5 seconds — the texture will be silky smooth again.
Equipment You’ll Need
- Medium heavy-bottomed saucepan (about 2-litre capacity)
- Sharp knife and cutting board for slicing bananas
- Mixing bowls (one medium, one small for egg yolks)
- Wooden spoon or heatproof silicone spatula
- Fine-mesh sieve (optional, for smooth custard)
- 20cm square dish or 1.5-litre serving bowl
- Electric whisk or manual balloon whisk for cream
Delicious Variations to Try
- Spicy Version: Add half a teaspoon of ground cinnamon and a pinch of ground nutmeg to the custard mixture along with the sugar. For a subtle warmth, grate in a little fresh ginger root before cooking. The spice cuts through the sweetness beautifully and adds depth on a cold evening.
- Vegetarian/Vegan Option: Use oat milk or full-fat coconut milk in place of whole milk. Replace the egg yolks with 3 tablespoons of cornflour whisked with 4 tablespoons of cold water — cook this mixture for an extra 2 minutes until very thick. Use a plant-based double cream alternative for the topping. The texture will be slightly less rich but still wonderfully creamy.
- Different Protein: Skip the bananas entirely and use sliced strawberries or roasted peaches when they are in season. For a more substantial dessert, layer in some crushed toasted almonds or pistachios between the wafers for crunch. You can also swap the vanilla wafers for shortbread biscuits or ginger nuts for a completely different flavour profile.
What to Serve With Classic Banana Pudding with Vanilla Wafers
- A small cup of strong black coffee or espresso balances the sweetness perfectly after dinner.
- Fresh berries — raspberries or sliced strawberries — add a tart contrast that cuts through the cream.
- A light dusting of cocoa powder or grated dark chocolate over the top before serving adds a sophisticated touch with minimal effort.
Still hungry for ideas? You might also love Banana Pudding Brownies A Decadent Layered Dessert, Classic American Banana Pudding from our sister kitchens.
Frequently Asked Questions
Fluffy Vanilla Birthday Cake.” srcset=”https://dessertcrave.online/wp-content/uploads/2026/07/classic-banana-pudding-with-vanilla-wafers.webp 1200w, https://dessertcrave.online/wp-content/uploads/2026/07/classic-banana-pudding-with-vanilla-wafers-300×300.webp 300w, https://dessertcrave.online/wp-content/uploads/2026/07/classic-banana-pudding-with-vanilla-wafers-1024×1024.webp 1024w, https://dessertcrave.online/wp-content/uploads/2026/07/classic-banana-pudding-with-vanilla-wafers-150×150.webp 150w, https://dessertcrave.online/wp-content/uploads/2026/07/classic-banana-pudding-with-vanilla-wafers-768×768.webp 768w, https://dessertcrave.online/wp-content/uploads/2026/07/classic-banana-pudding-with-vanilla-wafers-500×500.webp 500w” sizes=”auto, (max-width: 300px) 100vw, 300px” />Classic Banana Pudding with Vanilla Wafers
Ingredients
Method
-
Make the custard base. In a medium saucepan, whisk together the caster sugar, cornflour, and a pinch of salt. In a separate small bowl, whisk the egg yolks with about 50ml of the milk until smooth and pale yellow. Pour the remaining milk into the saucepan and whisk thoroughly. Place the saucepan over medium heat and stir constantly with a wooden spoon. After about 3 minutes, you will feel the mixture begin to thicken against the spoon — it should look like thin single cream. When small bubbles appear around the edges and you hear a gentle simmering sound, reduce the heat to low.
-
Temper the eggs. Slowly pour about half a cup of the hot milk mixture into the bowl with the egg yolks, whisking continuously as you pour. This prevents the yolks from scrambling. You will see the mixture become smoother and slightly warmer. Pour the egg mixture back into the saucepan, whisking steadily.
-
Cook the custard. Return the saucepan to medium-low heat and stir without stopping. After 2 to 3 minutes, the custard will visibly thicken — it should coat the back of your wooden spoon thickly, and when you drag your finger through the coating, the line should hold its shape. The smell will shift from raw milk to a sweet, creamy aroma. Remove from the heat immediately and stir in the vanilla extract and lemon zest if using. The texture should be luscious and smooth, like a thick pouring cream.
-
Slice the bananas. While the custard cools slightly, peel the bananas and slice them into rounds about 1cm thick. Try to keep the slices even so each spoonful gets a consistent distribution. Set aside five or six of the nicest slices for the top decoration.
-
Whip the cream. Pour the double cream into a clean mixing bowl. Add the icing sugar. Whisk by hand or with an electric whisk until soft peaks form — the cream should hold its shape but still look silky, not stiff or grainy. You will see the cream catch the whisk marks clearly, and it should feel light and billowy when you lift the whisk.
-
Layer the pudding. Spread a thin layer of the warm custard (about 3 tablespoons) across the bottom of a 20cm square dish or a deep 1.5-litre serving bowl. Arrange a single layer of vanilla wafers over the custard, breaking some to fill gaps. Scatter half the banana slices over the wafers. Spoon half the remaining custard over the bananas, spreading it gently. Add another layer of wafers, then the remaining bananas, then the final custard layer. The layers should feel sturdy, not swimming in liquid.
-
Top and chill. Spread the whipped cream over the top layer of custard. Arrange the reserved banana slices and a few extra vanilla wafers on top for decoration. Cover the dish with cling film and refrigerate for at least 2 hours, though 4 hours or overnight is far better. The wafers will soften into a cake-like texture, and the flavours will meld beautifully.
Notes
I hope this Classic Banana Pudding with Vanilla Wafers becomes your new go-to dessert for those evenings when you need something special without any fuss. If you try it, I would love to hear how it turned out for your family — drop a comment below and let me know if the kids asked for seconds. For another effortless dessert that works beautifully for busy families, you might enjoy my Classic Tres Leches Cake, or if you prefer something fruity and no-bake, these No Bake Lemon Blueberry Bars are equally speedy. And for those who love a bit of crunch, the Chewy Funfetti Cookies are a guaranteed hit with children of all ages.