Classic Homemade Vanilla Pudding
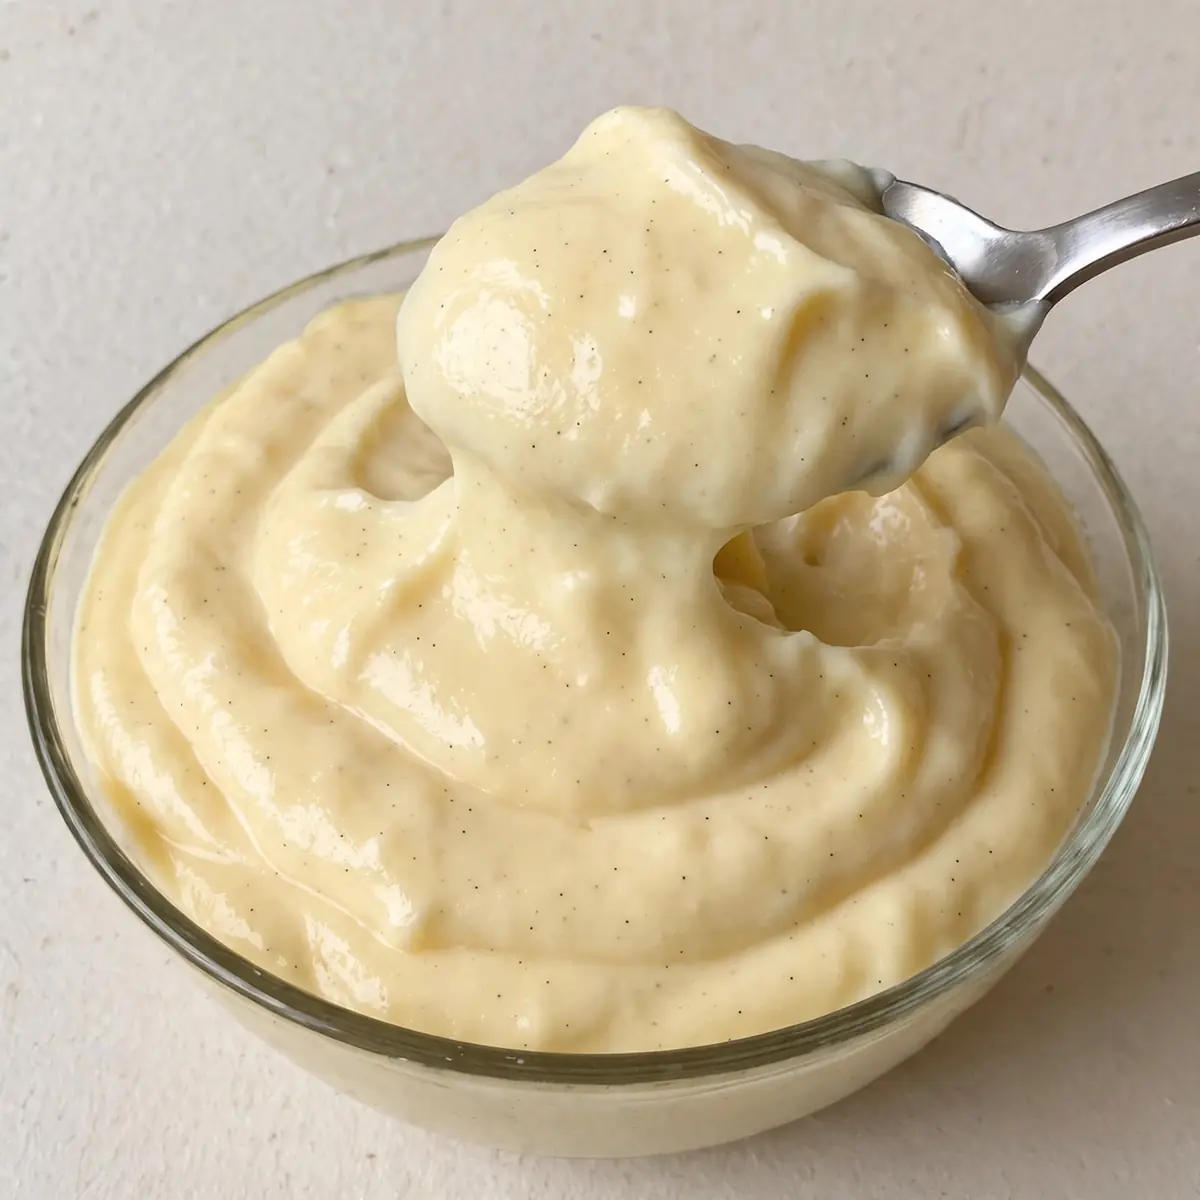
Some nights, you need a dessert that feels like a warm hug but doesn’t demand an hour of stirring or a mountain of washing up. This classic homemade vanilla pudding is my secret weapon for those evenings: it comes together in under fifteen minutes, uses just one saucepan, and delivers that silky, comforting finish that makes a simple weeknight dinner feel special.
Recipe Overview
- Prep Time: 5 minutes
- Cook Time: 10 minutes
- Total Time: 15 minutes (plus 2 hours chilling, if desired)
- Servings: 4 generous portions
- Difficulty: Easy
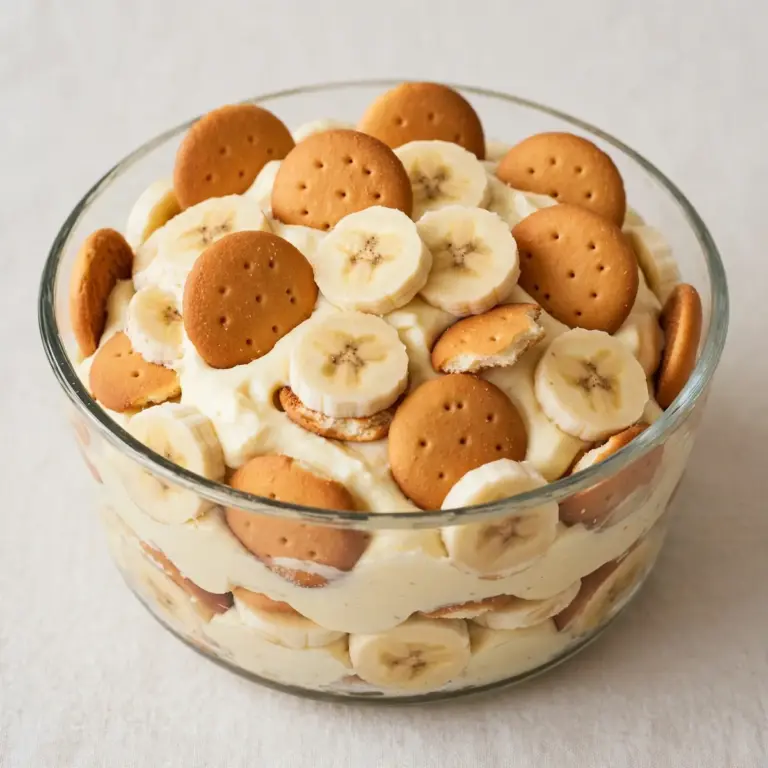
Why You’ll Love This If you love this pudding, you’ll also adore our Fluffy Vanilla Birthday Cake for a celebratory treat., which also serves as the perfect base for our Classic Banana Pudding With Vanilla Wafers
- One-Pan Wonder: Everything cooks in a single saucepan, meaning you have just one pot to wash when dinner is done.
- Weeknight Speed: From start to finish, this takes about fifteen minutes of active time — faster than driving to the shop for a boxed mix.
- Make-Ahead Magic: You can prepare this pudding the night before, and it tastes even better after a few hours in the fridge.
- Pantry Staples Only: You likely already have milk, sugar, cornflour, eggs, and vanilla in your kitchen right now.
- No Fuss, No Lumps: My simple whisking method guarantees a smooth, silky texture every single time — no straining required.
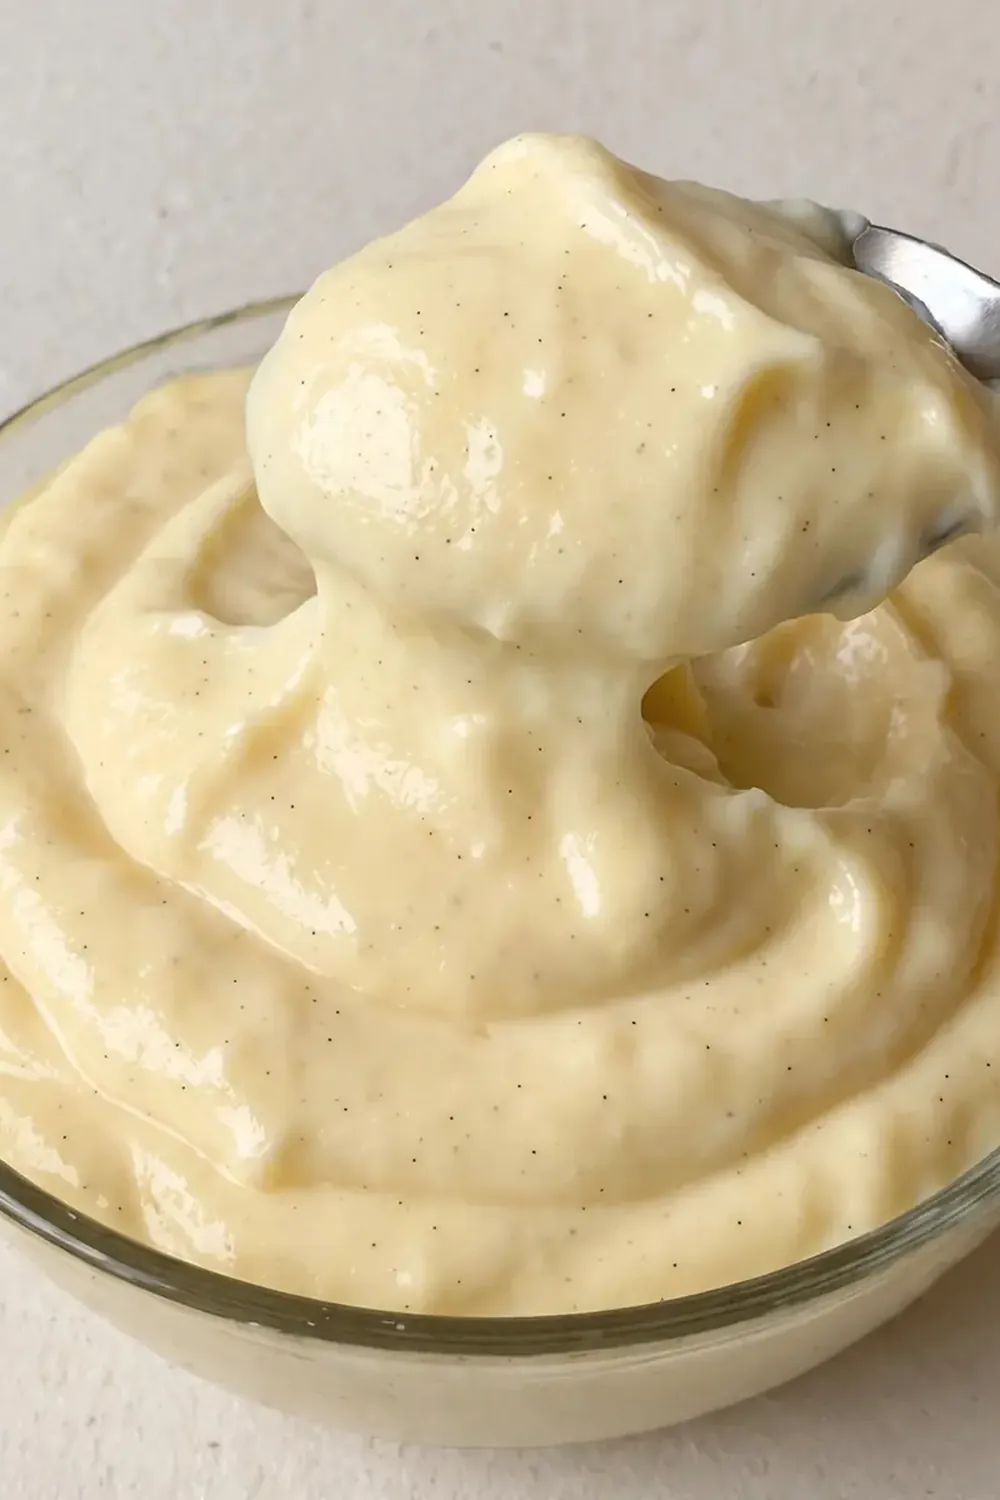 Sparkling Watermelon Lemonade Mocktail.” style=”width:100%;display:block;” />
Ingredients You’ll Need
- 600 ml whole milk
- 100 g caster sugar
- 40 g cornflour (cornstarch)
- 3 large egg yolks
- 2 teaspoons vanilla extract (use good-quality, not essence)
- A pinch of fine sea salt
- 20 g unsalted butter, diced into small cubes
Tip: For the creamiest result, use whole milk. Semi-skimmed works in a pinch, but the pudding won’t be quite as luxurious. If you are avoiding dairy, I have included a plant-based option in the variations section below.
How to Make Classic Homemade Vanilla Pudding
- Prepare the base: In a medium saucepan (off the heat), whisk together the sugar, cornflour, and salt. Make sure there are no lumps of cornflour — run the back of a spoon through the mixture if needed. The dry mix should feel like fine, powdery sand between your fingers.
- Add the wet ingredients: In a small bowl, lightly beat the egg yolks with a fork until they are an even, bright yellow colour. Pour the whole milk and the beaten yolks into the saucepan with the dry ingredients. Whisk everything together until the mixture is completely smooth and looks like thin, pale cream.
- Cook over medium heat: Place the saucepan on the hob over a medium heat. Whisk continuously — do not stop, or lumps will form. After about 3 to 4 minutes, you will feel the mixture start to thicken at the bottom of the pan. The sound will change from a sloshing liquid to a gentle, bubbling murmur.
- Watch for the first bubble: Keep whisking. After another 2 minutes, you will see the first few lazy bubbles break the surface. The mixture will now be noticeably thicker, coating the back of your spoon. When you lift the whisk, the pudding should fall in a thick, wide ribbon that sits on top of itself for a moment before sinking back in.
- Boil for 60 seconds: Once the mixture is bubbling steadily, let it cook for exactly 60 seconds while whisking constantly. This step is crucial — it cooks the cornflour fully and ensures a silky, non-starchy finish. The pudding will look glossy and feel heavy on the whisk.
- Finish with butter and vanilla: Remove the saucepan from the heat immediately. Drop in the diced butter and the vanilla extract. Whisk gently until the butter has melted completely and the pudding is shiny and smooth. The aroma of warm vanilla will fill your kitchen at this stage.
- Transfer and cool: Pour the pudding into four small serving bowls or ramekins. Press a piece of cling film directly onto the surface of each pudding — this stops a skin from forming as it cools. Let them sit at room temperature for 10 minutes, then refrigerate for at least 2 hours if you want a firmer, chilled pudding. If you are serving it warm, leave the cling film off and let it sit for just 5 minutes before digging in.
Tips From My Kitchen
- Keep whisking, no matter what: I used to struggle with this dish until I discovered that stopping the whisk, even for ten seconds, is what causes those dreaded lumps. The cornflour sinks to the bottom of the pan almost instantly, so constant motion is your best friend. Think of it as a gentle, rhythmic stirring — you do not need to beat it vigorously, just keep it moving.
- Use a heavy-bottomed saucepan: A thin pan heats unevenly and can scorch the milk before the centre of the pudding is cooked. A heavy-bottomed saucepan distributes the heat gently, giving you more control and a smoother result. If you hear a sharp crackling sound, your heat is too high — turn it down immediately.
- Why the 60-second boil matters: Many home cooks stop cooking as soon as the pudding thickens, but this leaves a raw, floury taste from the cornflour. That final minute of bubbling cooks the starch fully, giving you a clean, sweet vanilla flavour and a texture that is glossy, not gluey. The pudding will look slightly thinner during the boil — do not worry, it sets as it cools.
- Make-ahead tip for busy evenings: This pudding is actually better when made a day in advance. The texture becomes firmer and creamier after a full night in the fridge. I often make a double batch on Sunday evening, portion it into jars, and have dessert ready for Monday and Tuesday dinners. Just pull the cling film off and serve straight from the fridge.
- No-crust, no-fuss cleanup: To avoid a stubborn milk crust forming on your saucepan, fill it with cold water and a drop of washing-up liquid as soon as you have poured out the pudding. Let it soak while you eat — by the time you finish, any residue will slide off with a gentle wipe.
Delicious Variations to Try
- Chocolate Version: Add 40 g of good-quality dark chocolate (70% cocoa), finely chopped, at the same time as the butter and vanilla. Whisk until the chocolate is fully melted and the pudding turns a deep, glossy brown. For more inspiration, browse our Chocolate Treats collection.
- Dairy-Free Option: Replace the whole milk with oat milk or a barista-style almond milk (these have a creamier texture than standard versions). Use a plant-based block margarine in place of the butter. The cornflour and egg yolks stay the same, so the pudding still sets beautifully.
- Spiced Vanilla Pudding: Add ½ teaspoon of ground cinnamon and a pinch of freshly grated nutmeg to the dry ingredients. For a gentle warmth, stir in ¼ teaspoon of ground cardamom along with the vanilla. This version pairs wonderfully with poached pears or sliced bananas.
What to Serve With Classic Homemade Vanilla Pudding
- A handful of fresh berries — raspberries or sliced strawberries cut through the richness beautifully.
- Shortbread biscuits or a simple butter cookie for dipping.
- A dollop of softly whipped cream and a grating of fresh nutmeg on top.
- Sliced bananas and a drizzle of honey for a quick banana pudding vibe.
- For a crunchy contrast, sprinkle over some crushed digestive biscuits or toasted flaked almonds just before serving.
Frequently Asked Questions
Classic Homemade Vanilla Pudding
Ingredients
Method
-
Prepare the base: In a medium saucepan (off the heat), whisk together the sugar, cornflour, and salt. Make sure there are no lumps of cornflour — run the back of a spoon through the mixture if needed. The dry mix should feel like fine, powdery sand between your fingers.
-
Add the wet ingredients: In a small bowl, lightly beat the egg yolks with a fork until they are an even, bright yellow colour. Pour the whole milk and the beaten yolks into the saucepan with the dry ingredients. Whisk everything together until the mixture is completely smooth and looks like thin, pale cream.
-
Cook over medium heat: Place the saucepan on the hob over a medium heat. Whisk continuously — do not stop, or lumps will form. After about 3 to 4 minutes, you will feel the mixture start to thicken at the bottom of the pan. The sound will change from a sloshing liquid to a gentle, bubbling murmur.
-
Watch for the first bubble: Keep whisking. After another 2 minutes, you will see the first few lazy bubbles break the surface. The mixture will now be noticeably thicker, coating the back of your spoon. When you lift the whisk, the pudding should fall in a thick, wide ribbon that sits on top of itself for a moment before sinking back in.
-
Boil for 60 seconds: Once the mixture is bubbling steadily, let it cook for exactly 60 seconds while whisking constantly. This step is crucial — it cooks the cornflour fully and ensures a silky, non-starchy finish. The pudding will look glossy and feel heavy on the whisk.
-
Finish with butter and vanilla: Remove the saucepan from the heat immediately. Drop in the diced butter and the vanilla extract. Whisk gently until the butter has melted completely and the pudding is shiny and smooth. The aroma of warm vanilla will fill your kitchen at this stage.
-
Transfer and cool: Pour the pudding into four small serving bowls or ramekins. Press a piece of cling film directly onto the surface of each pudding — this stops a skin from forming as it cools. Let them sit at room temperature for 10 minutes, then refrigerate for at least 2 hours if you want a firmer, chilled pudding. If you are serving it warm, leave the cling film off and let it sit for just 5 minutes before digging in.
Notes
I would love to hear how this classic homemade vanilla pudding turns out in your kitchen. Did you serve it warm or chilled? Did you try one of the variations? Drop a comment below and let me know — your feedback always helps other busy cooks decide what to make next.