Classic Key Lime Pie
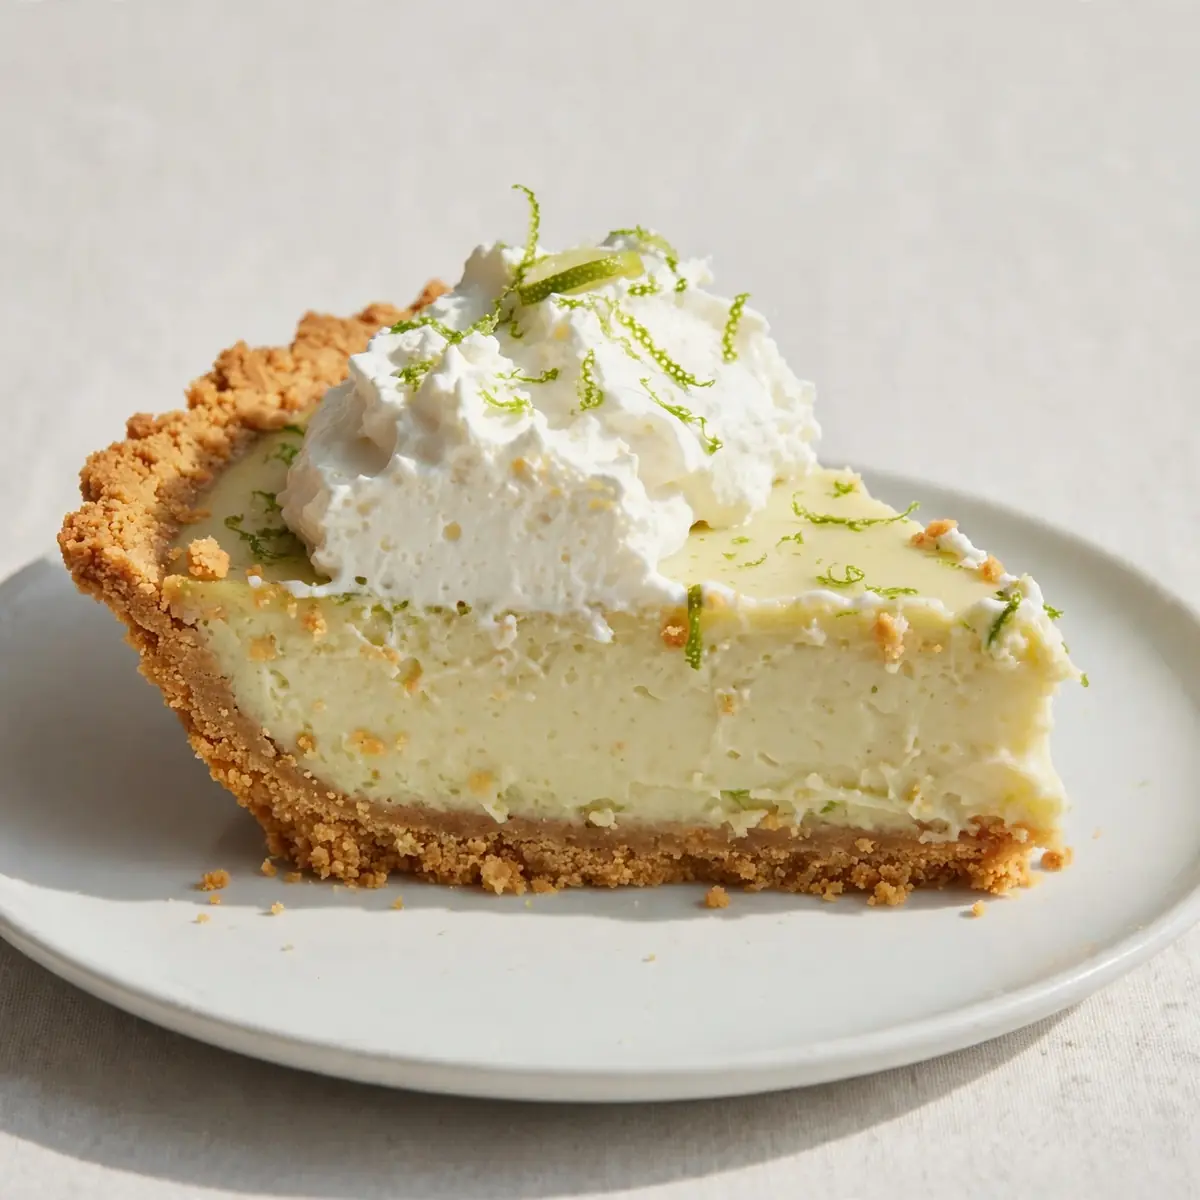
Between after-school activities and evening meetings, finding time to bake from scratch often feels like a fantasy. That is precisely why I developed this version of a Classic Key Lime Pie — it comes together in under fifteen minutes of active work, sets in the fridge while you sort homework, and delivers that signature tangy-sweet finish without any oven time or complicated steps.
Recipe Overview
- Prep time: 15 minutes
- Chill time: 4 hours (or overnight)
- Total time: 4 hours 15 minutes
- Servings: 8 generous slices
- Difficulty: Easy
Why You’ll Love This Classic Key Lime Pie
- No oven required: This is a no-bake pie, so you avoid heating up the kitchen, unlike a Classic Tres Leches Cake which requires baking. I make this at least once a week — it’s become a family favourite, especially during warmer months.
- Minimal washing up: One bowl, one whisk, one pie dish. That is the entire washing-up list. My kids absolutely devour this every time I make it, and I love that I am not scrubbing pans afterward.
- Make-ahead friendly: This pie needs at least four hours to set, which means you can prepare it the night before. It actually tastes better the next day, so planning ahead works in your favour.
- Bright, balanced flavour: The filling strikes that perfect line between tart and sweet. Key limes bring a floral acidity that ordinary limes cannot match, though regular limes work beautifully too.
- Naturally gluten-free option: If you swap the digestive biscuits for gluten-free alternatives, the entire dessert becomes suitable for those avoiding gluten. No one will notice the difference.
Ingredients You’ll Need
- 200g digestive biscuits (or graham crackers)
- 85g unsalted butter, melted
- 1 tablespoon golden caster sugar
- 400ml can of sweetened condensed milk
- 4 large egg yolks
- 120ml fresh key lime juice (about 20 key limes, or 6 regular limes)
- 1 tablespoon key lime zest (plus extra for garnish)
- 300ml double cream
- 1 tablespoon icing sugar
- ½ teaspoon vanilla extract
Tip: For the creamiest texture, ensure your condensed milk is at room temperature and your eggs are fresh. Cold ingredients can cause the filling to seize when you add the lime juice, resulting in a grainy finish.
How to Make Classic Key Lime Pie
- Make the biscuit base: Place the digestive biscuits in a sealed bag and crush them with a rolling pin until you have fine crumbs with no large chunks — you should hear a consistent crunch, not loud cracks. Alternatively, pulse them in a food processor. Transfer the crumbs to a medium bowl, add the melted butter and golden caster sugar, then stir until the mixture resembles damp sand that clumps when pressed between your fingers.
- Press the crust: Tip the crumb mixture into a 23cm loose-bottomed tart tin or pie dish. Using the flat base of a measuring cup or a glass, press the crumbs firmly into the base and up the sides. The crust should feel compact and solid, with no loose crumbs shifting when you tilt the dish. Place the dish in the refrigerator while you prepare the filling.
- Whisk the egg yolks: In a large mixing bowl, whisk the egg yolks until they become pale and slightly thickened — this takes about two minutes with a hand mixer. The colour should shift from deep orange to a lighter, creamier yellow, and the mixture should fall from the whisk in a thick ribbon.
- Add the condensed milk: Pour in the sweetened condensed milk and whisk on low speed until fully combined. The mixture will feel heavy and smooth, almost like a thick custard. Scrape down the sides of the bowl to ensure everything is incorporated evenly.
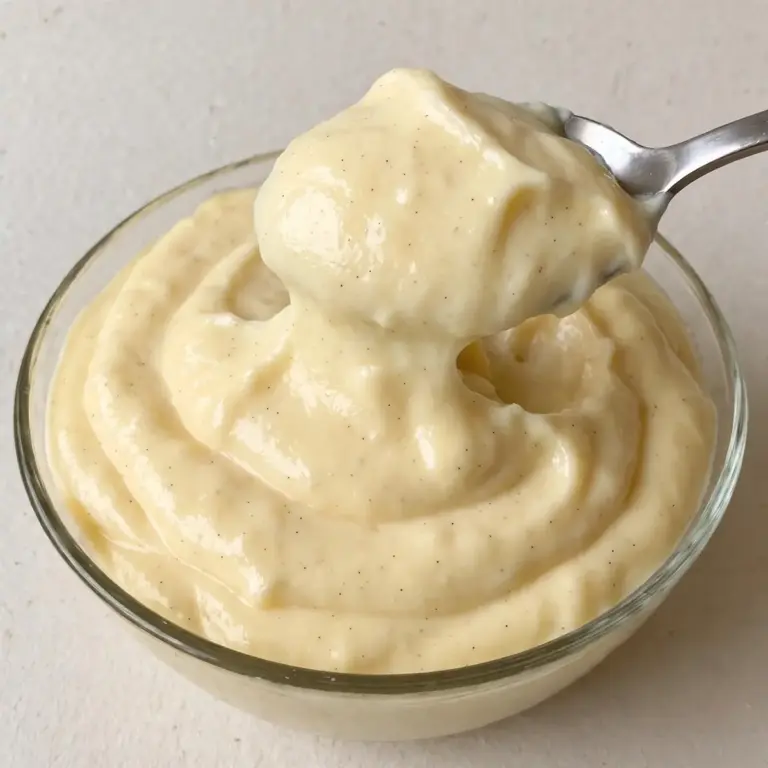
- Incorporate the lime juice and zest: With the mixer running on low, slowly pour in the key lime juice. The mixture will thicken almost immediately as the acid reacts with the condensed milk — you will see it transform from a runny liquid to a pudding-like consistency within seconds. Fold in the lime zest by hand, then taste the filling; it should be tangy but not puckeringly sour.
- Pour and chill: Remove the crust from the refrigerator. Pour the filling into the chilled crust and spread it evenly with a spatula. The surface should be smooth and level. Gently tap the dish on the counter twice to release any air bubbles. Cover loosely with cling film and refrigerate for at least 4 hours, or overnight for a firmer set.
- Whip the cream topping: Just before serving, pour the double cream, icing sugar, and vanilla extract into a chilled bowl. Whip until soft peaks form — the cream should hold its shape when you lift the whisk, but still look luscious and slightly droopy. Over-whipping will turn it grainy, so stop as soon as you see those soft peaks.
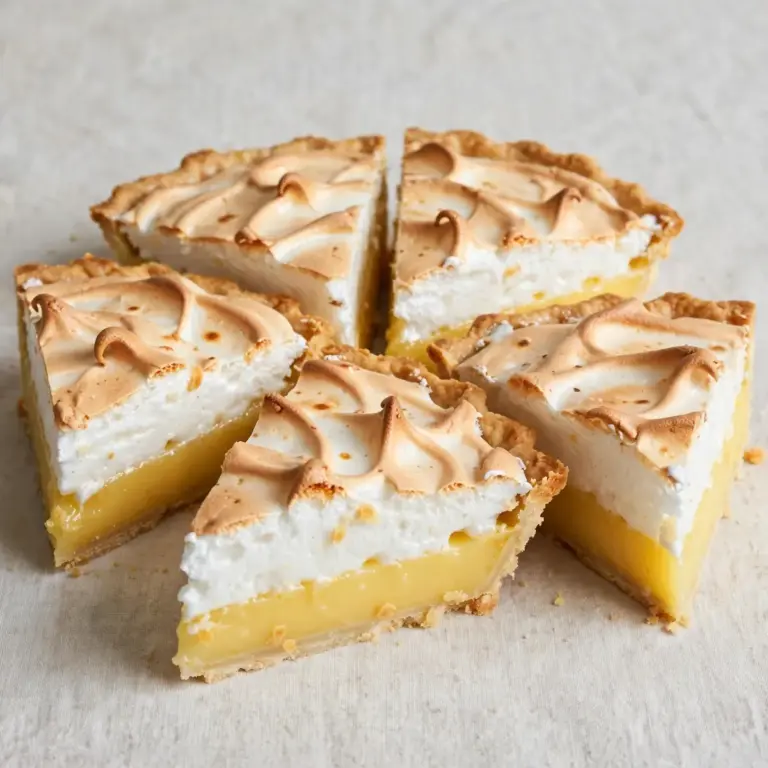
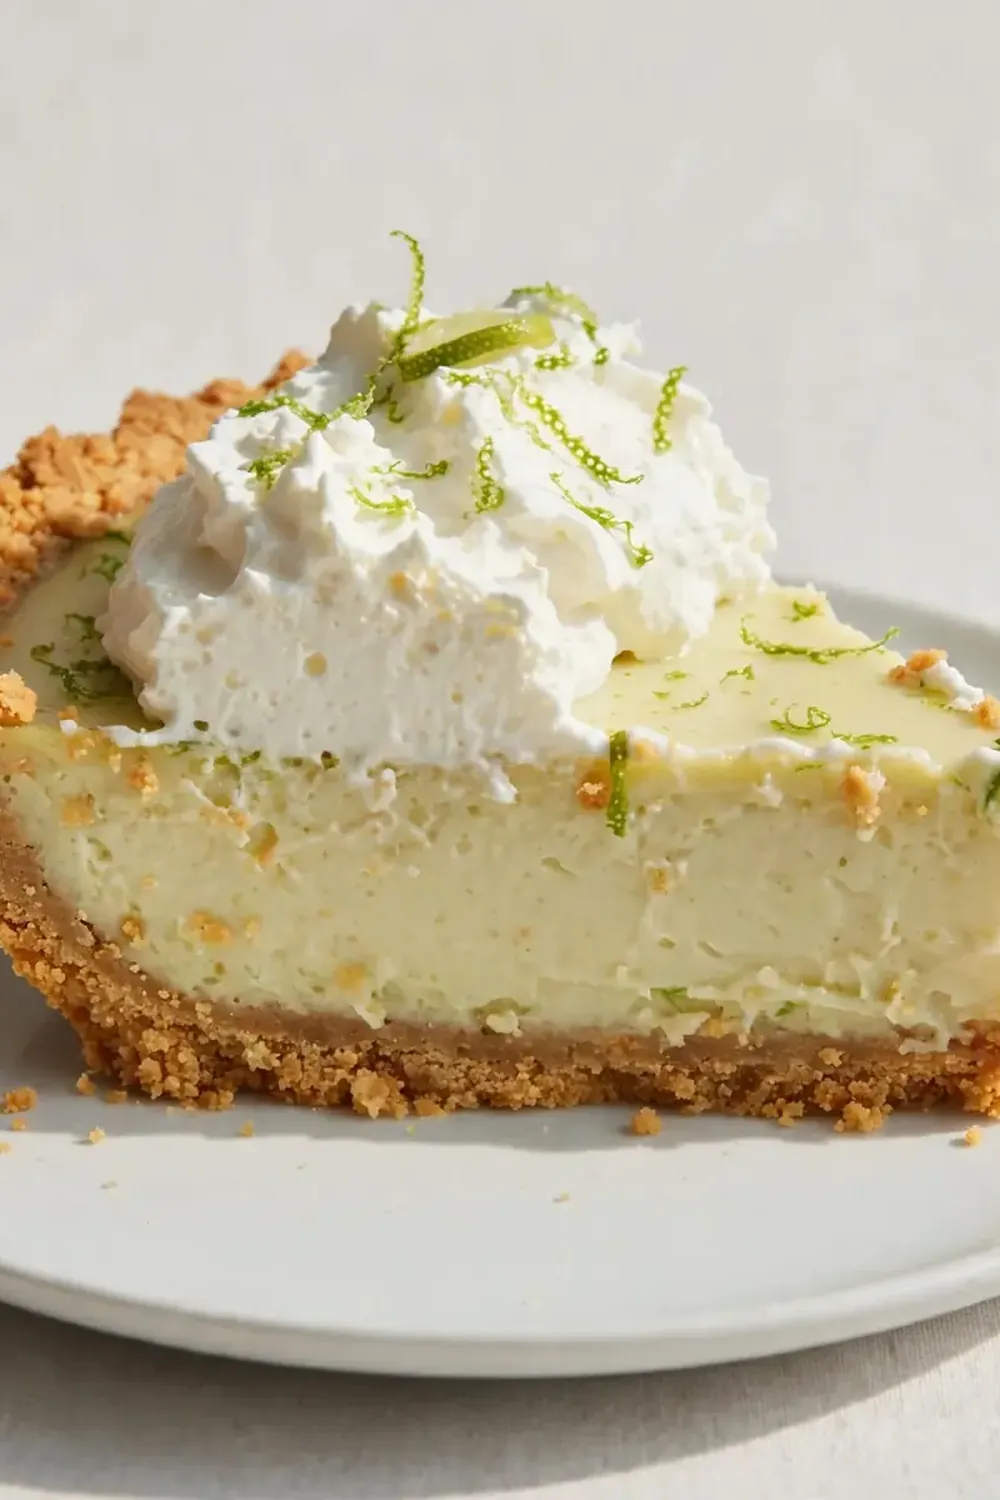
- Assemble and serve: Spread or pipe the whipped cream over the chilled pie. Grate a little extra lime zest over the top for colour. Slice with a sharp knife dipped in hot water and wiped dry for clean cuts. Each slice should reveal a firm, pale yellow filling against the golden crust.
Tips From My Kitchen
- Roll your limes before juicing: Place each lime on the counter and roll it firmly under your palm for about ten seconds before cutting. This breaks down the internal membranes, releasing more juice. You will get nearly twice as much liquid from each fruit, which saves time and reduces waste.
- Use a microplane for zest, not a box grater: A microplane produces fine, fluffy zest that blends seamlessly into the filling. Box graters create thicker strips that can be bitter and leave an unpleasant texture. Always zest the limes before juicing them — it is much easier to grate a whole fruit than a limp, juiced half.
- Chill your bowl and whisk for the cream: Pop the mixing bowl and whisk attachment in the freezer for ten minutes before whipping the cream. This small step means the cream whips faster and holds its shape longer, giving you a lighter, airier topping that does not deflate on the pie.
- Line your tin with baking parchment: Cut a strip of parchment long enough to overhang two opposite sides of the tin before pressing in the crust. Once the pie is set, you can lift it straight out using the parchment handles. This prevents the crust from cracking and keeps your slices looking neat.
- Let the pie sit at room temperature for five minutes before slicing: A straight-from-the-fridge pie can be too firm, causing the crust to shatter. Letting it rest briefly softens the filling slightly, making each slice smooth and creamy rather than stiff.
Equipment You’ll Need
- 23cm loose-bottomed tart tin or pie dish
- Hand mixer or stand mixer with whisk attachment
- Microplane or fine zester
- Citrus juicer or reamer
- Large mixing bowl
- Rolling pin or food processor for crushing biscuits
- Measuring cups and spoons
Common Mistakes to Avoid
- Overcrowding the pan: Pressing the crust too thickly up the sides leaves less room for the filling, throwing off the balance. Keep the side crust about 5mm thick and the base about 8mm thick — this ratio ensures every bite contains the right amount of crumbly crust and creamy filling.
- Wrong temperature: If your condensed milk or eggs are fridge-cold, the lime juice will cause the mixture to thicken unevenly, creating lumps. Always bring these ingredients to room temperature before starting. The filling should come together as a homogenous, silky mixture without any curdled spots.
- Skipping the rest time: Cutting the pie before it has fully set leads to a runny, soupy mess. The filling needs a minimum of four hours to firm up properly. Overnight chilling is even better because it allows the flavours to meld and the texture to become luxuriously dense.
What to Serve With Classic Key Lime Pie
- A dollop of extra whipped cream and a scattering of fresh blueberries for colour contrast
- A cup of strong black coffee or herbal mint tea to balance the citrus notes
- Thin slices of fresh mango or passionfruit pulp for a tropical twist
- A light, fruit-forward dessert wine alternative like a chilled sparkling elderflower cordial — check out our Drinks And Cocktails section for more non-alcoholic pairings
Still hungry for ideas? You might also love No Bake Key Lime Pie Squares, No Bake Key Lime Pie Desserts from our sister kitchens.
Frequently Asked Questions
Classic Key Lime Pie
Ingredients
Method
-
Make the biscuit base: Place the digestive biscuits in a sealed bag and crush them with a rolling pin until you have fine crumbs with no large chunks — you should hear a consistent crunch, not loud cracks. Alternatively, pulse them in a food processor. Transfer the crumbs to a medium bowl, add the melted butter and golden caster sugar, then stir until the mixture resembles damp sand that clumps when pressed between your fingers.
-
Press the crust: Tip the crumb mixture into a 23cm loose-bottomed tart tin or pie dish. Using the flat base of a measuring cup or a glass, press the crumbs firmly into the base and up the sides. The crust should feel compact and solid, with no loose crumbs shifting when you tilt the dish. Place the dish in the refrigerator while you prepare the filling.
-
Whisk the egg yolks: In a large mixing bowl, whisk the egg yolks until they become pale and slightly thickened — this takes about two minutes with a hand mixer. The colour should shift from deep orange to a lighter, creamier yellow, and the mixture should fall from the whisk in a thick ribbon.
-
Add the condensed milk: Pour in the sweetened condensed milk and whisk on low speed until fully combined. The mixture will feel heavy and smooth, almost like a thick custard. Scrape down the sides of the bowl to ensure everything is incorporated evenly.
-
Incorporate the lime juice and zest: With the mixer running on low, slowly pour in the key lime juice. The mixture will thicken almost immediately as the acid reacts with the condensed milk — you will see it transform from a runny liquid to a pudding-like consistency within seconds. Fold in the lime zest by hand, then taste the filling; it should be tangy but not puckeringly sour.
-
Pour and chill: Remove the crust from the refrigerator. Pour the filling into the chilled crust and spread it evenly with a spatula. The surface should be smooth and level. Gently tap the dish on the counter twice to release any air bubbles. Cover loosely with cling film and refrigerate for at least 4 hours, or overnight for a firmer set.
-
Whip the cream topping: Just before serving, pour the double cream, icing sugar, and vanilla extract into a chilled bowl. Whip until soft peaks form — the cream should hold its shape when you lift the whisk, but still look luscious and slightly droopy. Over-whipping will turn it grainy, so stop as soon as you see those soft peaks.
-
Assemble and serve: Spread or pipe the whipped cream over the chilled pie. Grate a little extra lime zest over the top for colour. Slice with a sharp knife dipped in hot water and wiped dry for clean cuts. Each slice should reveal a firm, pale yellow filling against the golden crust.
Notes
I would love to hear how this pie turns out in your kitchen. Drop a comment below to share your experience, ask any lingering questions, or tell me if you tried a fun variation. If you enjoyed this recipe, you might also like our No Bake Lemon Blueberry Bars for another quick, no-oven dessert, or the No Bake Strawberry Cheesecake Pots for individual servings that are ready in minutes. Happy baking, friends.