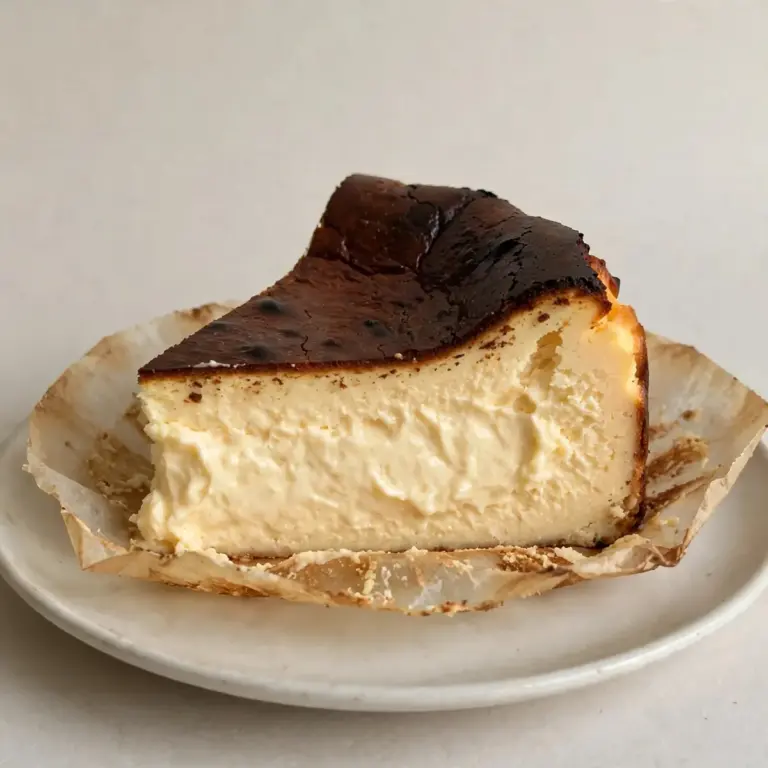
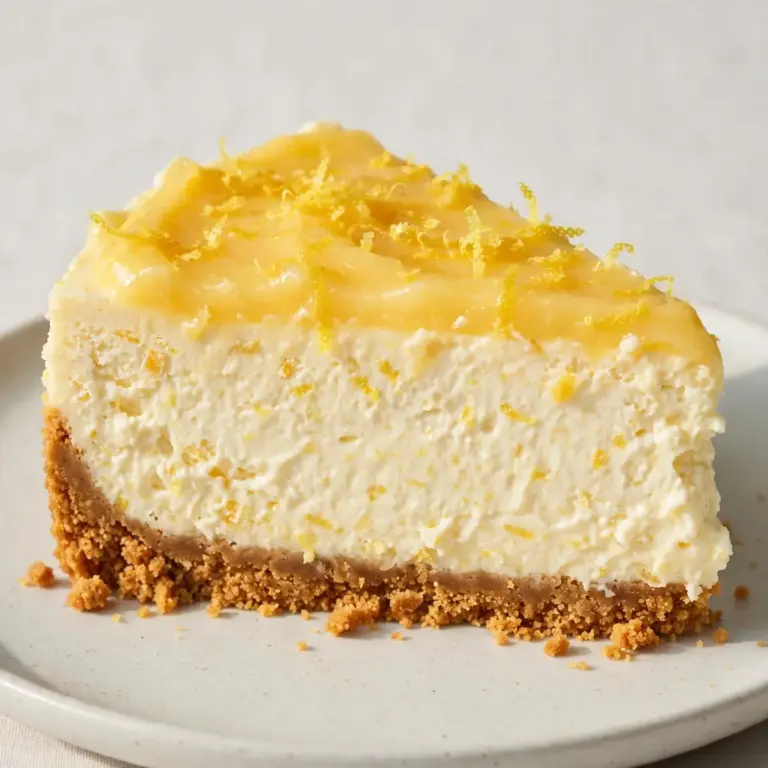
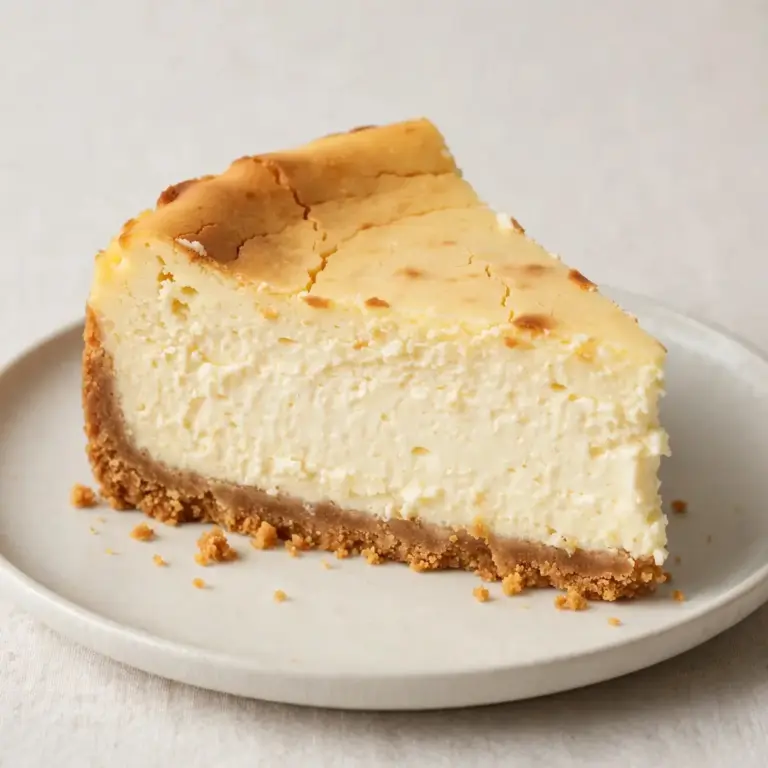
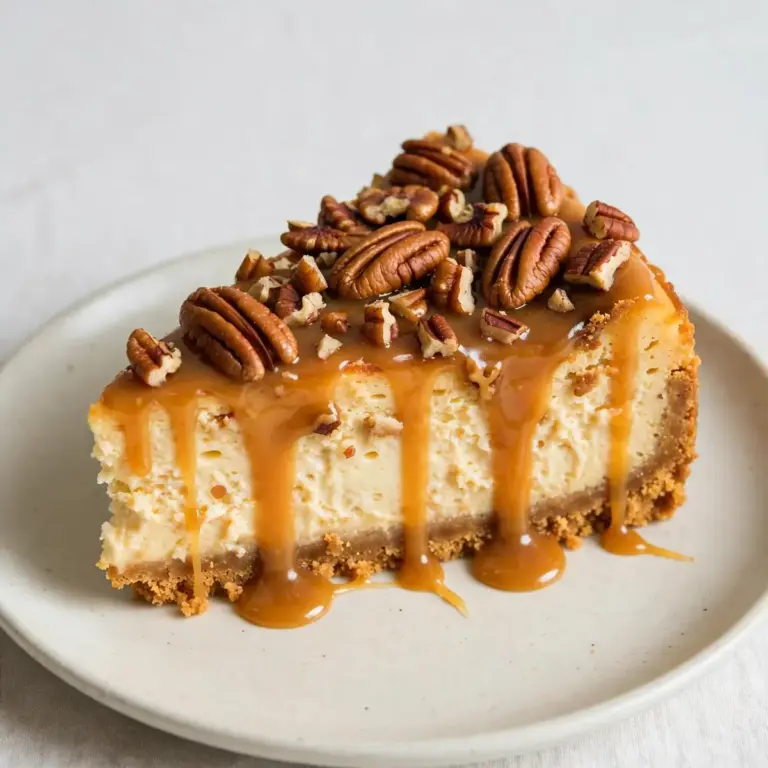
Classic Oreo Crust Cheesecake
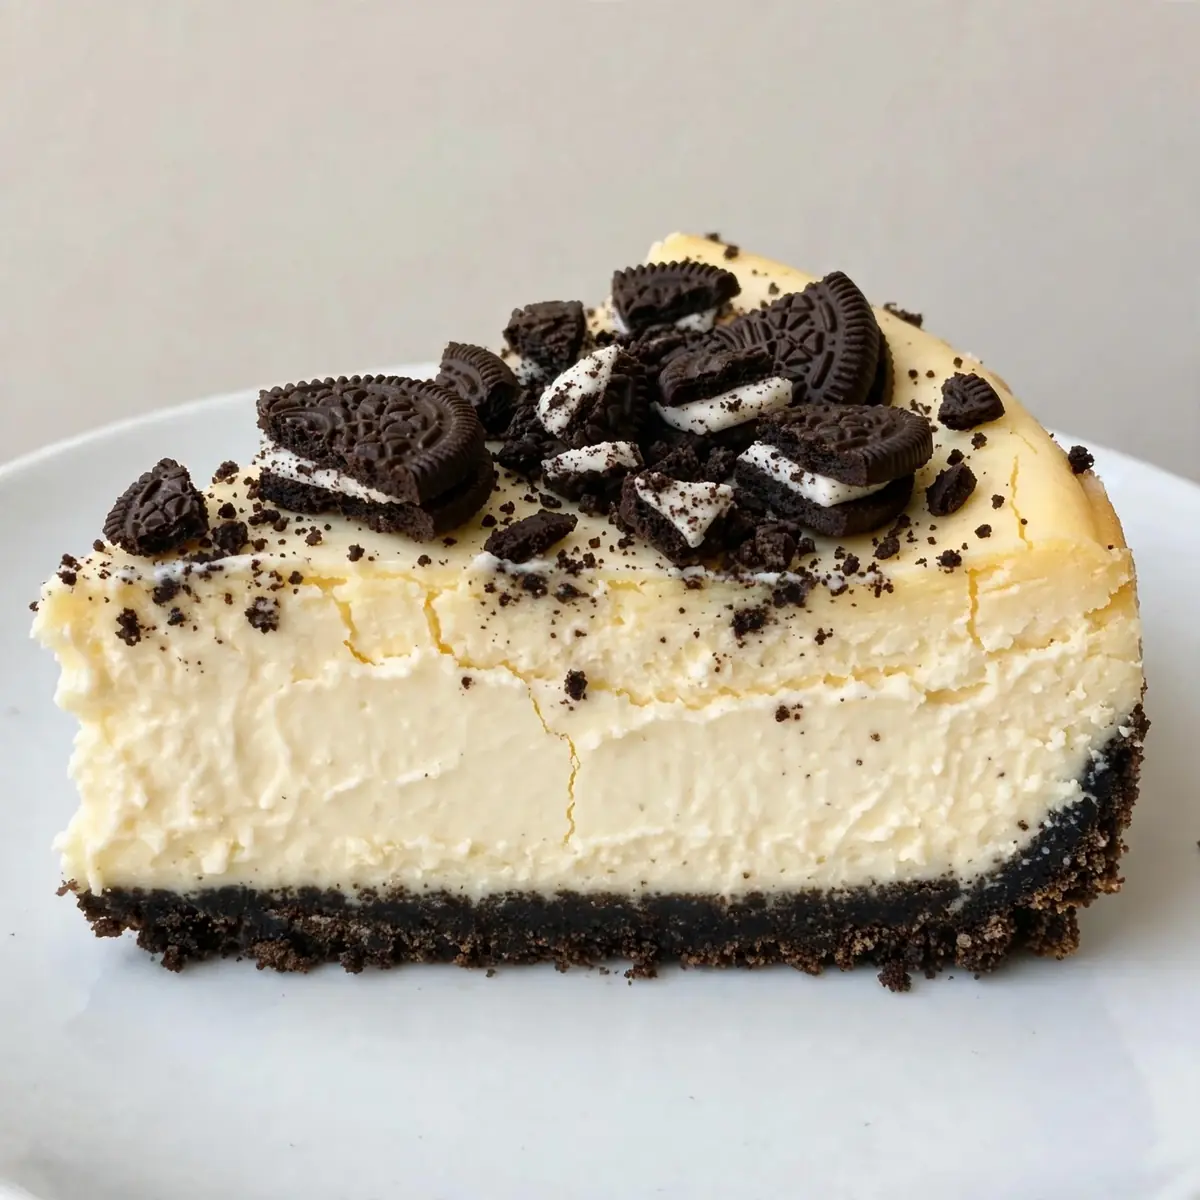
We’ve all been there: it’s a Tuesday, the kids need feeding, homework needs wrangling, and you still want to serve something that feels like a treat. This Classic Oreo Crust Cheesecake is my secret weapon for those nights; it comes together in under fifteen minutes of active work, uses one bowl and a springform tin, and tastes like you spent hours in the kitchen.
Recipe Overview
- Prep Time: 15 minutes
- Cook Time: 55 minutes (plus 4 hours chilling)
- Total Time: 5 hours 10 minutes (mostly hands-off)
- Servings: 12 generous slices
- Difficulty: Easy
Why You’ll Love This Classic Oreo Crust Cheesecake
- One-Bowl Wonder: You mix the filling in a single bowl, and the crust presses straight into the tin. Less washing up means more time relaxing.
- Make-Ahead Champion: Bake this on a Sunday, and you have a ready-to-serve dessert for the whole week. It actually tastes better after a day in the fridge.
- No Water Bath Needed: This recipe uses a low-and-slow method that prevents cracking without fussing with foil and hot water. Less mess, guaranteed.
- Kids Can Help: Crushing the biscuits and pressing the crust are perfect jobs for little hands. It turns dinner prep into a fun family activity.
- Customisable in Seconds: Swap the vanilla for a splash of mint extract or top with fresh berries. The base recipe is forgiving and flexible.
Ingredients You’ll Need
- 250g Oreo biscuits (about 22 biscuits, filling included)
- 75g unsalted butter, melted
- 900g full-fat cream cheese, at room temperature
- 200g caster sugar
- 1 tablespoon vanilla extract
- 4 large eggs, at room temperature
- 200ml double cream
- 2 tablespoons plain flour
- Pinch of salt
Tip: Room-temperature ingredients are non-negotiable here. Cold cream cheese creates a lumpy filling that won’t bake evenly. Take everything out of the fridge an hour before you start.
How to Make Classic Oreo Crust Cheesecake
- Prepare the crust. Place the whole Oreos in a food processor and blitz until they form fine, dark crumbs that look like damp sand. Pour in the melted butter and pulse until the mixture clumps together when pressed between your fingers. Tip the crumbs into a 23cm springform tin lined with parchment paper. Press firmly into the base and about 2cm up the sides using the flat bottom of a glass. The crust should feel compact and solid, with a dark, even colour. Place the tin in the freezer for 10 minutes while you make the filling.
- Preheat the oven. Set your oven to 160°C (140°C fan). Place a large baking tray filled with 1cm of hot water on the bottom shelf. This steam helps the cheesecake bake gently and prevents the top from cracking.
- Beat the cream cheese. In a large mixing bowl, beat the cream cheese with an electric mixer on medium speed until it’s smooth and silky, about 2 minutes. You’ll see it soften and lighten in colour, with no lumps remaining. Scrape down the sides and the beaters thoroughly.
- Add sugar and vanilla. Add the caster sugar and vanilla extract, then beat on low speed just until combined. The mixture should look glossy and smooth. Overbeating at this stage incorporates too much air, which can cause cracks later.
- Add eggs one at a time. Crack the first egg into the bowl and beat on low until the yellow streak disappears. The mixture will look slightly looser. Repeat with the remaining eggs, scraping the bowl after each addition. You should hear a soft, wet sound as the mixer runs, and the batter will be thick, creamy, and pale ivory in colour.
- Fold in cream and flour. Pour in the double cream and sift the plain flour and salt over the top. Use a spatula to fold gently, scraping from the bottom up, until no white streaks of flour remain. The batter should be velvety and pourable, with a smooth, uniform texture.
- Bake the cheesecake. Remove the crust from the freezer. Pour the filling into the chilled crust and smooth the top with a spatula. The surface should be level and glossy. Place the tin on the middle oven rack and bake for 50–55 minutes. The edges will look set and slightly puffed, but the centre should jiggle like a wobbling jelly when you gently shake the tin. The top will be a pale golden colour, and a faint, sweet vanilla aroma will fill your kitchen.
- Cool slowly. Turn off the oven, crack the door open, and leave the cheesecake inside for 1 hour. This gentle cooling prevents the top from sinking. After an hour, transfer the tin to a wire rack and let it cool completely at room temperature, about 2 hours. The surface will feel firm to the touch, and the sides will have pulled slightly away from the tin.
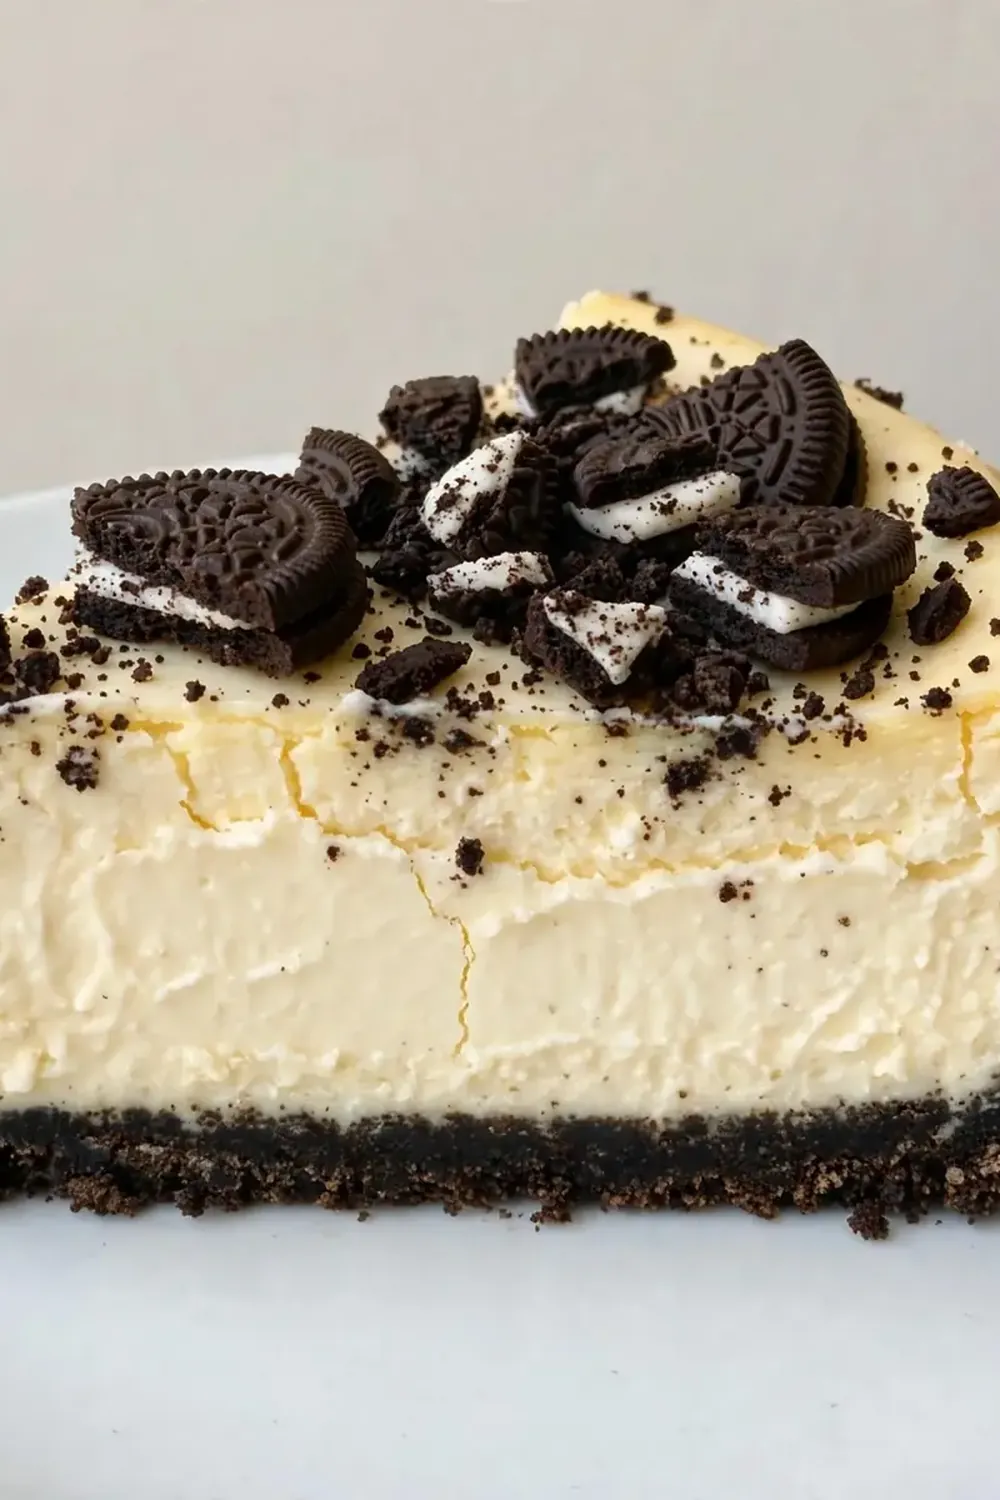
- Chill overnight. Cover the tin with foil and refrigerate for at least 4 hours, but overnight is best. The cheesecake will become dense, creamy, and sliceable. When you cut into it, the texture should be smooth and velvety, with no cracks or graininess.
Tips From My Kitchen
- Don’t skip freezing the crust. A 10-minute freeze firms up the butter, so the crust holds its shape when you pour in the filling. If the crust is warm, the butter melts into the batter, creating a soggy bottom. After testing this recipe five times, I finally got it just right by adding this step.
- Use a water bath the easy way. Instead of wrapping the tin in foil and submerging it, place a tray of hot water on the shelf below. This creates a moist oven environment that bakes the cheesecake gently and evenly without the risk of water seeping into the crust.
- Check for doneness by jiggle, not by colour. The centre should wobble like jelly when you shake the tin. If it’s completely firm, it’s overbaked and will crack. The residual heat in the oven finishes cooking the centre during the cooling phase.
- Slice with a hot knife. Run a long, sharp knife under hot water, dry it, then slice. Wipe the blade clean and reheat between each cut. This gives you clean, restaurant-style slices without dragging crumbs through the filling.
- Make it the night before. Cheesecake needs time to set properly. Rushing the chilling step results in a runny, messy slice. Make it the night before your weeknight dinner, and it will be perfectly firm and creamy when you serve it.
Equipment You’ll Need
- 23cm springform tin
- Food processor (or a sturdy zip-top bag and rolling pin)
- Electric mixer (stand or hand-held)
- Large mixing bowl
- Baking tray
- Parchment paper
- Wire cooling rack
Common Mistakes to Avoid
- Overcrowding the pan: This recipe fills a 23cm tin exactly. Using a smaller tin will cause the batter to overflow or dome in the centre. Stick to the right size for even baking and a professional look.
- Wrong temperature: Baking at a higher temperature than 160°C causes the edges to set too quickly while the centre remains liquid. The result is a cracked, uneven cheesecake. Trust the low-and-slow method.
- Skipping the rest time: Cooling the cheesecake inside the turned-off oven is crucial. If you pull it out immediately, the sudden temperature change makes the top crack. Patience here is the secret to a smooth surface.
Delicious Variations to Try
- Chocolate Mint Version: Add 1 teaspoon of peppermint extract to the filling along with the vanilla. Top the baked and cooled cheesecake with a layer of melted dark chocolate for a refreshing twist.
- Vegan Option: Use dairy-free cream cheese and a plant-based double cream substitute. Replace the eggs with a mixture of 120ml aquafaba (chickpea water) and 2 tablespoons cornflour. The texture will be slightly lighter but still delicious.
- Different Biscuit Base: Swap Oreos for chocolate digestive biscuits or speculoos cookies. Each gives a different flavour profile while keeping the same easy method. Friends always ask me for this recipe after trying it at dinner parties, and I love telling them how adaptable it is.
What to Serve With Classic Oreo Crust Cheesecake
- A dollop of lightly whipped double cream
- Fresh raspberries or sliced strawberries for a tart contrast
- A drizzle of warm chocolate sauce or salted caramel
- A tall glass of Rose Lemonade Mocktail for a refreshing pairing
- Leftover slices make a brilliant next-day treat with a cup of strong coffee
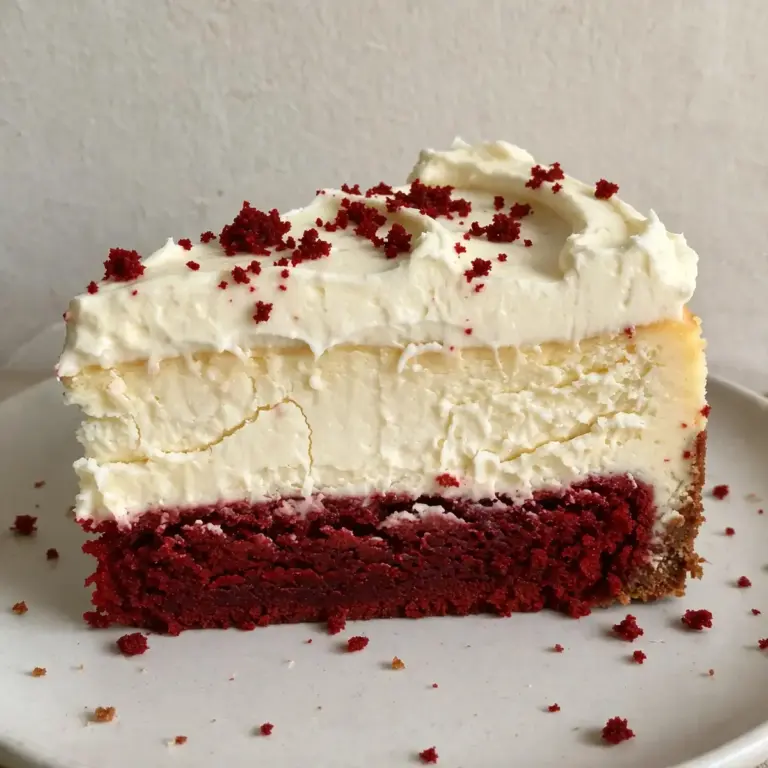
Still hungry for ideas? You might also love Oreo Cookies And Cream Cheesecake Recipe, Red Velvet Oreo Cheesecake 3 from our sister kitchens.
Frequently Asked Questions
Classic Oreo Crust Cheesecake
Ingredients
Method
- Prepare the crust. Place the whole Oreos in a food processor and blitz until they form fine, dark crumbs that look like damp sand. Pour in the melted butter and pulse until the mixture clumps together when pressed between your fingers. Tip the crumbs into a 23cm springform tin lined with parchment paper. Press firmly into the base and about 2cm up the sides using the flat bottom of a glass. The crust should feel compact and solid, with a dark, even colour. Place the tin in the freezer for 10 minutes while you make the filling.
- Preheat the oven. Set your oven to 160°C (140°C fan). Place a large baking tray filled with 1cm of hot water on the bottom shelf. This steam helps the cheesecake bake gently and prevents the top from cracking.
- Beat the cream cheese. In a large mixing bowl, beat the cream cheese with an electric mixer on medium speed until it's smooth and silky, about 2 minutes. You'll see it soften and lighten in colour, with no lumps remaining. Scrape down the sides and the beaters thoroughly.
- Add sugar and vanilla. Add the caster sugar and vanilla extract, then beat on low speed just until combined. The mixture should look glossy and smooth. Overbeating at this stage incorporates too much air, which can cause cracks later.
- Add eggs one at a time. Crack the first egg into the bowl and beat on low until the yellow streak disappears. The mixture will look slightly looser. Repeat with the remaining eggs, scraping the bowl after each addition. You should hear a soft, wet sound as the mixer runs, and the batter will be thick, creamy, and pale ivory in colour.
- Fold in cream and flour. Pour in the double cream and sift the plain flour and salt over the top. Use a spatula to fold gently, scraping from the bottom up, until no white streaks of flour remain. The batter should be velvety and pourable, with a smooth, uniform texture.
- Bake the cheesecake. Remove the crust from the freezer. Pour the filling into the chilled crust and smooth the top with a spatula. The surface should be level and glossy. Place the tin on the middle oven rack and bake for 50–55 minutes. The edges will look set and slightly puffed, but the centre should jiggle like a wobbling jelly when you gently shake the tin. The top will be a pale golden colour, and a faint, sweet vanilla aroma will fill your kitchen.
- Cool slowly. Turn off the oven, crack the door open, and leave the cheesecake inside for 1 hour. This gentle cooling prevents the top from sinking. After an hour, transfer the tin to a wire rack and let it cool completely at room temperature, about 2 hours. The surface will feel firm to the touch, and the sides will have pulled slightly away from the tin.
- Chill overnight. Cover the tin with foil and refrigerate for at least 4 hours, but overnight is best. The cheesecake will become dense, creamy, and sliceable. When you cut into it, the texture should be smooth and velvety, with no cracks or graininess.
Notes
I hope this Classic Oreo Crust Cheesecake becomes your go-to for those busy weeknights when you need something special without the stress. If you give it a try, let me know in the comments below — I’d love to hear how it turned out in your kitchen. Happy baking!