Easy Chocolate Lava Cakes
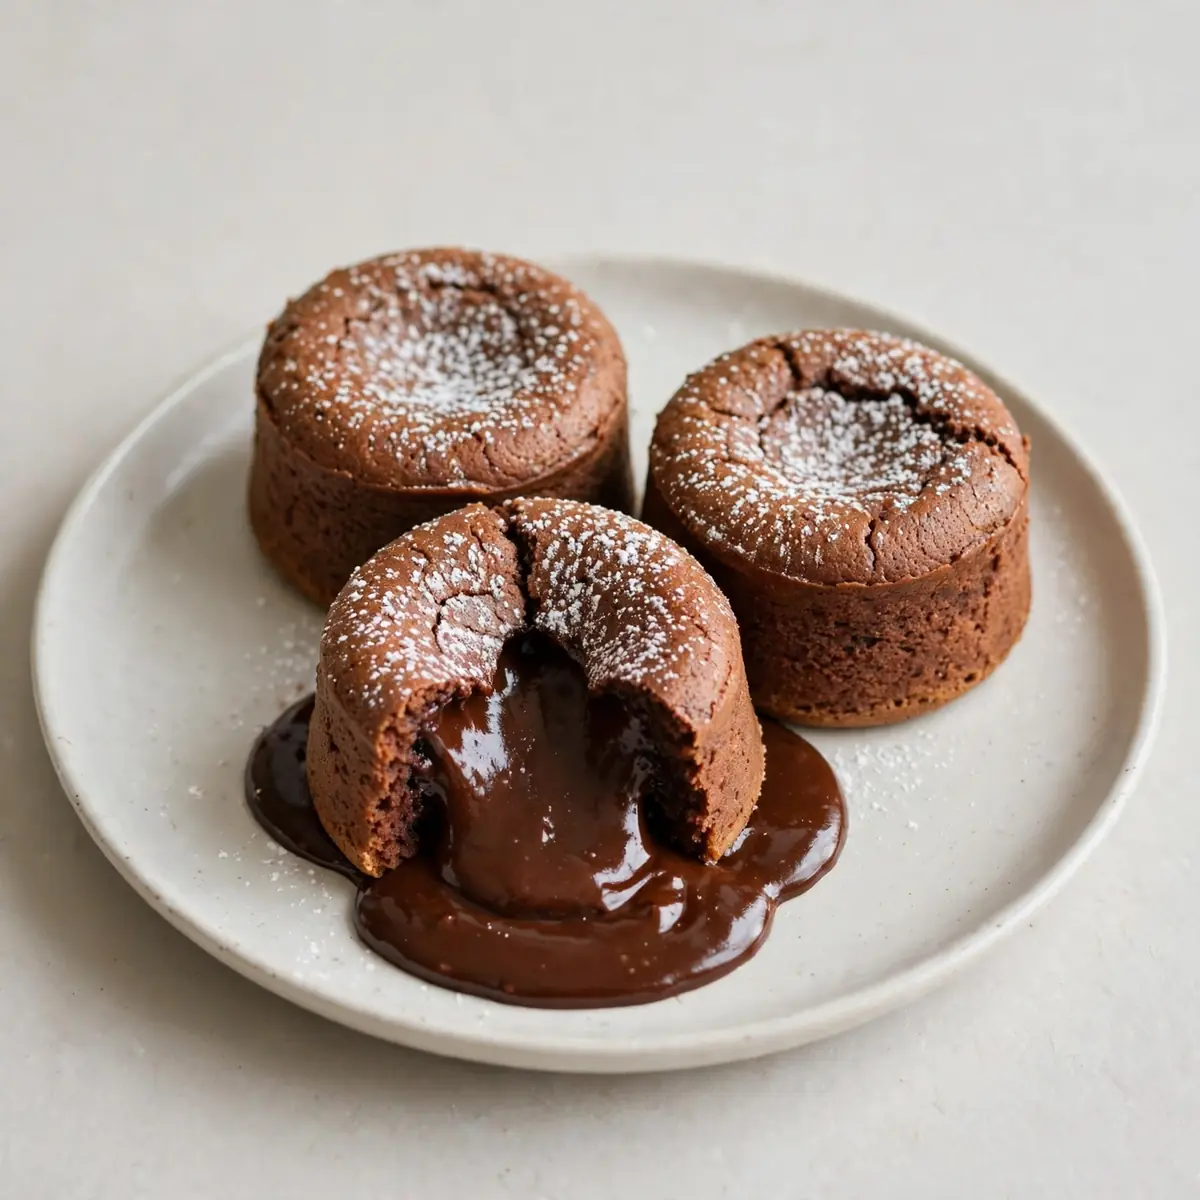
Some nights, you need a dessert that feels like a triumph but takes less effort than the washing up. That is where these Easy Chocolate Lava Cakes come in — they are my secret weapon for turning a frantic Tuesday into something special.
Recipe Overview
- Prep time: 10 minutes
- Cook time: 12-14 minutes
- Total time: 25 minutes
- Servings: 4 individual cakes
- Difficulty: Easy
Why You’ll Love This Classic New York Baked Cheesecake
- Weeknight speed: From bowl to table in under 25 minutes, which is faster than ordering takeaway.
- Minimal washing up: You only need one bowl, a whisk, and four ramekins — no stand mixer required.
- Make-ahead magic: Prep the batter in the morning, pop it in the fridge, and bake straight from cold when you get home.
- Pantry ingredients: No fancy chocolate or special equipment needed; standard supermarket staples do the job beautifully.
- Always impressive: Friends always ask me for this recipe after trying it at dinner parties, and they cannot believe how simple it is.
Ingredients You’ll Need
- 100g dark chocolate (70% cocoa solids), roughly chopped
- 100g unsalted butter, cubed
- 2 large eggs, at room temperature
- 2 large egg yolks, at room temperature
- 75g caster sugar
- 1 teaspoon vanilla extract
- 30g plain flour, sifted
- Pinch of sea salt
- Butter and cocoa powder for greasing the ramekins
Tip: Use a decent-quality dark chocolate here — it is the star of the show, so the better the chocolate, the richer the molten centre will be.
How to Make Easy Chocolate Lava Cakes
- Preheat and prepare: Set your oven to 200°C (180°C fan). Butter the insides of four 150ml ramekins thoroughly, then dust with cocoa powder, tapping out any excess. This coating creates a dark, non-stick crust that helps the cakes release cleanly.
- Melt the chocolate and butter: Place the chopped chocolate and cubed butter in a heatproof bowl over a pan of barely simmering water. Stir gently until smooth and glossy — you will see the mixture turn from lumpy to a silky, dark river. Remove from heat and let it cool for two minutes.
- Whisk the eggs and sugar: In a separate large bowl, whisk the whole eggs, egg yolks, caster sugar, and vanilla extract together. Whisk vigorously for about 2 minutes until the mixture becomes pale, thick, and leaves a ribbon trail on the surface when you lift the whisk.
- Combine the mixtures: Pour the melted chocolate mixture into the egg mixture. Fold gently with a spatula, scraping the bottom of the bowl, until you see a uniform, dark brown batter with no streaks of egg. The batter will look thick and fudgy at this stage.
- Add the dry ingredients: Sift the flour and salt over the batter. Fold again with the spatula, just until the flour disappears. Do not overmix — stop as soon as you cannot see any white flour. The batter should be smooth, thick, and smell intensely of chocolate.
- Fill the ramekins: Divide the batter evenly among the four prepared ramekins. Each should be about three-quarters full. Tap each ramekin gently on the worktop to settle the batter.
- Bake: Place the ramekins on a baking tray and bake for exactly 12-14 minutes. The cakes are ready when the tops look set, the edges are firm, and the centre jiggles slightly when you gently shake the tray. You will smell a rich, baked chocolate aroma filling your kitchen.
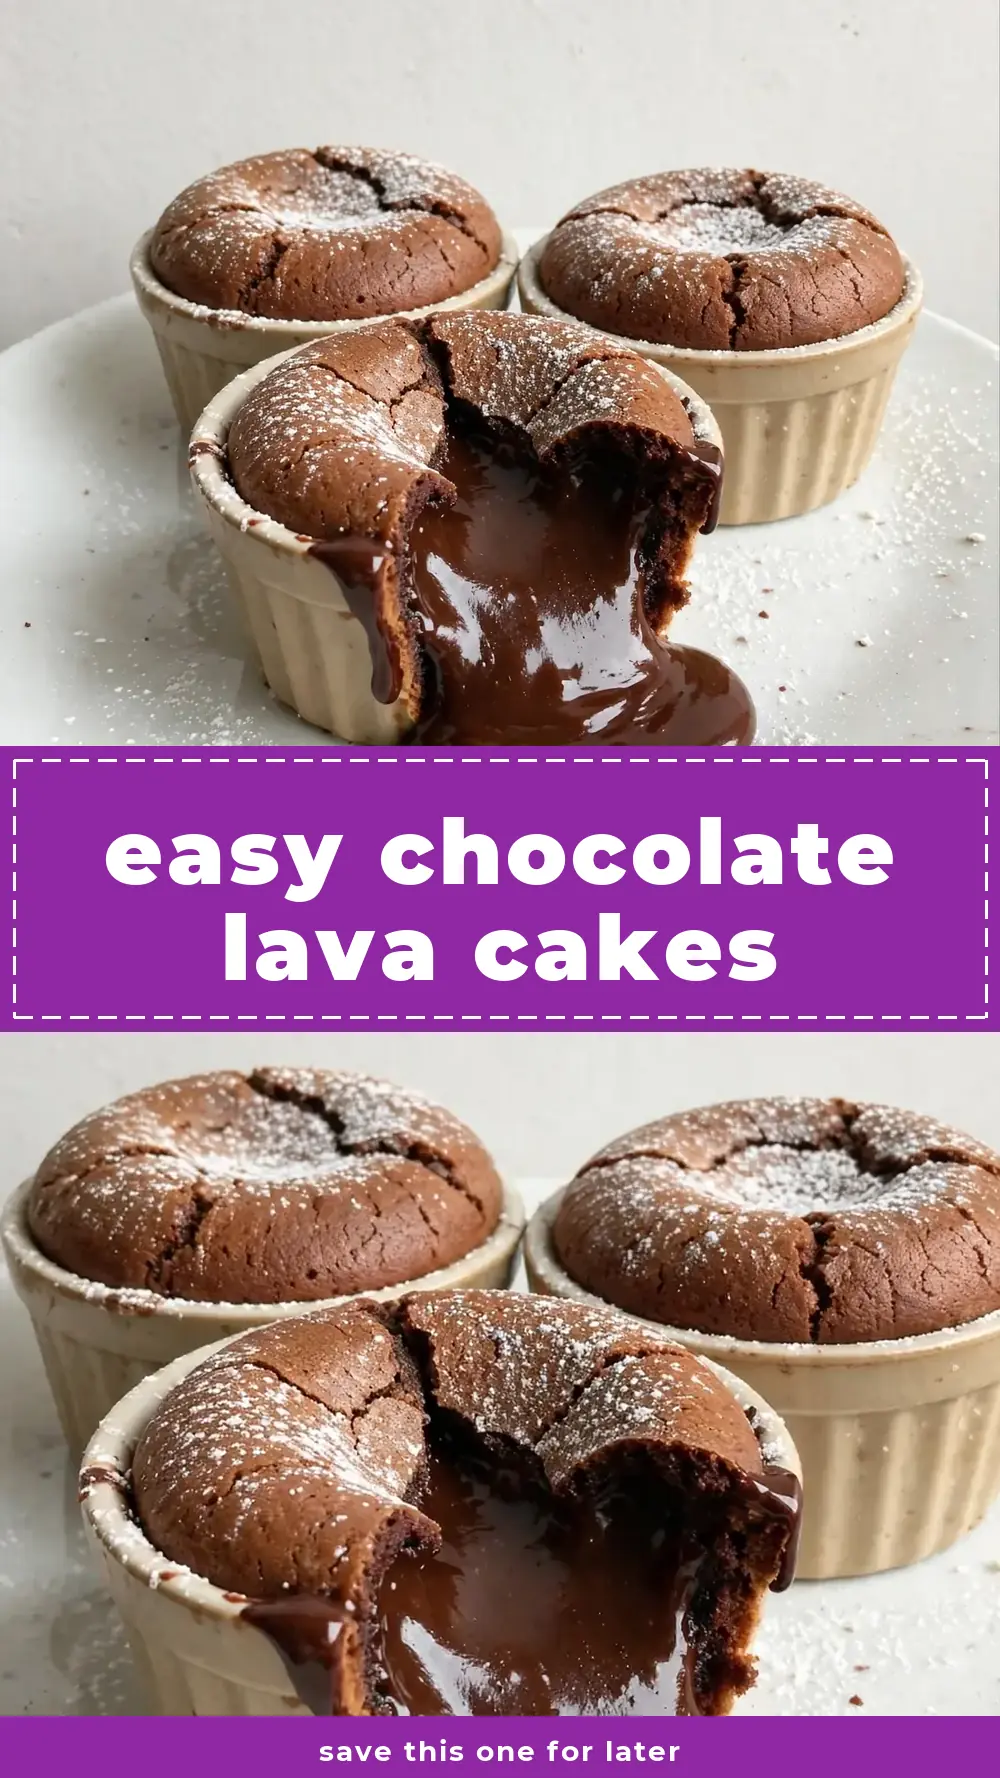
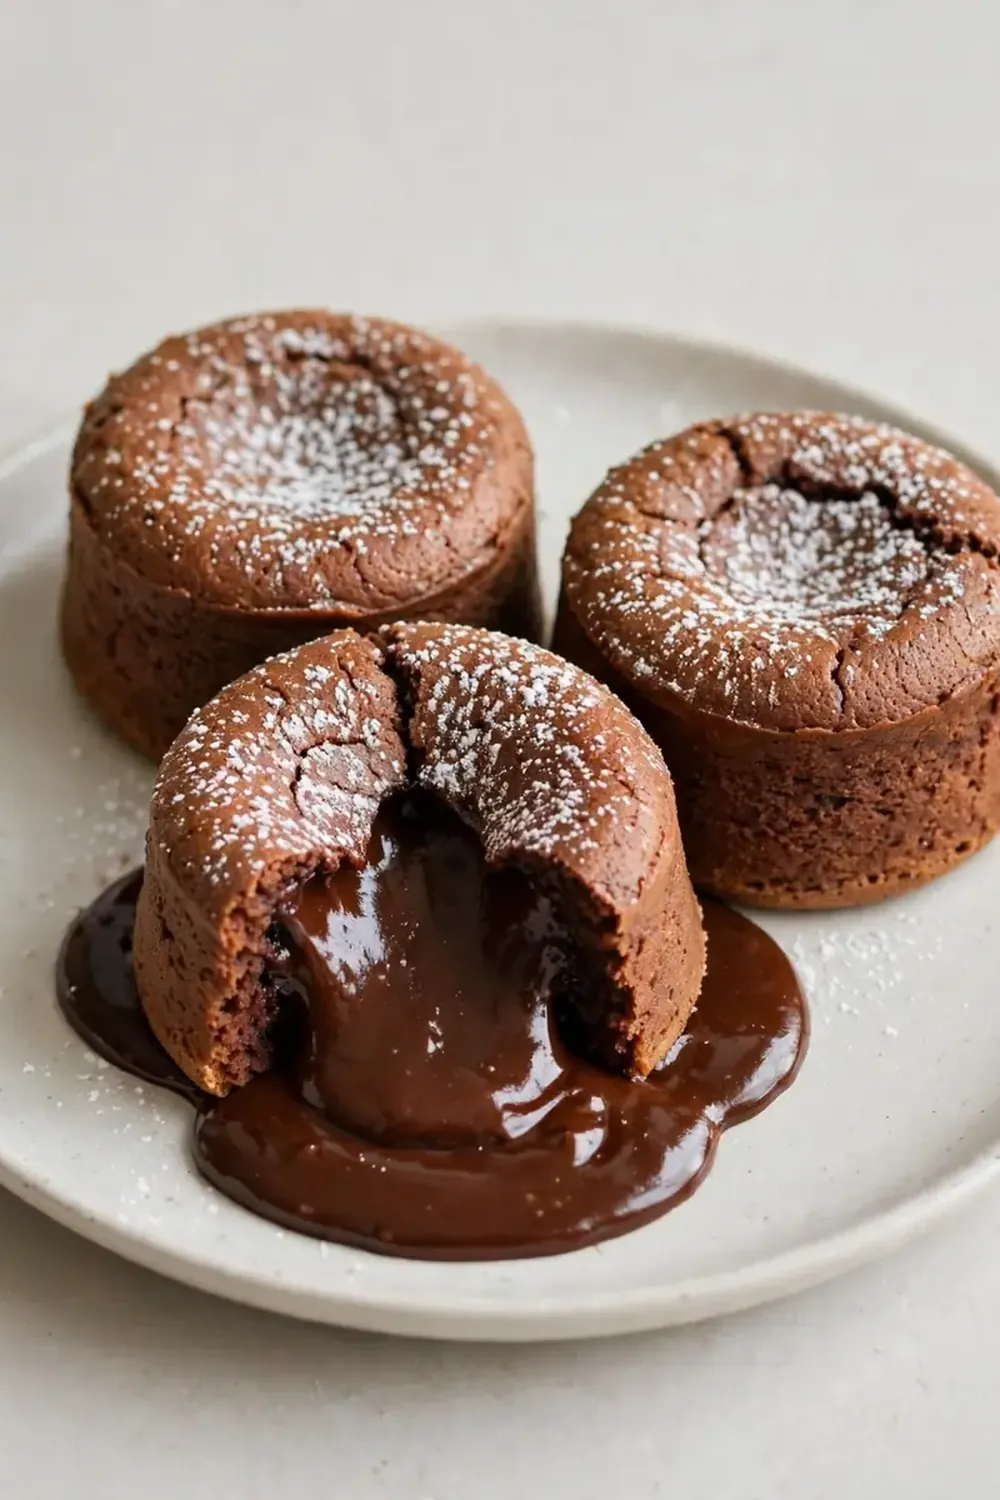
- Rest and serve: Let the ramekins cool on a wire rack for exactly 1 minute. Run a small knife around the inside edge of each ramekin, place a plate on top, and invert. Lift the ramekin off gently — you should see a perfectly formed cake with a glossy, molten centre spilling out.
Tips From My Kitchen
- Room temperature eggs are non-negotiable: Cold eggs will seize the melted chocolate, leaving you with a grainy, lumpy batter. Take your eggs out of the fridge 30 minutes before you start, or place them in a bowl of warm water for 5 minutes to bring them up to temperature quickly.
- Do not overbake: I used to struggle with this dish until I discovered that the key is taking them out while the centre still wobbles. Every oven runs differently, so check at 11 minutes for fan ovens. A cake that is fully firm in the middle is a cake that has lost its lava.
- Make them ahead for busy nights: You can assemble the batter in the ramekins, cover each with cling film, and refrigerate for up to 24 hours. Bake straight from the fridge, adding an extra 2 minutes to the cooking time. This is a lifesaver when you have kids’ activities running late.
- Use a baking tray with a lip: A standard baking tray catches any potential overflow and makes sliding the ramekins in and out of the oven much safer. It also distributes heat more evenly than placing ramekins directly on the oven rack.
- Butter and cocoa powder, not flour: Greasing with butter and dusting with cocoa powder instead of flour gives the cakes a dark, professional-looking exterior and prevents any white flour patches from ruining the appearance. It also adds a subtle extra layer of chocolate flavour.
Equipment You’ll Need
- Four 150ml ramekins
- Large mixing bowl
- Balloon whisk
- Heatproof bowl for melting
- Small saucepan
- Baking tray with a rim
- Wire cooling rack
- Spatula for folding
- Small fine-mesh sieve for sifting
Delicious Variations to Try
- White Chocolate and Raspberry: Replace the dark chocolate with 100g good-quality white chocolate and fold 6 fresh raspberries into the batter before dividing among the ramekins. The tart berries cut through the sweetness beautifully.
- Mint Chocolate Version: Add ½ teaspoon of peppermint extract along with the vanilla extract. The fresh, cool flavour pairs wonderfully with the rich dark chocolate centre.
- Gluten-Free Option: Substitute the plain flour with an equal weight of fine almond flour or a good-quality gluten-free plain flour blend. The texture remains fudgy and the lava still flows perfectly.
What to Serve With Easy Chocolate Lava Cakes
- A scoop of good-quality vanilla ice cream — the cold creaminess contrasts the warm, molten centre.
- A drizzle of double cream or clotted cream for extra indulgence.
- A handful of fresh raspberries or strawberries for a sharp, fruity hit.
- A dusting of icing sugar and a few mint leaves for a restaurant-style finish.
Still hungry for ideas? You might also love Gooey Chocolate Molten Lava Cakes Quick Easy from our sister kitchens.
Frequently Asked Questions
Can I use milk chocolate instead of dark chocolate?
You can, but the result will be much sweeter and the lava may be thinner. Milk chocolate has more sugar and less cocoa butter, so the centre can become runny rather than thick and glossy. If you prefer milk chocolate, reduce the sugar to 50g and expect a slightly less intense chocolate flavour.
Why did my lava cakes not have a molten centre?
This usually happens when the cakes are overbaked. The centre needs to be slightly underdone to remain liquid. Check your oven temperature with an oven thermometer, as many run hotter than the dial suggests. Next time, reduce the baking time by 2 minutes and look for that slight jiggle in the centre.
Can I freeze the unbaked batter?
Yes, you can freeze the filled ramekins, tightly wrapped in cling film and foil, for up to 3 months. Bake from frozen at 200°C, adding 5-6 minutes to the cooking time. The lava will still be beautifully molten, making this an excellent option for unexpected guests.
Do I have to use ramekins, or can I use a muffin tin?
A muffin tin works perfectly if you do not have ramekins. Butter and dust the muffin cups well, then fill them three-quarters full. The baking time will be slightly shorter, around 10-12 minutes, because the cups are smaller. Check for the same jiggle test before removing them from the oven.
Can I make these dairy-free?
Absolutely. Use a high-quality dairy-free dark chocolate and replace the butter with a solid coconut oil or a good dairy-free baking block. The texture will be slightly different — slightly less tender — but the molten centre will still work wonderfully. Ensure your dairy-free chocolate has at least 70% cocoa solids for the best results.
Easy Chocolate Lava Cakes
Rich, individual chocolate cakes with a molten center, perfect for a decadent dessert.
Ingredients
Method
-
Preheat and prepare: Set your oven to 200°C (180°C fan). Butter the insides of four 150ml ramekins thoroughly, then dust with cocoa powder, tapping out any excess. This coating creates a dark, non-stick crust that helps the cakes release cleanly.
-
Melt the chocolate and butter: Place the chopped chocolate and cubed butter in a heatproof bowl over a pan of barely simmering water. Stir gently until smooth and glossy — you will see the mixture turn from lumpy to a silky, dark river. Remove from heat and let it cool for two minutes.
-
Whisk the eggs and sugar: In a separate large bowl, whisk the whole eggs, egg yolks, caster sugar, and vanilla extract together. Whisk vigorously for about 2 minutes until the mixture becomes pale, thick, and leaves a ribbon trail on the surface when you lift the whisk.
-
Combine the mixtures: Pour the melted chocolate mixture into the egg mixture. Fold gently with a spatula, scraping the bottom of the bowl, until you see a uniform, dark brown batter with no streaks of egg. The batter will look thick and fudgy at this stage.
-
Add the dry ingredients: Sift the flour and salt over the batter. Fold again with the spatula, just until the flour disappears. Do not overmix — stop as soon as you cannot see any white flour. The batter should be smooth, thick, and smell intensely of chocolate.
-
Fill the ramekins: Divide the batter evenly among the four prepared ramekins. Each should be about three-quarters full. Tap each ramekin gently on the worktop to settle the batter.
-
Bake: Place the ramekins on a baking tray and bake for exactly 12-14 minutes. The cakes are ready when the tops look set, the edges are firm, and the centre jiggles slightly when you gently shake the tray. You will smell a rich, baked chocolate aroma filling your kitchen.
-
Rest and serve: Let the ramekins cool on a wire rack for exactly 1 minute. Run a small knife around the inside edge of each ramekin, place a plate on top, and invert. Lift the ramekin off gently — you should see a perfectly formed cake with a glossy, molten centre spilling out.
Notes
Use good quality dark chocolate (70% cocoa) for best results. Ensure ramekins are well buttered and dusted with cocoa to prevent sticking. Do not overbake; the center should jiggle slightly.
I would love to hear how these Easy Chocolate Lava Cakes turn out in your kitchen. Drop a comment below and let me know if you tried the make-ahead method or any of the variations — your feedback always inspires me to keep experimenting.