Classic New York Baked Cheesecake
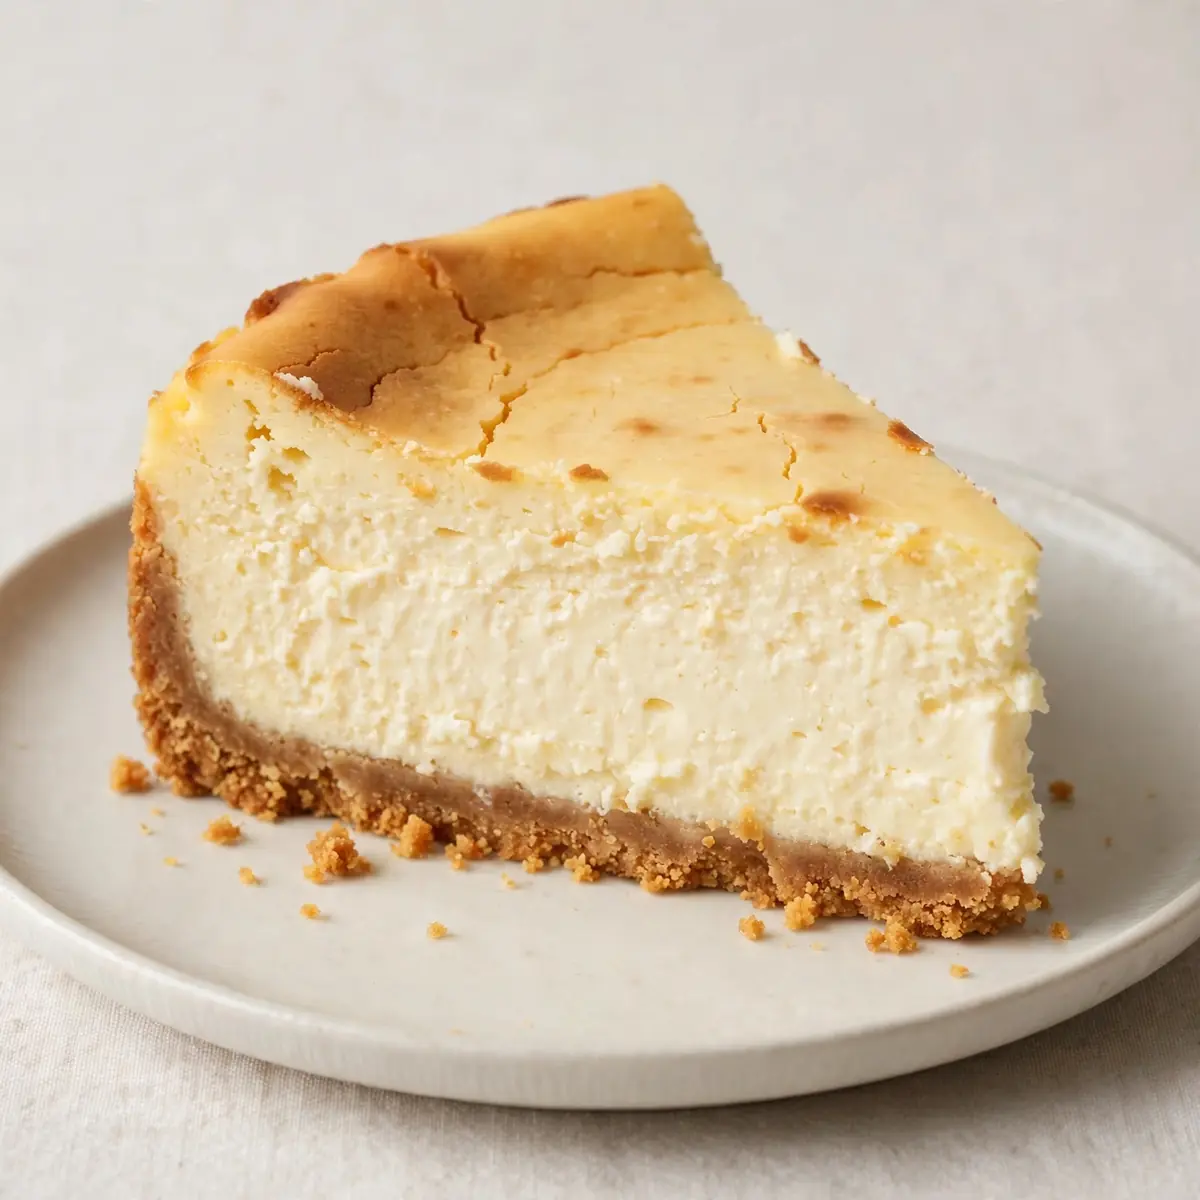
Some nights, you need a dessert that feels like a triumph without the hours of fuss. This Classic New York Baked Cheesecake is that recipe — a dense, creamy, and tangy slice of heaven that comes together in a flash, using just one bowl and a few store-cupboard staples. It’s the weeknight win that makes you look like a pastry hero, even when you’re short on time.
Recipe Overview
- Prep Time: 20 minutes
- Cook Time: 50 minutes
- Total Time: 1 hour 10 minutes (plus 4 hours chilling)
- Servings: 12 generous wedges
- Difficulty: Easy
Why You’ll Love This Classic New York Baked Cheesecake
- One Bowl, No Fuss: You mix the filling in a single bowl, and the biscuit base presses straight into the tin. Minimal washing-up means you’re back on the sofa in no time.
- Made for Busy Weeknights: The hands-on time is under 25 minutes. While it bakes, you can sort the kids’ homework, pack lunches, or just put your feet up.
- Make-Ahead Magic: This cheesecake tastes even better the next day. Bake it on a Sunday, and you’ve got dessert ready for Monday, Tuesday, and Wednesday without lifting a finger.
- No Water Bath Needed: Forget the fiddly foil wrapping and water-bath anxiety. This recipe uses a simple trick to prevent cracking, making it foolproof for beginners.
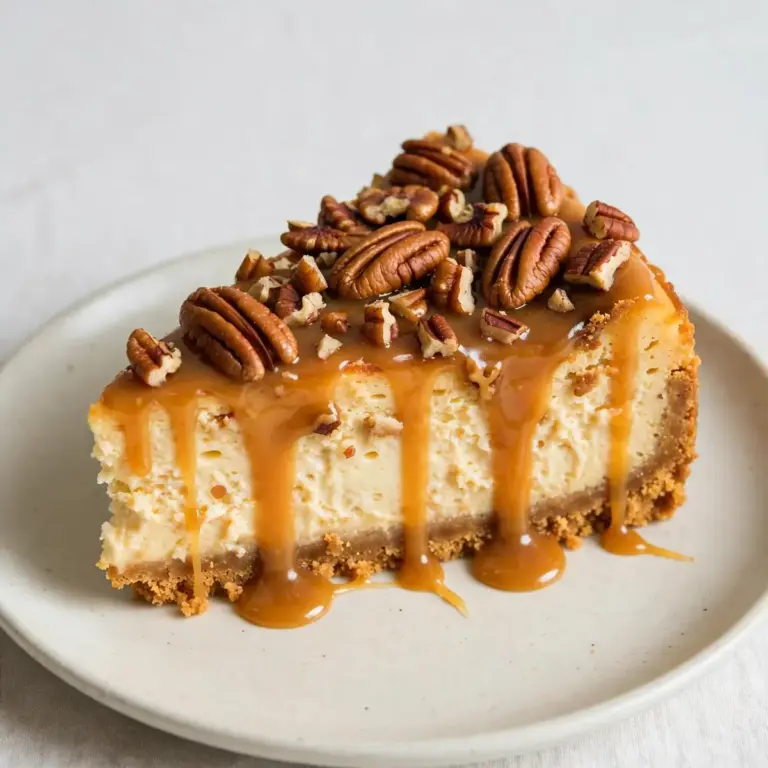
- Customisable in Seconds: Once you’ve mastered the base, you can swirl in fruit, add a layer of Classic Caramel Pecan Cheesecake, or top with fresh berries. It’s a blank canvas for your weekly cravings.
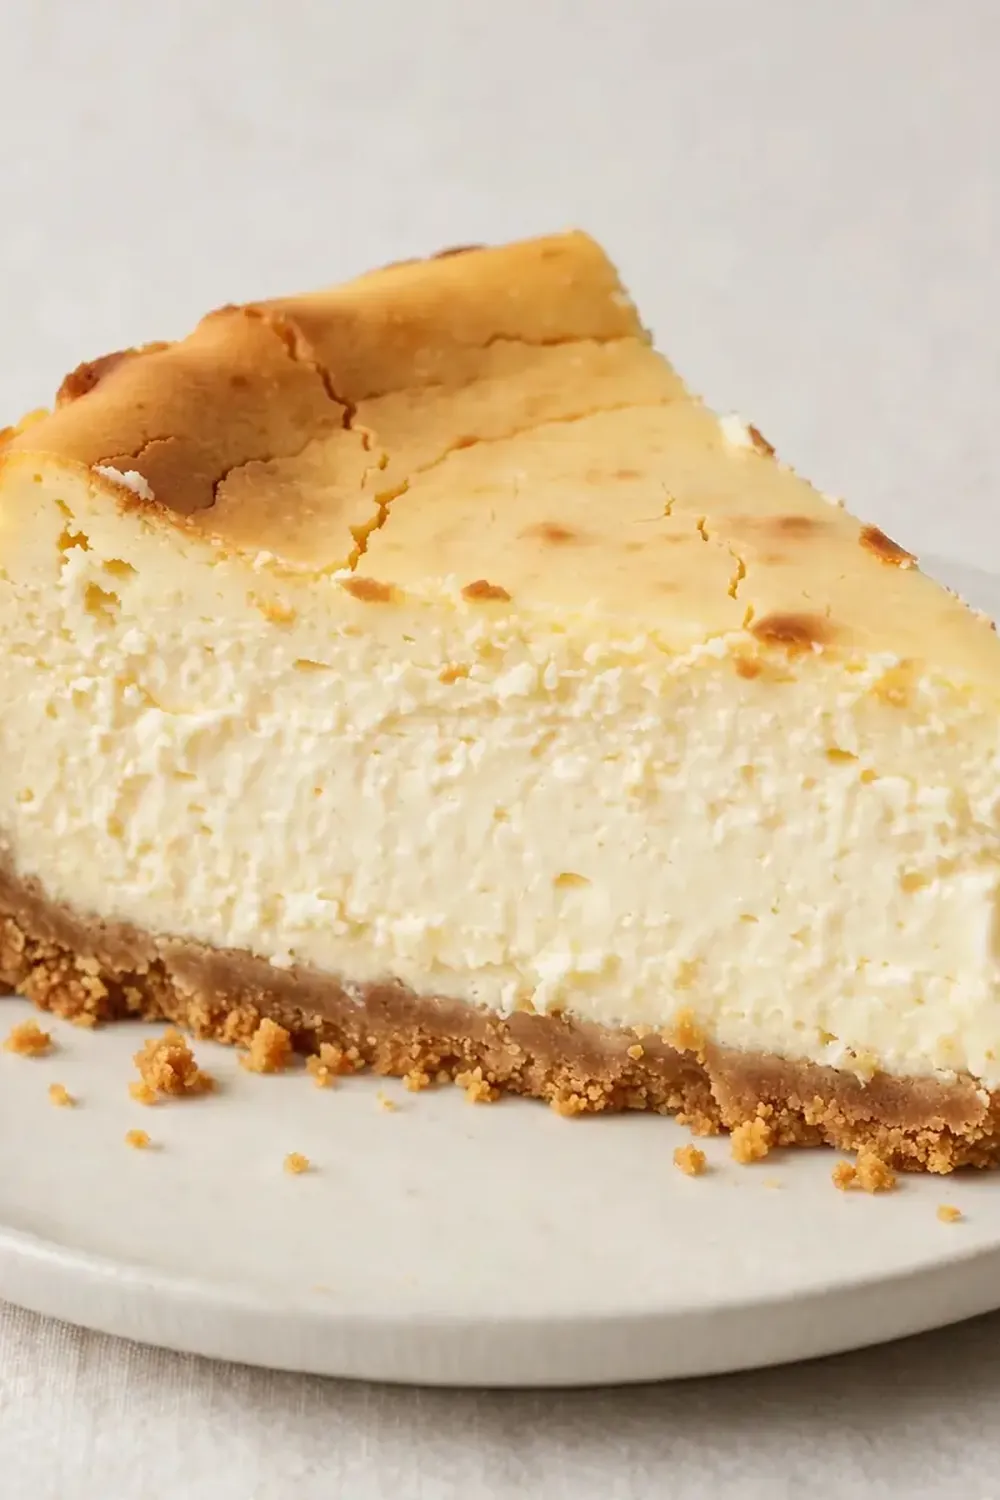
Ingredients You’ll Need
- 200g digestive biscuits
- 80g unsalted butter, melted
- 1 tablespoon caster sugar
- 900g full-fat cream cheese, at room temperature
- 200g caster sugar
- 1 tablespoon plain flour
- 1 teaspoon vanilla extract
- 3 large eggs, at room temperature
- 1 large egg yolk, at room temperature
- 150ml soured cream, at room temperature
- 1 tablespoon lemon juice
Tip: Room-temperature ingredients are non-negotiable here. Cold cream cheese and eggs create a lumpy batter that bakes unevenly. Take everything out of the fridge an hour before you start — it makes all the difference to that silky, smooth texture.
How to Make Classic New York Baked Cheesecake
- Preheat and Prep: Heat your oven to 160°C (140°C fan). Line the base of a 23cm springform tin with a circle of parchment paper. Smear a little butter around the sides of the tin — this helps the cheesecake release cleanly later.
- Make the Base: Tip the digestive biscuits into a sealed bag and bash them with a rolling pin until you have fine crumbs that feel like damp sand. In a bowl, mix the crumbs with the melted butter and 1 tablespoon of sugar until it looks like wet, dark brown sand. Press this mixture firmly into the base of your tin using the bottom of a glass. You want an even, compact layer. Bake for 10 minutes until it smells toasty and feels set to the touch. Set aside to cool.
- Start the Filling: In a large bowl, beat the cream cheese with an electric mixer on low speed until it’s completely smooth — about 1 minute. You should see no lumps at all, just a pale, silky mass. Add the 200g of sugar and the flour, beating until just combined. The mixture will look slightly grainy at this point, and that’s fine.
- Add the Eggs: Beat in the vanilla extract, then add the eggs one at a time, mixing on low after each addition. The batter will become glossy and smooth, with a slight sheen. Scrape down the sides of the bowl between each egg to keep everything even. Finally, add the egg yolk and mix gently.
- Finish the Filling: Fold in the soured cream and lemon juice with a spatula. The batter will now be thick, luscious, and pourable — it should look like a very thick custard, pale and creamy. Pour the filling onto the cooled base. Give the tin a gentle tap on the counter to release any air bubbles.
- Bake to Perfection: Place the tin on a baking tray and bake for 50-55 minutes. The edges should look set and slightly puffed, while the centre will still wobble like a jelly when you gently shake the tin. The surface should be a pale gold, with no browning. Turn the oven off, crack the door open slightly, and leave the cheesecake inside for 1 hour. This gentle cooling prevents cracking.
- Chill and Serve: Remove from the oven and run a thin knife around the edge of the tin to loosen the cake. Let it cool completely on a wire rack — about 2 hours. Then, cover loosely with cling film and refrigerate for at least 4 hours, ideally overnight. The texture firms up beautifully as it chills. Slice with a hot, dry knife for clean edges.
Tips From My Kitchen
- Don’t Overmix the Batter: Overbeating incorporates too much air, which creates bubbles that rise and crack the surface. Keep your mixer on low and stop as soon as the ingredients are just combined. You want a dense, velvety texture, not a fluffy one.
- Use a Springform Tin: This is essential for a clean release. A standard cake tin will trap the cheesecake, making it impossible to remove without breaking. Line the base with parchment, and lightly butter the sides — never grease the base, as the paper does that job.
- The Cooling Trick is Key: Leaving the cheesecake in the switched-off oven with the door ajar for an hour is my secret weapon. It prevents the drastic temperature change that causes cracks. If you rush this step, you risk a split surface.
- Room Temperature is Non-Negotiable: This is the most common mistake. Cold cream cheese creates lumps that no amount of beating will fix. Cold eggs seize the batter, making it thick and uneven. Set everything out an hour before you start — your mixer will thank you.
- Slice with a Hot Knife: For those picture-perfect slices, run a long, thin knife under hot water, dry it quickly, and slice through the cheesecake in one smooth motion. Wipe the blade clean between each cut. This gives you clean, sharp edges without dragging through the filling.
- Double the Batch for Busy Weeks: This cheesecake freezes beautifully. Make two, bake one, and freeze the other (unbaked) for up to a month. When you need a quick dessert, just bake it straight from frozen, adding 10 minutes to the cooking time. This is my go-to recipe when I need something quick but impressive.
Equipment You’ll Need
- Stand mixer or hand mixer
- Baking tray
- Parchment paper
- Wire cooling rack
- 23cm springform cake tin
- Rolling pin (or a heavy-bottomed pan for crushing biscuits)
- Large mixing bowl
- Thin, sharp knife for slicing
Delicious Variations to Try
- Spicy Version: Add 1 teaspoon of ground cinnamon and a pinch of cayenne pepper to the biscuit base. Swirl a tablespoon of honey and a teaspoon of chilli flakes through the filling before baking. The warmth of the spice cuts through the richness beautifully.
- Vegetarian/Vegan Option: Use a plant-based cream cheese and soured cream (look for coconut or oat-based versions). Replace the butter with a firm coconut oil. For the eggs, use a commercial egg replacer or a mixture of cornflour and water. The texture will be slightly softer, but still incredibly satisfying.
- Different Protein: For a savoury twist, try a cheesecake-inspired tart. Swap the sugar for a pinch of salt and cracked black pepper. Use a base of crushed crackers and melted butter, then top with a layer of roasted cherry tomatoes and fresh basil before adding the filling. It’s a surprising but delicious dinner party starter.
What to Serve With Classic New York Baked Cheesecake
- A dollop of softly whipped cream and a handful of fresh raspberries.
- A drizzle of salted caramel sauce or a spoonful of tangy lemon curd.
- A side of Fresh Peach Sorbet Recipe for a refreshing contrast.
- Pair it with a strong black coffee or a pot of herbal tea.
- For a lighter finish, serve alongside a simple Soft Strawberry Shortcake Cookies.
Still hungry for ideas? You might also love New York Cheesecake from our sister kitchens.
Frequently Asked Questions
Classic New York Baked Cheesecake
Ingredients
Method
-
Preheat and Prep: Heat your oven to 160°C (140°C fan). Line the base of a 23cm springform tin with a circle of parchment paper. Smear a little butter around the sides of the tin — this helps the cheesecake release cleanly later.
-
Make the Base: Tip the digestive biscuits into a sealed bag and bash them with a rolling pin until you have fine crumbs that feel like damp sand. In a bowl, mix the crumbs with the melted butter and 1 tablespoon of sugar until it looks like wet, dark brown sand. Press this mixture firmly into the base of your tin using the bottom of a glass. You want an even, compact layer. Bake for 10 minutes until it smells toasty and feels set to the touch. Set aside to cool.
-
Start the Filling: In a large bowl, beat the cream cheese with an electric mixer on low speed until it’s completely smooth — about 1 minute. You should see no lumps at all, just a pale, silky mass. Add the 200g of sugar and the flour, beating until just combined. The mixture will look slightly grainy at this point, and that’s fine.
-
Add the Eggs: Beat in the vanilla extract, then add the eggs one at a time, mixing on low after each addition. The batter will become glossy and smooth, with a slight sheen. Scrape down the sides of the bowl between each egg to keep everything even. Finally, add the egg yolk and mix gently.
-
Finish the Filling: Fold in the soured cream and lemon juice with a spatula. The batter will now be thick, luscious, and pourable — it should look like a very thick custard, pale and creamy. Pour the filling onto the cooled base. Give the tin a gentle tap on the counter to release any air bubbles.
-
Bake to Perfection: Place the tin on a baking tray and bake for 50-55 minutes. The edges should look set and slightly puffed, while the centre will still wobble like a jelly when you gently shake the tin. The surface should be a pale gold, with no browning. Turn the oven off, crack the door open slightly, and leave the cheesecake inside for 1 hour. This gentle cooling prevents cracking.
-
Chill and Serve: Remove from the oven and run a thin knife around the edge of the tin to loosen the cake. Let it cool completely on a wire rack — about 2 hours. Then, cover loosely with cling film and refrigerate for at least 4 hours, ideally overnight. The texture firms up beautifully as it chills. Slice with a hot, dry knife for clean edges.
Notes
And there you have it — a dense, creamy, and utterly satisfying Classic New York Baked Cheesecake that fits into even the busiest weeknight. I’d love to hear how you get on with it. Drop a comment below and let me know your favourite topping or variation — I’m always looking for new ideas to try in my own kitchen. Happy baking!