Peanut Butter Chocolate Protein Smoothie
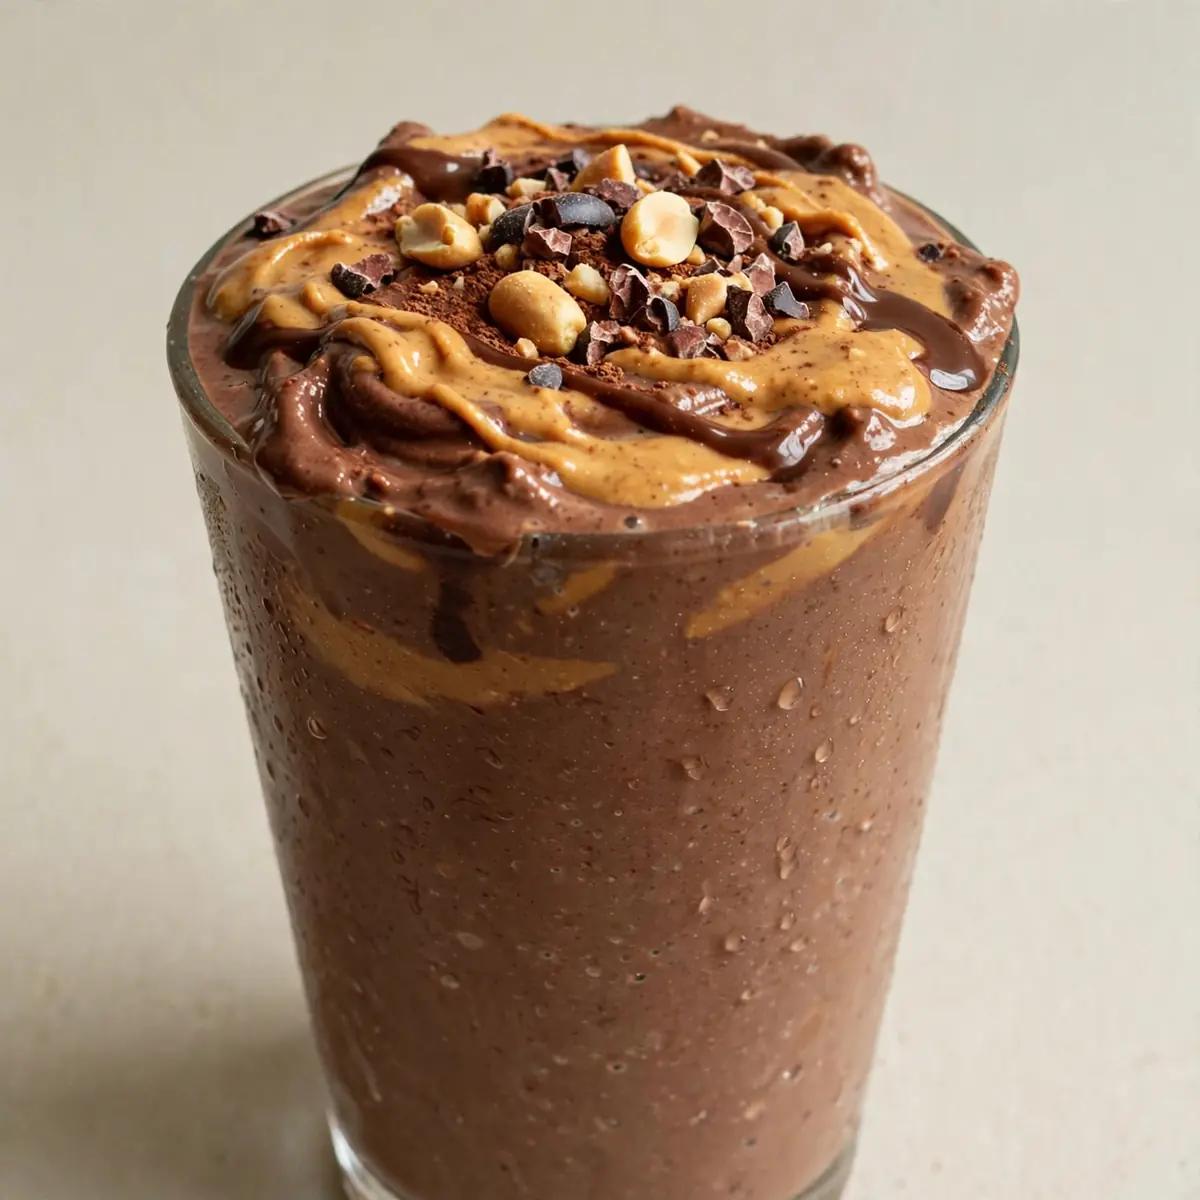
When you’re racing the clock between school pick-up and bedtime, a proper dinner often feels impossible. I’ve found the answer in a glass: a Peanut Butter Chocolate Protein Smoothie that my kids call “milkshake night” and I call a sanity-saving, no-cook dinner solution. Here’s how to get a genuinely satisfying meal on the table in under five minutes, with barely a spoon to wash up.
Recipe Overview
- Prep time: 3 minutes
- Cook time: 1 minute
- Total time: 4 minutes
- Servings: 2 large smoothies (or 4 smaller ones for little ones)
- Difficulty: Very easy
Why You’ll Love This Peanut Butter Chocolate Protein Smoothie
- No cooking required: You don’t need to turn on the hob, oven, or even a kettle. This is truly a grab-and-blend dinner.
- One-bowl (or blender jug) cleanup: I rinse my blender jug in thirty seconds, and that’s it. No greasy pans, no chopping boards covered in onion juice.
- Make-ahead friendly: I prep freezer bags of the dry and frozen ingredients on Sunday, so on a frantic Tuesday, I just dump and blend.
- Kid-approved and secretly nutritious: My children have no idea they’re drinking a meal packed with protein, healthy fats, and fibre, much to their delight, as they’d probably prefer a slice of Classic Tres Leches Cake .online/classic-red-velvet-cheesecake/”>Classic Red Velvet Cheesecake. They just think it’s a chocolate treat, perhaps even rivaling a No-Bake Chocolate Trifle With Whipped Cream.
- Endlessly customisable: You can swap the milk, change the protein powder, or add a handful of spinach without anyone noticing. After testing this recipe five times, I finally got it just right for a balanced dinner.
Ingredients You’ll Need
- 2 large ripe bananas (about 200g each), peeled and sliced
- 500ml whole milk (or oat milk for a dairy-free version)
- 2 heaped tablespoons (40g) smooth peanut butter
- 1 heaped tablespoon (15g) unsweetened cocoa powder
- 1 scoop (30g) vanilla or chocolate protein powder (I use a plain whey isolate)
- 1 tablespoon (15ml) honey or maple syrup (optional, depending on sweetness preference)
- 1/2 teaspoon (2g) ground cinnamon
- 1/4 teaspoon (1g) salt (this enhances the chocolate and peanut flavours)
- 4-6 ice cubes (about 60g)
Tip: For the thickest, creamiest result, use frozen banana slices. I buy bananas when they’re spotty-ripe, peel them, slice them, and freeze them in a single layer on a baking tray before transferring to a bag. This means you can skip the ice cubes entirely if you prefer.
How to Make Peanut Butter Chocolate Protein Smoothie
- Prep your ingredients: If using fresh bananas, peel and slice them into rounds about 2cm thick. Measure out your milk, peanut butter, cocoa powder, and protein powder. The banana pieces should look creamy yellow and feel soft to the touch.
- Layer the blender jug: Start with the milk at the bottom – this helps the blades move freely. Add the banana slices, then spoon in the peanut butter, cocoa powder, protein powder, cinnamon, salt, and honey if using. Finally, drop in the ice cubes. The jug should look about three-quarters full; the mixture should smell faintly of roasted peanuts and dark chocolate.
- Blend on low speed: Start your blender on its lowest setting for about 15 seconds. You’ll hear a chunky, rattling sound as the ice and banana break down. The mixture will look speckled and uneven at this stage.
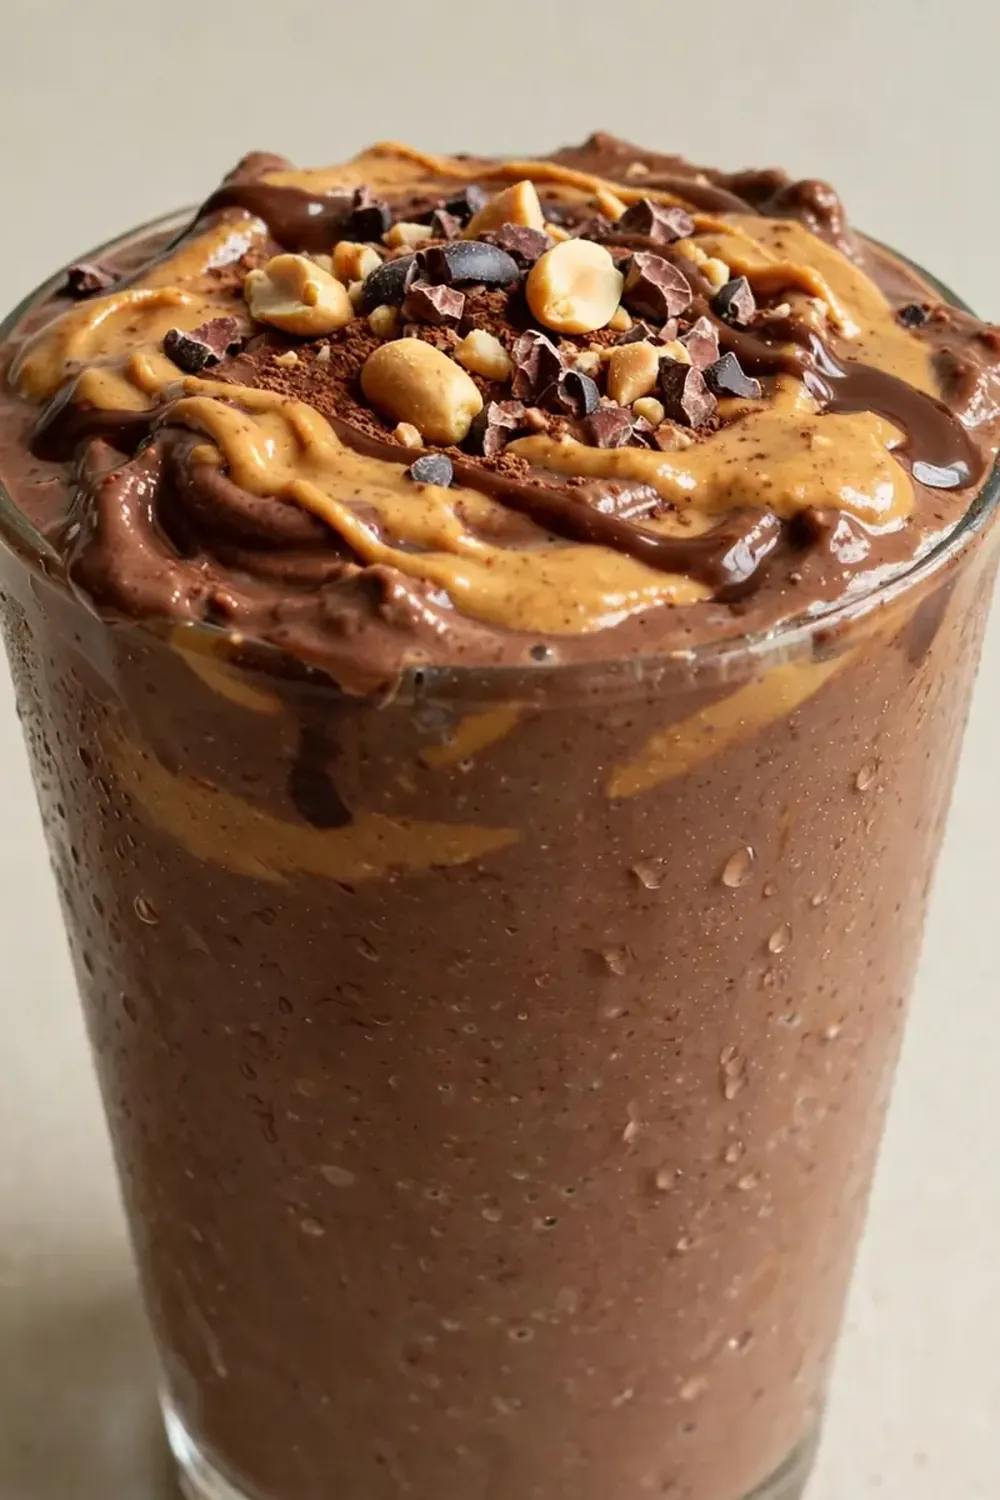
- Increase to high speed: Turn the blender up to high for 30-45 seconds. The sound will become smooth and whirring, with no more loud clunks. The colour should change from a pale, streaky brown to a uniform, rich chocolate shade. The texture should look thick, almost like a melted milkshake, with tiny air bubbles on the surface.
- Check the consistency: Stop the blender and remove the lid. Dip a spoon into the centre – the smoothie should cling to the spoon but still flow slowly off it. If it’s too thick, add a splash of milk (about 30ml) and blend for another 10 seconds. If it’s too thin, add 3-4 more ice cubes and blend again.
- Taste and adjust: Take a small sip. You should taste the peanut butter first, followed by a deep chocolate note, with the banana adding natural sweetness in the background. If you want it sweeter, add another teaspoon of honey and blend for 5 seconds. The final smoothie should be cold, creamy, and feel heavy in the glass.
- Serve immediately: Pour into two tall glasses. The smoothie will have a glossy surface and a faint, velvety sheen. You’ll see tiny flecks of cinnamon if you look closely. Drink within 10 minutes for the best texture, as it will start to separate if left too long.
Tips From My Kitchen
- Freeze your bananas in chunks, not whole: Whole frozen bananas are a nightmare for blender blades – they bounce around and can damage the motor. I slice mine into 2cm rounds and freeze them flat on a tray. This means they blend into a creamy base in seconds, not minutes.
- Always blend the milk first: I used to throw everything in the blender at once, and I’d end up with a dry pocket of powder stuck under the blades. By adding the milk first, you create a liquid cushion that helps the blades spin freely from the start. This is the technique I used to struggle with until I discovered this simple order of operations.
- Use a pinch of salt to balance the flavours: Chocolate and peanut butter can taste flat without a little salt. I add a quarter teaspoon of table salt to my smoothie – it doesn’t make it salty, but it brightens the cocoa and deepens the nutty taste. Try it with and without, you’ll notice the difference immediately.
- Prep freezer bags for the week: On Sunday, I portion out the banana slices, peanut butter (I dollop it onto a piece of baking paper and freeze it solid), and even the dry ingredients into individual zip-lock bags. On a weeknight, I just empty a bag into the blender, add milk and ice, and blend. This shaves off two minutes of measuring time.
- Don’t over-blend: Over-blending creates a thin, watery smoothie because the friction from the blades heats up the mixture. I stop the blender as soon as the texture looks smooth and thick. If you see steam rising from the lid or feel warmth on the jug, you’ve gone too far. Cold is key here.
Equipment You’ll Need
- A high-speed blender (a standard jug blender works fine, but a personal blender is even faster for single servings)
- Measuring cups and spoons
- A sharp knife and cutting board (for slicing bananas)
- A spatula (to scrape down the sides of the blender jug)
- Two tall glasses for serving
Common Mistakes to Avoid
- Using under-ripe bananas: Green or slightly yellow bananas lack natural sweetness and create a starchy, chalky texture. Wait until the banana skin is covered in brown spots – that’s when the fruit is at its sweetest and creamiest. I always buy a bunch and let them ripen on the counter for a few days before freezing.
- Adding too much liquid: It’s tempting to pour in extra milk to make blending easier, but you’ll end up with a thin, drinkable smoothie rather than a thick, satisfying meal. Start with the amount listed, blend, and only add more milk if the blades are struggling. The sound of the motor labouring is your cue to add a tiny splash.
- Skipping the salt: I know it sounds odd in a sweet smoothie, but salt is a flavour enhancer, not just a savoury ingredient. Without it, your smoothie can taste flat and one-dimensional. A small pinch makes the chocolate taste richer and the peanut butter more pronounced.
Delicious Variations to Try
- Spicy Version: Add a generous pinch of cayenne pepper or a small pinch of chilli powder along with the cocoa powder. The heat cuts through the richness beautifully and gives a warming kick. Start with a tiny amount and adjust to your tolerance.
- Vegan Option: Use oat milk or unsweetened almond milk, and swap the whey protein for a plant-based vanilla protein powder (pea or brown rice protein works well). Replace the honey with maple syrup or a soaked date. The texture will be slightly less creamy but still very satisfying.
- Different Protein: If you don’t have vanilla or chocolate protein powder, you can use unflavoured collagen peptides or even a scoop of plain Greek yoghurt for a protein boost. The flavour will be milder, so you might want to add an extra tablespoon of cocoa powder and a little more honey to compensate.
What to Serve With Peanut Butter Chocolate Protein Smoothie
Because this smoothie is a complete meal, I often serve it on its own with a straw and a smile. But if you want a little more substance, here are a few ideas:
- A handful of whole-grain crackers with a slice of cheese
- A small bowl of mixed berries or sliced apple
- A hard-boiled egg for extra protein (my kids love dipping soldiers into the smoothie)
Still hungry for ideas? You might also love Peanut Butter Banana Smoothie Recipe Drink, Creamy 5 Ingredient Protein Smoothie Recipe from our sister kitchens.
Frequently Asked Questions
Peanut Butter Chocolate Protein Smoothie
Ingredients
Method
-
Prep your ingredients: If using fresh bananas, peel and slice them into rounds about 2cm thick. Measure out your milk, peanut butter, cocoa powder, and protein powder. The banana pieces should look creamy yellow and feel soft to the touch.
-
Layer the blender jug: Start with the milk at the bottom – this helps the blades move freely. Add the banana slices, then spoon in the peanut butter, cocoa powder, protein powder, cinnamon, salt, and honey if using. Finally, drop in the ice cubes. The jug should look about three-quarters full; the mixture should smell faintly of roasted peanuts and dark chocolate.
-
Blend on low speed: Start your blender on its lowest setting for about 15 seconds. You’ll hear a chunky, rattling sound as the ice and banana break down. The mixture will look speckled and uneven at this stage.
-
Increase to high speed: Turn the blender up to high for 30-45 seconds. The sound will become smooth and whirring, with no more loud clunks. The colour should change from a pale, streaky brown to a uniform, rich chocolate shade. The texture should look thick, almost like a melted milkshake, with tiny air bubbles on the surface.
-
Check the consistency: Stop the blender and remove the lid. Dip a spoon into the centre – the smoothie should cling to the spoon but still flow slowly off it. If it’s too thick, add a splash of milk (about 30ml) and blend for another 10 seconds. If it’s too thin, add 3-4 more ice cubes and blend again.
-
Taste and adjust: Take a small sip. You should taste the peanut butter first, followed by a deep chocolate note, with the banana adding natural sweetness in the background. If you want it sweeter, add another teaspoon of honey and blend for 5 seconds. The final smoothie should be cold, creamy, and feel heavy in the glass.
-
Serve immediately: Pour into two tall glasses. The smoothie will have a glossy surface and a faint, velvety sheen. You’ll see tiny flecks of cinnamon if you look closely. Drink within 10 minutes for the best texture, as it will start to separate if left too long.
Notes
I hope this Peanut Butter Chocolate Protein Smoothie becomes your new weeknight dinner hero, just as it has in my kitchen. It’s proof that a proper meal doesn’t have to mean pots, pans, and a sink full of washing up. When you try it, I’d love to hear how it went – did your kids call it a milkshake too? Drop a comment below and tell me about your favourite add-ins or substitutions.