Chocolate Peanut Butter Muffins
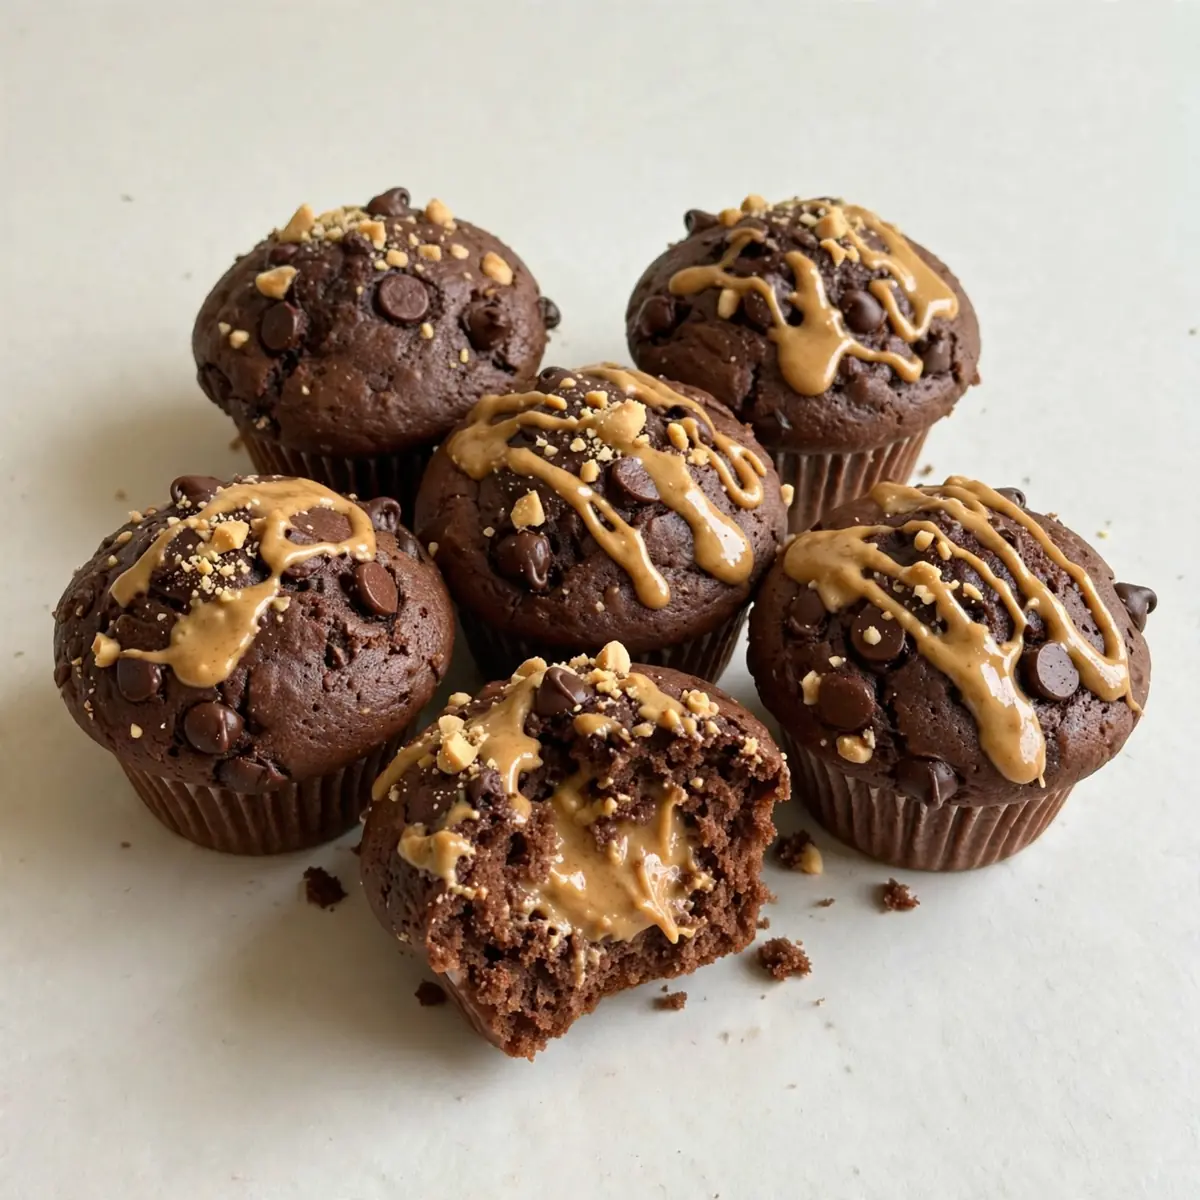
Between school runs, after-school clubs, and the general chaos of a Tuesday evening, I know that getting a proper meal on the table can feel like a monumental task. That is precisely why I developed this recipe for Chocolate Peanut Butter Muffins; it turns the concept of dinner on its head, delivering a warm, satisfying meal that comes together in less than half an hour with barely any washing up. Let me show you how to reclaim your weeknights with this clever, family-friendly bake.
Recipe Overview
- Prep Time: 10 minutes
- Cook Time: 18-20 minutes
- Total Time: 30 minutes
- Servings: 12 muffins
- Difficulty: Easy
Why You’ll Love This Chocolate Peanut Butter Muffins
- Weeknight Speed Demon: From pantry to plate in 30 minutes flat, this is faster than ordering takeaway and far more reliable.
- One-Bowl Wonder: You only need a single mixing bowl and a muffin tin, meaning cleanup takes less time than the bake itself.
- Make-Ahead Champion: Bake a double batch over the weekend, store them properly, and you have grab-and-go dinners for the entire week.
- Balanced Enough for Dinner: With protein from the peanut butter and eggs, plus wholemeal flour for fibre, these muffins are substantial enough to be a meal, not just a snack.
- Kid-Approved, Parent-Approved: I make this at least once a week – it’s become a family favourite because the children think they are having a treat, while I know they are getting proper sustenance.
Ingredients You’ll Need
- 200g plain wholemeal flour
- 50g cocoa powder, unsweetened
- 1½ teaspoons baking powder
- ½ teaspoon bicarbonate of soda
- ¼ teaspoon fine sea salt
- 100g golden caster sugar
- 2 large eggs, at room temperature
- 120ml sunflower oil (or another neutral oil)
- 200ml buttermilk, shaken well
- 1 teaspoon vanilla extract
- 150g smooth peanut butter (no added sugar or salt preferred)
- 100g dark chocolate chips (or chopped dark chocolate, at least 70% cocoa)
Tip: If you do not have buttermilk, you can easily make a substitute: pour 200ml of whole milk into a jug, add 1 tablespoon of lemon juice or white vinegar, stir gently, and let it sit for 5 minutes until it thickens slightly. This works every time and uses pantry staples.
How to Make Chocolate Peanut Butter Muffins
- Preheat and prepare: Set your oven to 200°C (180°C fan) and line a 12-hole muffin tin with paper cases. The oven should be fully up to temperature before you mix the batter, as the chemical reaction in the raising agents begins immediately upon mixing.
- Whisk the dry ingredients: In a large mixing bowl, combine the wholemeal flour, cocoa powder, baking powder, bicarbonate of soda, salt, and golden caster sugar. Whisk them together until the cocoa has dispersed evenly – you will see a uniform, dark brown powder with no pale streaks of flour remaining.
- Combine the wet ingredients: In a separate jug or small bowl, whisk the eggs, sunflower oil, buttermilk, and vanilla extract until they are fully emulsified. The mixture should look pale yellow and slightly frothy on top, with a smooth, uniform consistency.
- Mix the batter: Pour the wet ingredients into the bowl of dry ingredients. Stir gently with a wooden spoon or silicone spatula, using a folding motion. Stop mixing as soon as you see the last streak of flour disappear – the batter will look lumpy and slightly thick, which is exactly right. Overmixing at this stage will make the muffins tough and dense.
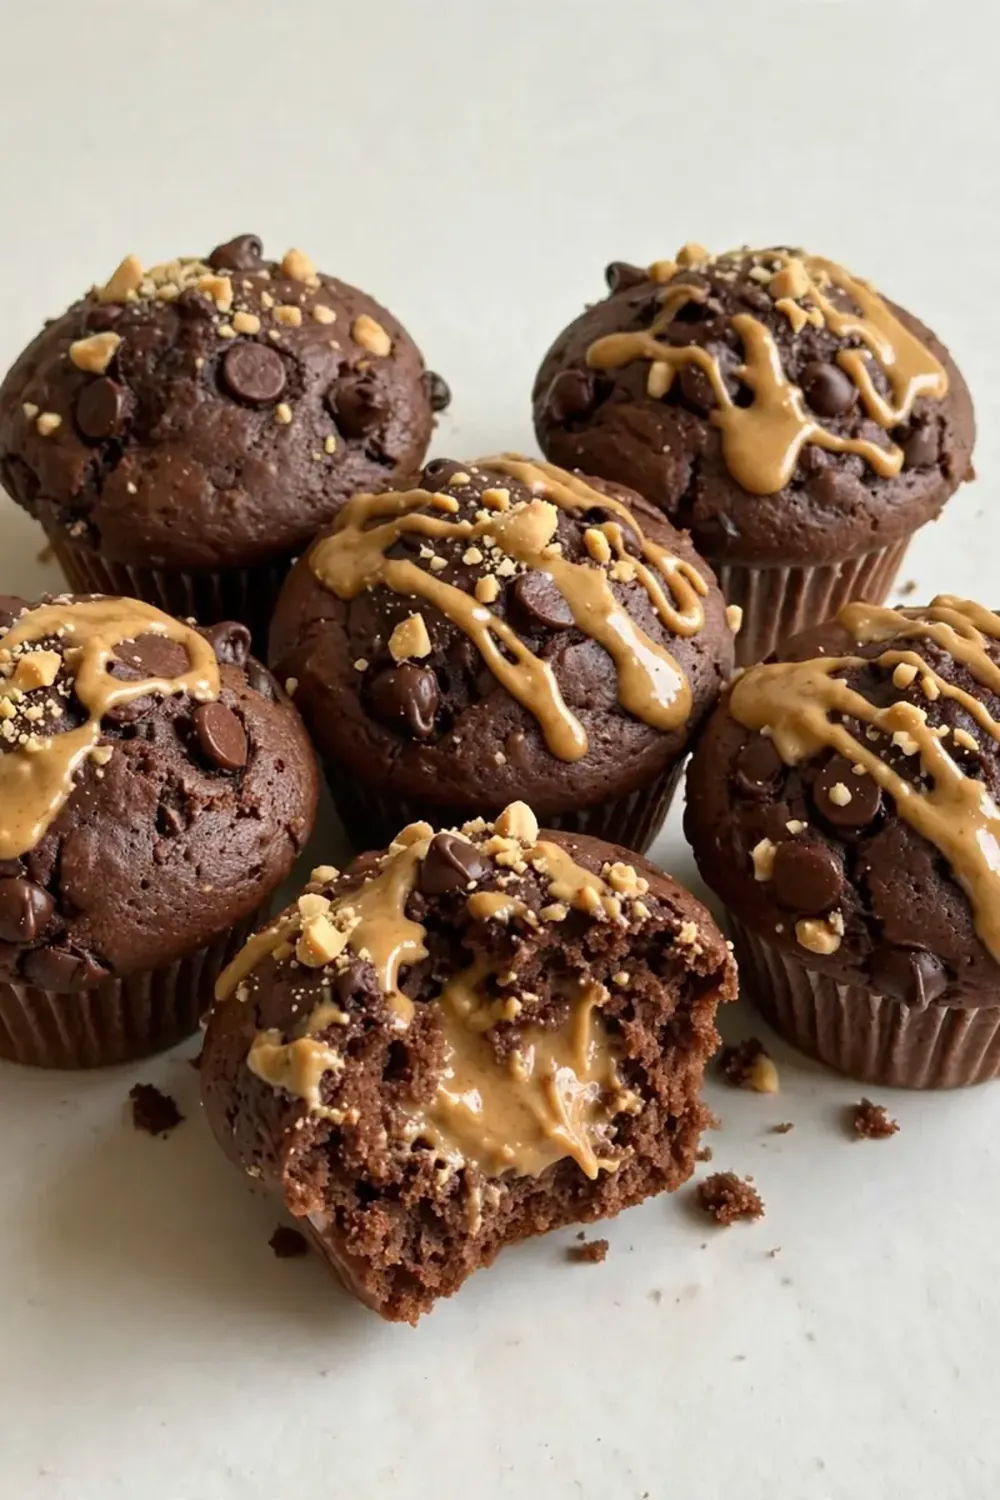
- Fold in the peanut butter and chocolate: Add the peanut butter in heaped spoonfuls, then scatter in the dark chocolate chips. Fold the mixture just three or four times, leaving visible ribbons of peanut butter running through the batter. This creates pockets of gooey peanut butter that will melt during baking, giving you that signature surprise in every bite.
- Fill the muffin cases: Divide the batter evenly among the 12 paper cases, filling each one almost to the top – about three-quarters full is ideal. The batter will be thick and sticky; use two spoons or a cookie scoop to portion it neatly. You should hear a soft thud as each spoonful drops into the case.
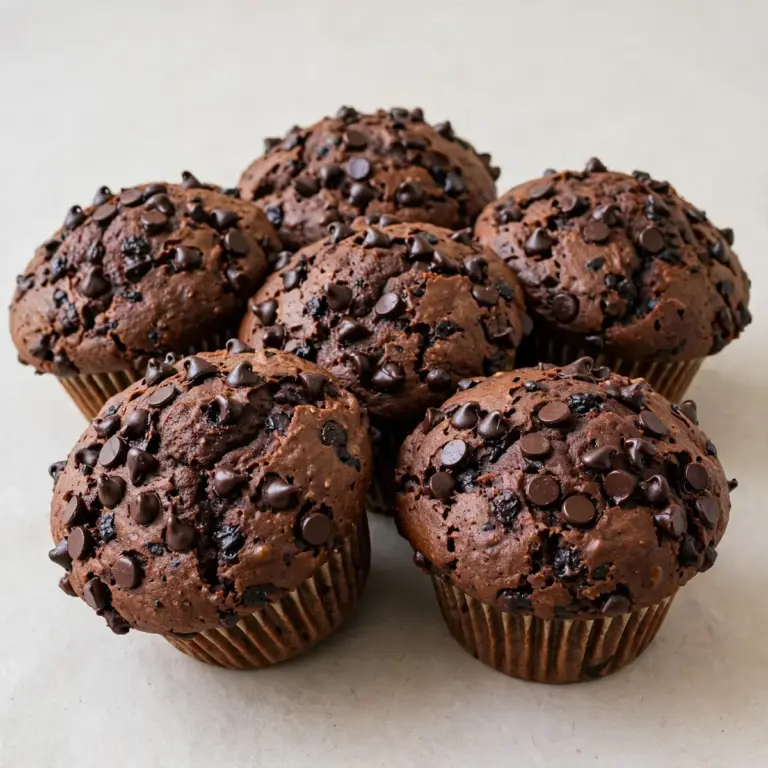
- Bake to perfection: Place the tin in the centre of the oven and bake for 18–20 minutes. At the 16-minute mark, check them: the muffins will have domed beautifully, and the tops should spring back when you press them gently with a fingertip. A skewer inserted into the centre should come out with a few moist crumbs clinging to it, not wet batter. The kitchen will smell richly of toasted peanuts and deep chocolate.
- Cool and serve: Remove the tin from the oven and let the muffins rest in the tin for 5 minutes. This resting time allows the structure to set, preventing them from collapsing. Then, transfer the muffins to a wire cooling rack. The bottoms will feel slightly soft and the paper cases will peel away easily. Serve warm for the ultimate gooey experience, or allow them to cool completely for a firmer texture.
Tips From My Kitchen
- Use room-temperature ingredients: Cold eggs or buttermilk will seize the oil, creating a heavy, greasy muffin. Take everything out of the fridge 20 minutes before you start. The batter will emulsify properly, giving you a lighter, airier crumb that rises beautifully.
- Do not overmix the batter: This is the single most important rule for tender muffins. Stir only until the dry ingredients are just moistened. Lumps are your friend here – they will disappear during baking. Overworking the gluten produces tough, rubbery muffins that lack the soft, cake-like texture we are aiming for.
- Line your tin well: These muffins are quite moist thanks to the peanut butter and oil, so good-quality paper cases are essential. Cheap cases can stick and tear, ruining the presentation. If you are unsure, lightly spray the inside of the cases with a little oil before filling them.
- Rotate the tin halfway through baking: Most ovens have hot spots, especially at the back. Halfway through the baking time, quickly rotate the tin 180 degrees. This ensures even doming and prevents one side from browning too quickly while the other remains pale.
- Cool completely before storing: If you store warm muffins in an airtight container, the trapped steam will make the tops soggy and the chocolate chips will smear. Let them cool fully on a wire rack – about 30 minutes – before transferring to a container. For make-ahead dinners, freeze them on the day of baking for the best texture.
Equipment You’ll Need
- Stand mixer or hand mixer (optional, a wooden spoon works fine)
- 12-hole muffin tin
- 12 paper muffin cases
- Large mixing bowl
- Jug for wet ingredients
- Wooden spoon or silicone spatula
- Wire cooling rack
- Skewer or toothpick for testing doneness
Common Mistakes to Avoid
- Overcrowding the pan: Filling the muffin cases too full will cause the batter to spill over the edges as it rises, creating a messy, flat-topped muffin. Fill each case to no more than three-quarters full. If you have extra batter, bake it in a separate small dish rather than overfilling the cases.
- Wrong temperature: Baking at too low a temperature will result in pale, dense muffins that do not dome properly. The initial blast of high heat (200°C) is crucial for activating the baking powder and bicarbonate of soda, giving you that tall, bakery-style rise. Do not be tempted to lower the temperature, even if your oven runs hot.
- Skipping the rest time: The five-minute rest in the tin is not optional. During baking, the structure of the muffin is still fragile and full of steam. If you try to remove them immediately, they will deflate and stick to the paper cases. Letting them rest allows the starches to set and the steam to redistribute, ensuring perfect release and a stable crumb.
Delicious Variations to Try
- Spicy Version: Add ½ teaspoon of ground cinnamon and a generous pinch of cayenne pepper to the dry ingredients. The warmth of the spices complements the rich chocolate and nutty peanut butter beautifully, giving a subtle heat that lingers on the palate.
- Vegan Option: Replace the eggs with two flax eggs (2 tablespoons ground flaxseed mixed with 6 tablespoons water, left to thicken for 10 minutes). Use a plant-based milk mixed with lemon juice instead of buttermilk, and ensure your chocolate chips are dairy-free. The texture will be slightly denser but equally delicious.
- Different Protein: Swap the peanut butter for almond butter or cashew butter for a different flavour profile. If you want to boost the protein content further, stir in two scoops of unflavoured or vanilla protein powder – reduce the flour by 30g to compensate for the extra dry ingredient.
What to Serve With Chocolate Peanut Butter Muffins
- A glass of cold milk – classic, refreshing, and perfect for dipping.
- A handful of fresh berries, such as raspberries or strawberries, to cut through the richness with a sharp, fruity note.
- A dollop of Greek yoghurt on the side for a tangy, creamy contrast.
- For a more filling dinner, serve alongside a simple green salad dressed with a lemony vinaigrette.
Still hungry for ideas? You might also love Creamy Peanut Butter Overnight Oats Recipe To Try, Bakery Style Chocolate Chip Muffins Recipe from our sister kitchens.
Frequently Asked Questions
Chocolate Peanut Butter Muffins
Ingredients
Method
- Preheat and prepare: Set your oven to 200°C (180°C fan) and line a 12-hole muffin tin with paper cases. The oven should be fully up to temperature before you mix the batter, as the chemical reaction in the raising agents begins immediately upon mixing.
- Whisk the dry ingredients: In a large mixing bowl, combine the wholemeal flour, cocoa powder, baking powder, bicarbonate of soda, salt, and golden caster sugar. Whisk them together until the cocoa has dispersed evenly – you will see a uniform, dark brown powder with no pale streaks of flour remaining.
- Combine the wet ingredients: In a separate jug or small bowl, whisk the eggs, sunflower oil, buttermilk, and vanilla extract until they are fully emulsified. The mixture should look pale yellow and slightly frothy on top, with a smooth, uniform consistency.
- Mix the batter: Pour the wet ingredients into the bowl of dry ingredients. Stir gently with a wooden spoon or silicone spatula, using a folding motion. Stop mixing as soon as you see the last streak of flour disappear – the batter will look lumpy and slightly thick, which is exactly right. Overmixing at this stage will make the muffins tough and dense.
- Fold in the peanut butter and chocolate: Add the peanut butter in heaped spoonfuls, then scatter in the dark chocolate chips. Fold the mixture just three or four times, leaving visible ribbons of peanut butter running through the batter. This creates pockets of gooey peanut butter that will melt during baking, giving you that signature surprise in every bite.
- Fill the muffin cases: Divide the batter evenly among the 12 paper cases, filling each one almost to the top – about three-quarters full is ideal. The batter will be thick and sticky; use two spoons or a cookie scoop to portion it neatly. You should hear a soft thud as each spoonful drops into the case.
- Bake to perfection: Place the tin in the centre of the oven and bake for 18–20 minutes. At the 16-minute mark, check them: the muffins will have domed beautifully, and the tops should spring back when you press them gently with a fingertip. A skewer inserted into the centre should come out with a few moist crumbs clinging to it, not wet batter. The kitchen will smell richly of toasted peanuts and deep chocolate.
- Cool and serve: Remove the tin from the oven and let the muffins rest in the tin for 5 minutes. This resting time allows the structure to set, preventing them from collapsing. Then, transfer the muffins to a wire cooling rack. The bottoms will feel slightly soft and the paper cases will peel away easily. Serve warm for the ultimate gooey experience, or allow them to cool completely for a firmer texture.
Notes
I stumbled upon this combination by accident, and it’s been a hit ever since. The first time I served these Chocolate Peanut Butter Muffins for dinner, my family looked at me in disbelief, then devoured the entire batch in under ten minutes. They have become our go-to weeknight rescue meal, and I hope they bring the same joy and convenience to your kitchen. Have you tried making them with a different nut butter or added any fun mix-ins? I would love to hear about your variations in the comments below – your ideas might just inspire my next weeknight dinner experiment.