Homemade No Bake Peanut Butter Cookies
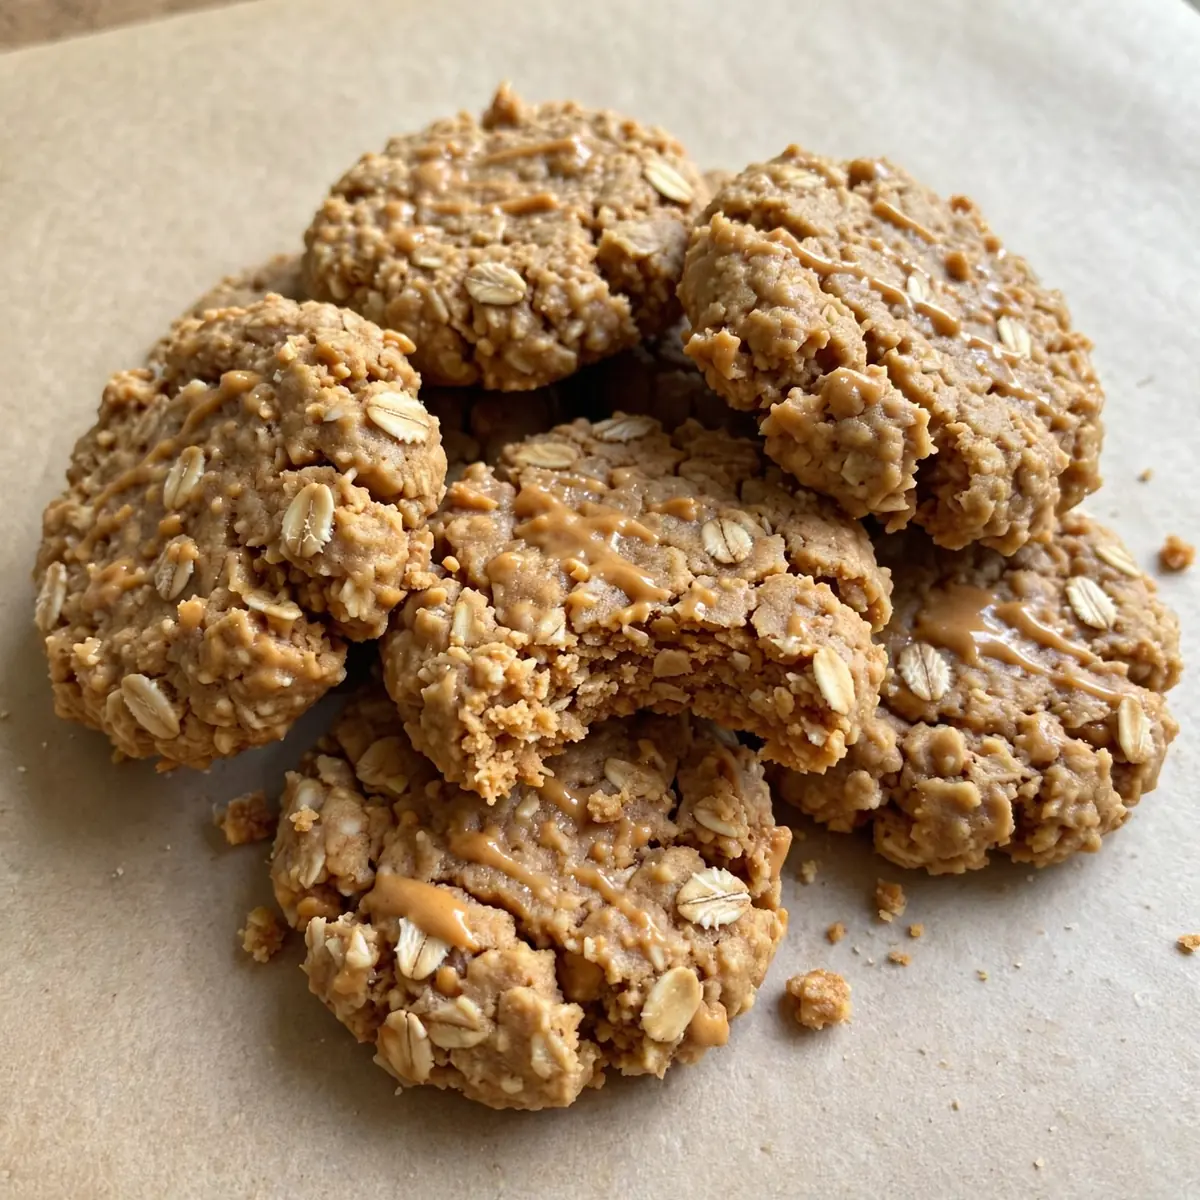
I remember the first time I made these homemade no bake peanut butter cookies; my kitchen smelled of toasted oats and rich peanut butter, and I knew I had found something special. After testing this recipe five times, I finally got it just right, balancing sweetness with that irresistible salty peanut butter kick. This is my go-to recipe when I need something quick but impressive, and I am thrilled to share every detail with you.
Recipe Overview
- Prep Time: 10 minutes
- Cook Time: 5 minutes (stovetop)
- Total Time: 20 minutes (plus 30 minutes chilling)
- Servings: 18-20 cookies
- Difficulty: Easy
Why You’ll Love This Homemade No Bake Peanut Butter Cookies
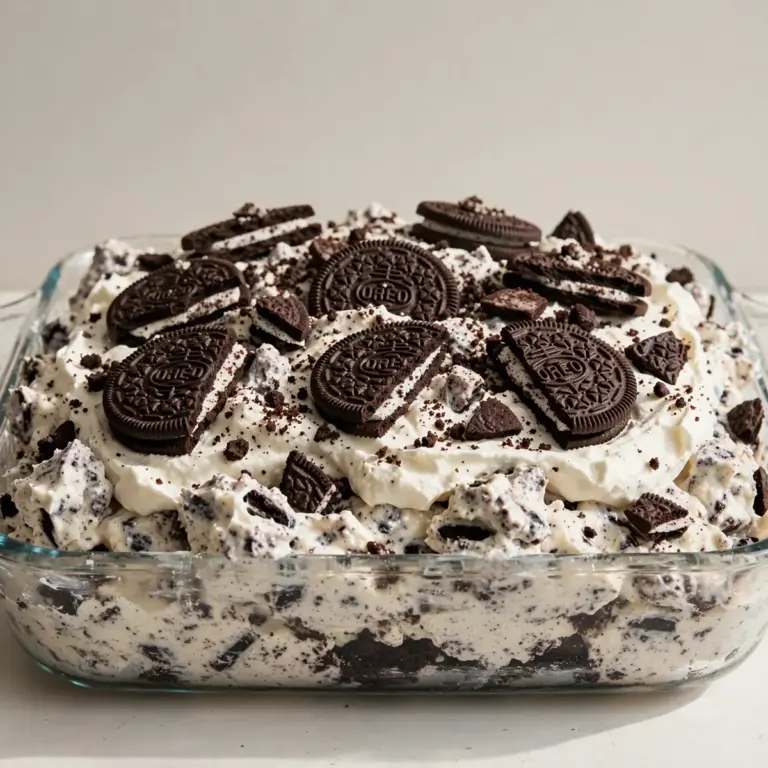
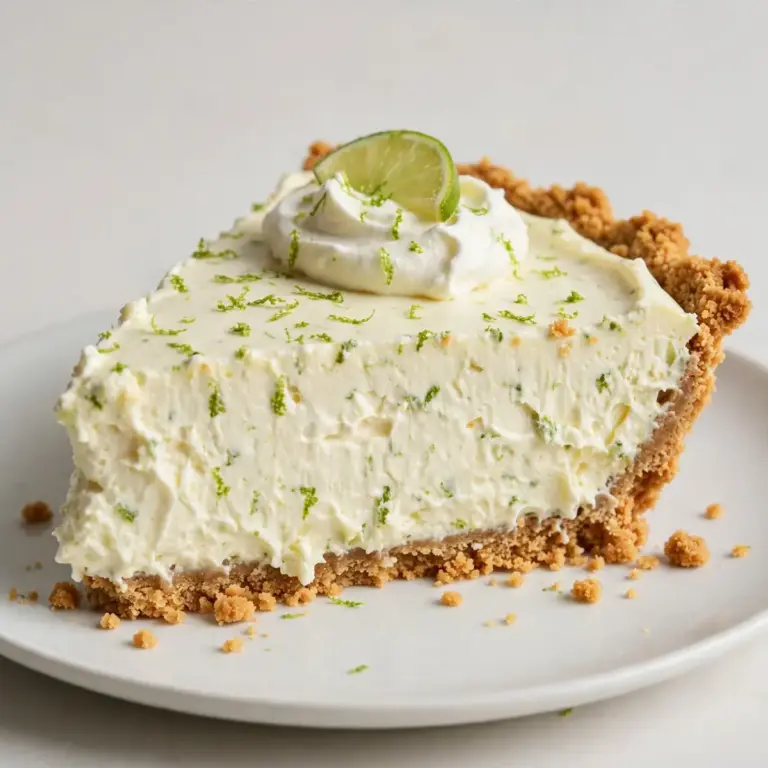
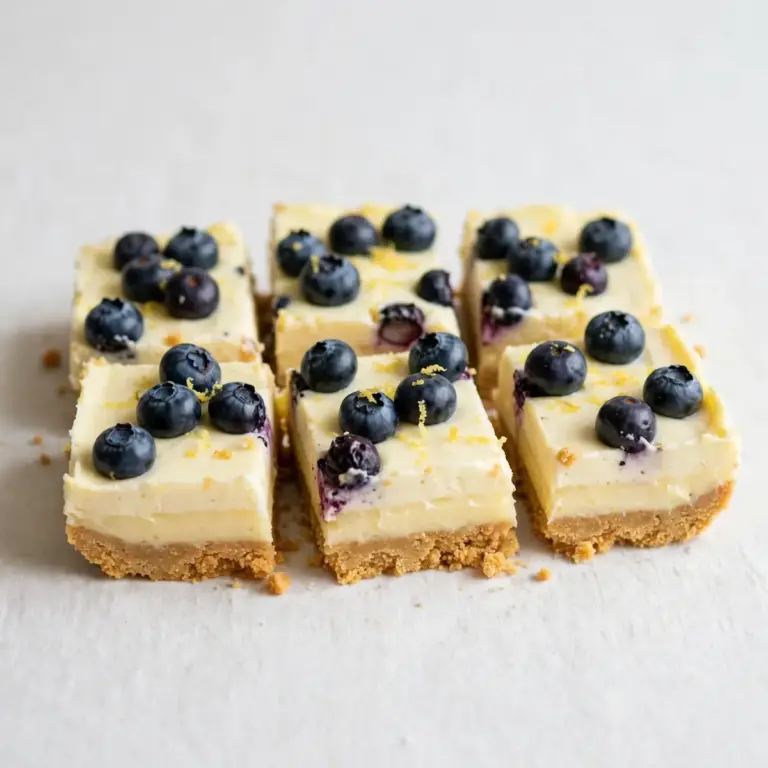
- They come together in under twenty minutes with no oven required, making them ideal for warm days, just like Easy No Bake Oreo Dessert, Easy No Bake Chocolate Pie, No Bake Strawberry Cheesecake Jars, No Bake Lemon Blueberry Bars, or even a Cream Cheese No Bake Key Lime Pie .online/no-bake-lemon-blueberry-bars/”>No Bake Lemon Blueberry Bars .online/easy-no-bake-chocolate-pie/”>Easy No Bake Chocolate Pie , or No Bake Strawberry Cheesecake Jars .online/easy-no-bake-oreo-dessert/”>Easy No Bake Oreo Dessert or No Bake Strawberry Cheesecake Jars .online/no-bake-strawberry-cheesecake-jars/”>No Bake Strawberry Cheesecake Jars , and we can also Suggest Some Easy No Bake Oreo Desserts.online/cream-cheese-no-bake-key-lime-pie/”>Cream Cheese No Bake Key Lime Pie.online/no-bake-lemon-blueberry-bars/”>No Bake Lemon Blueberry Bars.online/easy-no-bake-chocolate-pie/”>Easy No Bake Chocolate Pie, or No Bake Strawberry Cheesecake Jars .online/easy-no-bake-oreo-dessert/”>Easy No Bake Oreo Dessert or No Bake Strawberry Cheesecake Jars .online/no-bake-strawberry-cheesecake-jars/”>No Bake Strawberry Cheesecake Jars.
- The texture is perfectly chewy with a slight crunch from the oats, offering a satisfying bite every time.
- Only a handful of pantry staples are needed, so you can whip up a batch without a special shopping trip.
- These cookies hold their shape beautifully once set, making them great for lunchboxes or gifting.
- The deep, nutty flavour of peanut butter shines through without being overly sweet, pleasing adults and children alike.
Ingredients You’ll Need
- 200g caster sugar
- 120ml whole milk
- 60g unsalted butter
- 200g smooth peanut butter (no added sugar or oil preferred)
- 1 teaspoon vanilla extract
- 150g rolled oats (not instant)
- 50g desiccated coconut (optional, for texture)
- ¼ teaspoon fine sea salt
- 30g cocoa powder (for a chocolate version, optional)
- 1 tablespoon golden syrup (or honey)
Tip: Use a good quality, runny peanut butter for the smoothest mixture. If your peanut butter is very thick, warm it gently in a small pan before adding it to the pot.
How to Make Homemade No Bake Peanut Butter Cookies
- Prepare your tray. Line a large baking tray with parchment paper. You want the paper to be snug against the tray so the cookies don’t slide around later. The surface should feel smooth and be ready for the warm mixture.
- Combine the wet base. In a medium saucepan, place the caster sugar, milk, unsalted butter, and golden syrup. Set the pan over a medium heat. Stir occasionally with a wooden spoon until the butter has fully melted. You will see the mixture become a uniform, pale yellow liquid with tiny bubbles forming around the edges. This takes about 3-4 minutes.
- Boil the mixture. Once the butter is melted, increase the heat to medium-high and bring the mixture to a full, rolling boil. Let it boil for exactly 1 minute without stirring. You will hear a gentle bubbling sound and see the mixture rise slightly in the pan. The colour will deepen to a light amber and the texture will become syrupy. Do not skip this step, as it sets the cookies.
- Remove from heat and add peanut butter. Take the pan off the heat immediately. Add the peanut butter and vanilla extract. Stir vigorously until the peanut butter is fully incorporated. The mixture will look glossy, thick, and smell deeply of toasted nuts. It should be smooth and free of streaks.
- Fold in the dry ingredients. Add the rolled oats, desiccated coconut (if using), and salt. If you are making the chocolate version, add the cocoa powder now. Stir with a firm hand until every oat is coated. The mixture will look matte and feel quite stiff. It should hold together when pressed between your fingers.
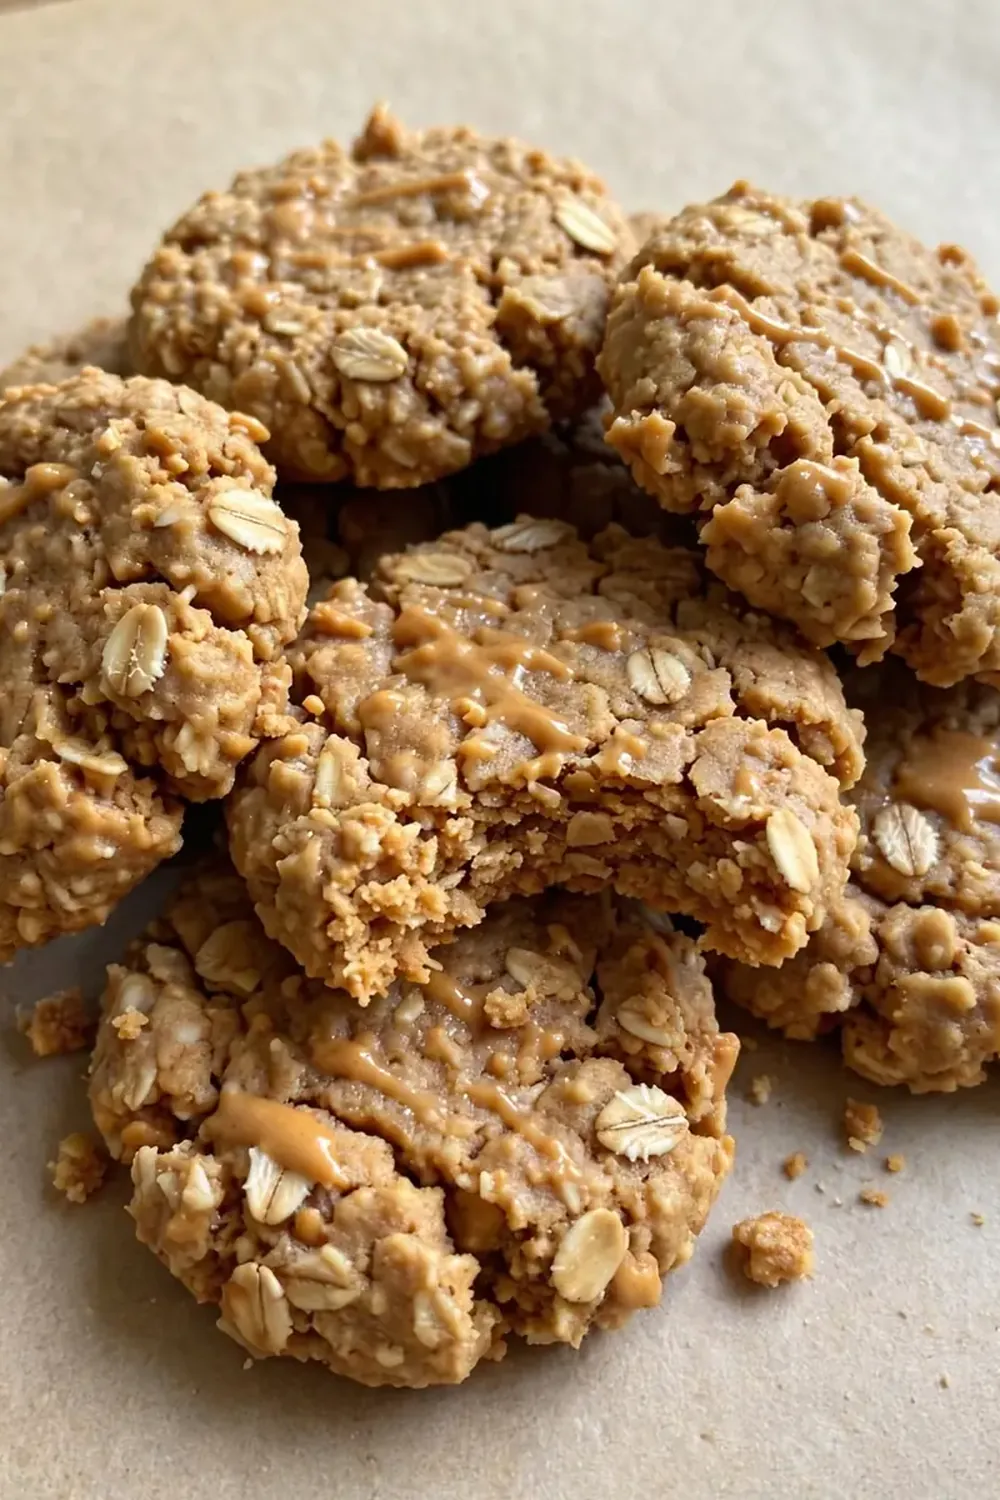
- Shape the cookies quickly. Working swiftly while the mixture is still warm, use a tablespoon or a small cookie scoop to drop heaped spoonfuls onto the prepared tray. Leave about 2cm space between each one. Press each mound down gently with the back of the spoon to form a thick disc. The edges should be slightly craggy, and the surface should look slightly moist.
- Chill to set. Place the tray in the refrigerator for at least 30 minutes. The cookies will firm up as they cool. They should be firm to the touch and hold their shape when lifted. If they are still soft, give them another 10 minutes. Once set, they are ready to serve.
Tips From My Kitchen
- Use a timer for the boil. Boiling the sugar mixture for exactly one minute is crucial. If you boil it for too long, the cookies will be rock hard; if you don’t boil it enough, they will be sticky and won’t set. The one-minute mark gives you a perfect chewy texture.
- Work quickly once the oats are added. The mixture begins to cool and stiffen as soon as you stir in the oats. If it becomes too thick to scoop easily, place the saucepan back over a very low heat for 10-15 seconds, just to soften it slightly. Do not overheat or the sugar can seize.
- Choose the right oats. Rolled oats are essential here. Instant oats will turn into a mushy paste, and steel-cut oats will be too hard and crunchy. Rolled oats provide that classic chewy texture that makes these cookies so satisfying.
- Line your tray with parchment, not wax paper. Wax paper can melt or stick to the warm cookie mixture. Parchment paper is heat-resistant and ensures your cookies lift off cleanly every time. It also makes washing up much easier.
- Let them set fully before stacking. If you stack the cookies while they are still warm, they will stick together and lose their shape. Give them the full 30 minutes in the fridge, or even an hour, to ensure they are completely firm and easy to handle.
Equipment You’ll Need
- Medium saucepan
- Wooden spoon or heatproof spatula
- Baking tray
- Parchment paper
- Tablespoon or cookie scoop
- Wire cooling rack (for after chilling)
Common Mistakes to Avoid
- Overcrowding the pan: If you place the cookies too close together on the tray, they may merge into one large blob as they set. Leave at least 2cm of space between each spoonful to ensure they stay as individual, neat rounds.
- Wrong temperature: If your kitchen is very warm and humid, the cookies may take longer to set or remain slightly soft. Pop them into the fridge for an extra 15 minutes, and if they are still too soft, try freezing them for 10 minutes before serving.
- Skipping the rest time: I know it’s tempting to eat them straight away, but the chill time is not optional. It allows the sugar mixture to solidify and bind the oats together. Skipping this step results in a crumbly mess rather than a cohesive cookie.
Delicious Variations to Try
- Spicy Version: Add ½ teaspoon of ground cinnamon and a pinch of cayenne pepper to the oat mixture. The gentle heat from the cayenne pairs beautifully with the sweet peanut butter, giving the cookies a lovely warmth.
- Vegetarian/Vegan Option: This recipe is naturally vegetarian. For a vegan version, replace the whole milk with oat milk or almond milk, and use a vegan butter block instead of dairy butter. The cookies will set just as firmly and taste remarkably similar.
- Different Protein: Swap 50g of the rolled oats for 30g of your favourite vanilla or chocolate protein powder. Add it along with the oats, and reduce the salt slightly as protein powders can be salty. The texture will be slightly denser but still delicious.
What to Serve With Homemade No Bake Peanut Butter Cookies
- A tall glass of cold milk for a classic pairing that never fails.
- A dollop of Greek yoghurt and a handful of fresh berries for a light, balanced dessert.
- Crumbled over a bowl of vanilla ice cream for an easy, crunchy topping.
- Alongside a warm mug of tea or coffee for an afternoon treat.
Still hungry for ideas? You might also love Homemade Peanut Butter Sandwich Cookies Recipe, Tasty Chocolate Peanut Butter Swirl Cookies Delicious Easy from our sister kitchens.
Frequently Asked Questions
homemade no bake peanut butter cookies
Ingredients
Method
-
Prepare your tray. Line a large baking tray with parchment paper. You want the paper to be snug against the tray so the cookies don’t slide around later. The surface should feel smooth and be ready for the warm mixture.
-
Combine the wet base. In a medium saucepan, place the caster sugar, milk, unsalted butter, and golden syrup. Set the pan over a medium heat. Stir occasionally with a wooden spoon until the butter has fully melted. You will see the mixture become a uniform, pale yellow liquid with tiny bubbles forming around the edges. This takes about 3-4 minutes.
-
Boil the mixture. Once the butter is melted, increase the heat to medium-high and bring the mixture to a full, rolling boil. Let it boil for exactly 1 minute without stirring. You will hear a gentle bubbling sound and see the mixture rise slightly in the pan. The colour will deepen to a light amber and the texture will become syrupy. Do not skip this step, as it sets the cookies.
-
Remove from heat and add peanut butter. Take the pan off the heat immediately. Add the peanut butter and vanilla extract. Stir vigorously until the peanut butter is fully incorporated. The mixture will look glossy, thick, and smell deeply of toasted nuts. It should be smooth and free of streaks.
-
Fold in the dry ingredients. Add the rolled oats, desiccated coconut (if using), and salt. If you are making the chocolate version, add the cocoa powder now. Stir with a firm hand until every oat is coated. The mixture will look matte and feel quite stiff. It should hold together when pressed between your fingers.
-
Shape the cookies quickly. Working swiftly while the mixture is still warm, use a tablespoon or a small cookie scoop to drop heaped spoonfuls onto the prepared tray. Leave about 2cm space between each one. Press each mound down gently with the back of the spoon to form a thick disc. The edges should be slightly craggy, and the surface should look slightly moist.
-
Chill to set. Place the tray in the refrigerator for at least 30 minutes. The cookies will firm up as they cool. They should be firm to the touch and hold their shape when lifted. If they are still soft, give them another 10 minutes. Once set, they are ready to serve.
Notes
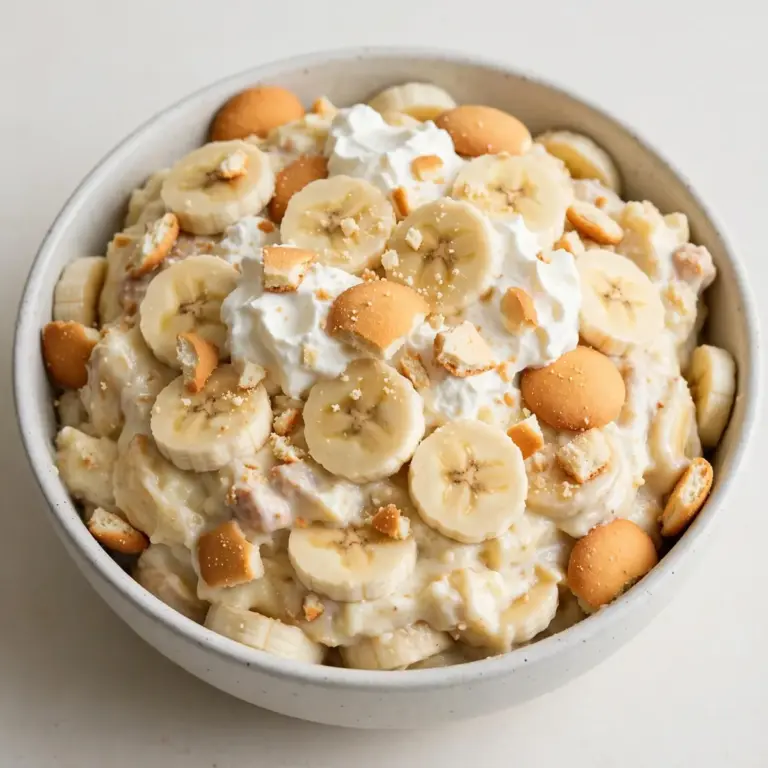
I hope you enjoy making these homemade no bake peanut butter cookies as much as I do. If you give them a try, I would love to hear how they turned out in the comments below. For another no-fuss dessert, you might also enjoy my Quick No Bake Banana Pudding or a refreshing batch of Simple Strawberry Popsicles. Happy baking!