Healthy No Bake Protein Balls
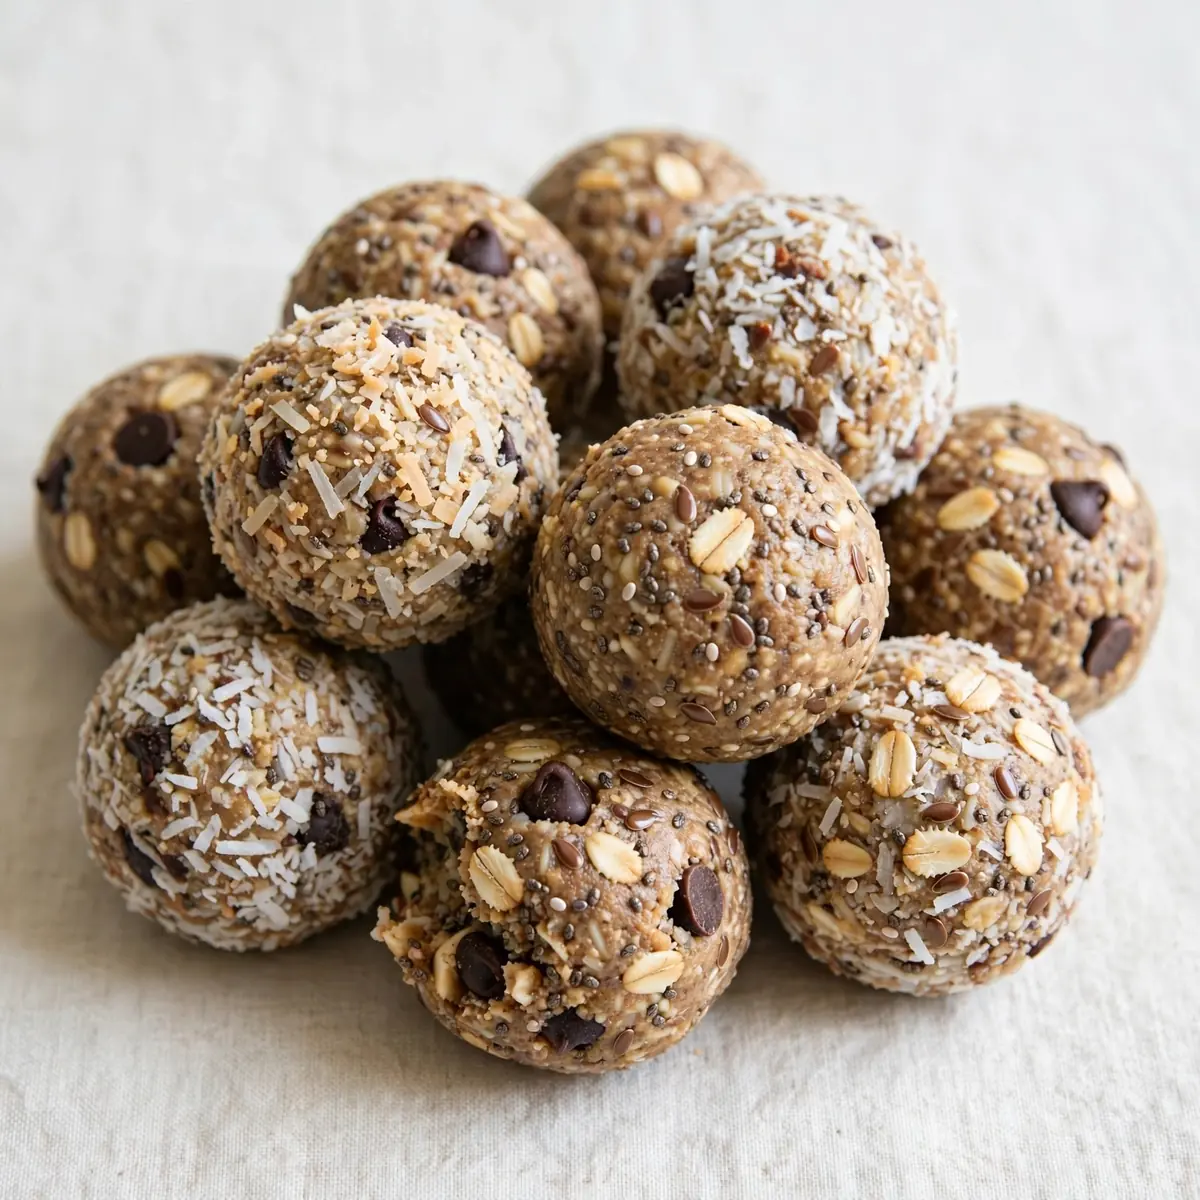
There are days when I need a swift, satisfying snack that keeps me going without turning on the oven, and these healthy no bake protein balls have become my absolute go-to. I stumbled upon this combination by accident, and it’s been a hit ever since, proving that wholesome ingredients can create something truly moreish.
Recipe Overview
- Prep Time: 15 minutes
- Cook Time: 0 minutes
- Total Time: 15 minutes
- Servings: Makes 18-20 balls
- Difficulty: Easy
Why You’ll Love These Healthy No Bake Protein Balls
- No oven required: This recipe comes together entirely on the countertop, making it ideal for warm days or when you simply don’t want to heat up the kitchen.
- Naturally sweetened: We use dates and a touch of honey to bring the sweetness, avoiding refined sugars without sacrificing flavour.
- Portable and practical: These balls are sturdy enough to pop into a lunchbox or take on a hike, providing steady energy wherever you go.
- Customisable base: The core mixture welcomes additions like dried fruit, different nut butters, or a sprinkle of seeds, so you can tailor it to what you have on hand.
- Freezer-friendly: Make a double batch and store half in the freezer for those busy weeks when a healthy snack is needed in a hurry.
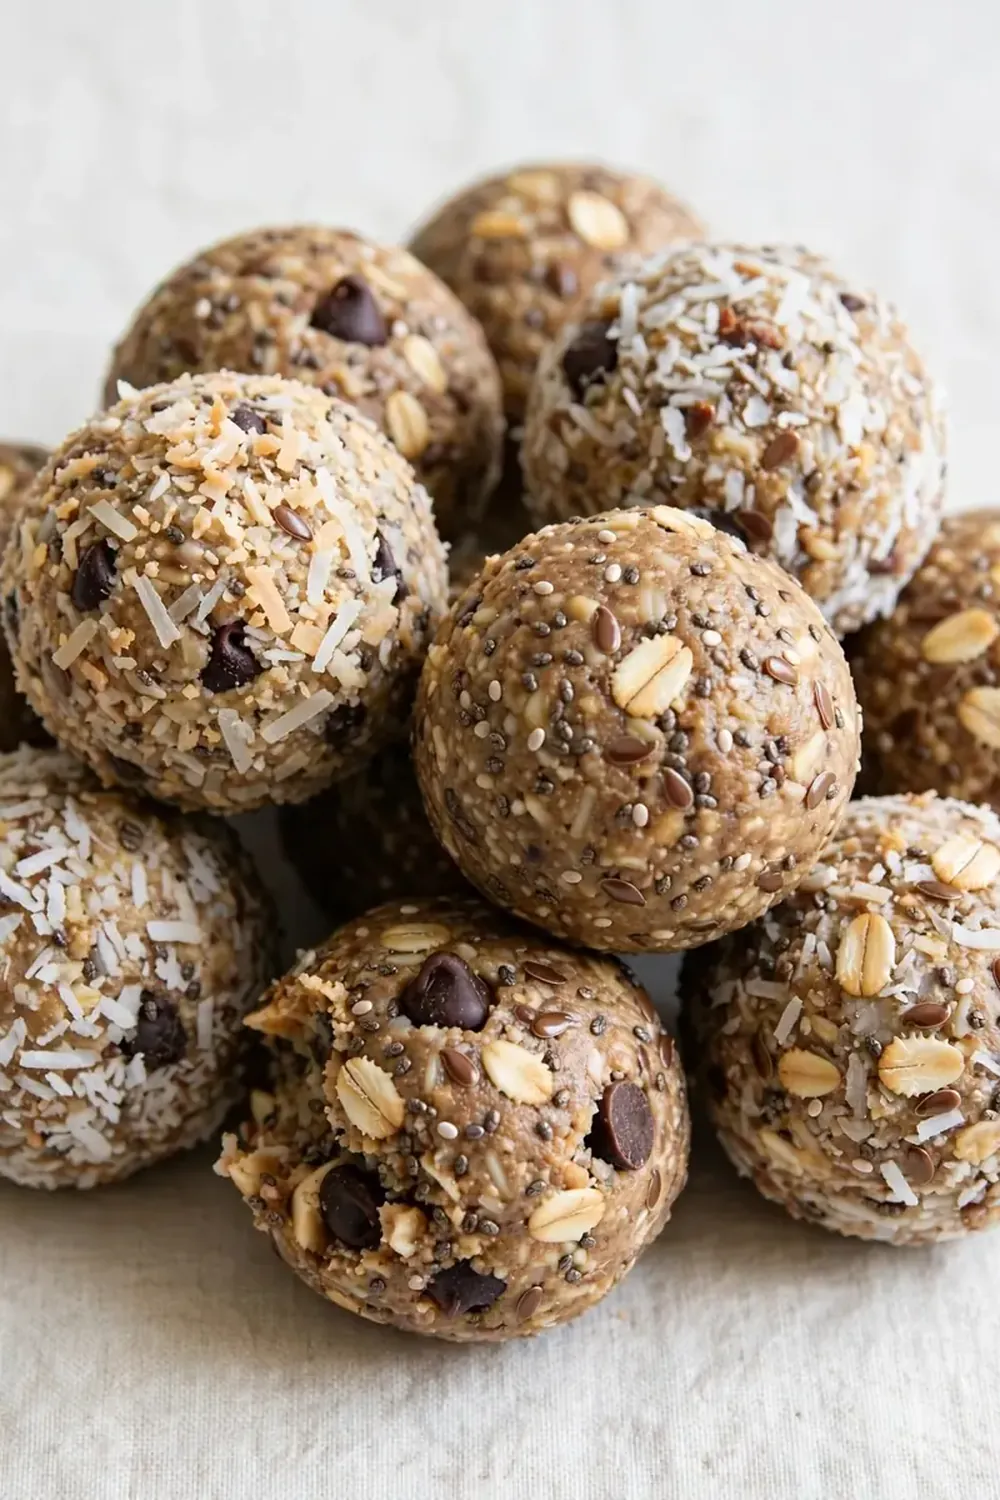
Ingredients You’ll Need
- 200g rolled oats (not instant)
- 120g smooth peanut butter (or almond butter)
- 80ml honey or maple syrup
- 60g vanilla or unflavoured protein powder
- 50g ground flaxseed
- 40g dark chocolate chips (at least 70% cocoa)
- 30g chia seeds
- 5 Medjool dates, pitted and finely chopped
- 1 teaspoon ground cinnamon
- ½ teaspoon sea salt
- 1-2 tablespoons water, if needed to bind
Tip: If your peanut butter is very thick and dry, warm it gently in a small bowl over hot water for a minute—this makes stirring the mixture much easier and ensures everything combines evenly.
How to Make Healthy No Bake Protein Balls
- Line a baking sheet or large tray with parchment paper. In a large mixing bowl, combine the rolled oats, protein powder, ground flaxseed, chia seeds, cinnamon, and sea salt. Stir with a wooden spoon until the dry ingredients look uniformly speckled and there are no obvious clumps of powder.
- Add the peanut butter, honey, and chopped dates to the bowl. Using a sturdy spatula or your hands (lightly oiled if needed), work the wet ingredients into the dry ones. The mixture will start off crumbly, but as you press and fold, it should become a cohesive, slightly sticky dough that feels dense and holds together when squeezed.
- Fold in the dark chocolate chips, distributing them evenly throughout the dough. You should see small dark flecks scattered throughout the golden-brown mixture, with no large patches of chocolate clustered together.
- If the dough feels too dry and cracks apart when pressed, add one tablespoon of water and mix again. The texture should be moist enough to shape without being wet or sticky on your hands—think of a soft play dough that leaves no residue behind.
- Scoop out roughly one tablespoon of the mixture and roll it firmly between your palms to form a smooth ball. Place each ball onto the prepared tray, leaving a little space between them. The surface should appear matte and slightly textured from the oats, with no visible cracks.
- Once all the mixture is rolled, transfer the tray to the refrigerator and chill for at least 30 minutes. During this time, the balls will firm up significantly, and the flavours will meld together. When ready, they should feel solid to the touch and hold their shape perfectly.
Tips From My Kitchen
- Chill your hands first: If the mixture starts sticking to your palms while rolling, run your hands under cold water for a few seconds, then dry them thoroughly. The cool temperature helps the fats in the nut butter firm up, making the rolling process much smoother.
- Taste and adjust sweetness: Before rolling all the balls, take a small pinch of the mixture and taste it. Dates vary in sweetness, and different protein powders have their own flavour profiles. If you prefer a sweeter ball, add an extra teaspoon of honey and mix well.
- Use a cookie scoop for uniformity: A small cookie scoop or melon baller ensures each ball is the same size, which helps them chill evenly and makes portioning easier. Friends always ask me for this recipe after trying it at dinner parties, and uniform balls look far more professional on a platter.
- Let the oats absorb moisture: After mixing, let the dough rest for 5-10 minutes before rolling. The oats will absorb some of the liquid from the dates and honey, resulting in a softer, more cohesive texture that holds together better.
- Store with a piece of bread: If your protein balls become dry after a few days in the fridge, place a small slice of fresh bread in the container with them. The bread will release moisture and keep the balls soft without making them soggy—replace the bread every couple of days.
Equipment You’ll Need
- Large mixing bowl
- Baking sheet or tray
- Parchment paper
- Wooden spoon or sturdy spatula
- Small cookie scoop (optional, but helpful)
- Airtight container for storage
Common Mistakes to Avoid
- Overcrowding the bowl: Trying to mix all the ingredients in a bowl that is too small leads to uneven distribution and a dry, crumbly dough. Use a large bowl so you can fold and press the mixture thoroughly without ingredients spilling over the sides.
- Wrong temperature ingredients: Using cold peanut butter straight from the fridge makes it difficult to incorporate evenly. Allow your nut butter to come to room temperature for about 20 minutes before starting, or warm it very gently as mentioned in the tip above.
- Skipping the rest time: Rolling the balls immediately without letting the dough rest for 5-10 minutes can result in dry, crumbly balls that fall apart. This short pause allows the oats to hydrate and the flavours to begin melding, producing a much better texture.
What to Serve With Healthy No Bake Protein Balls
- A handful of fresh berries or sliced apple for a refreshing contrast
- A dollop of Greek yogurt or a dairy-free alternative for extra protein
- A cup of herbal tea or a glass of cold oat milk
- Alongside a smoothie bowl for a satisfying breakfast or post-workout meal
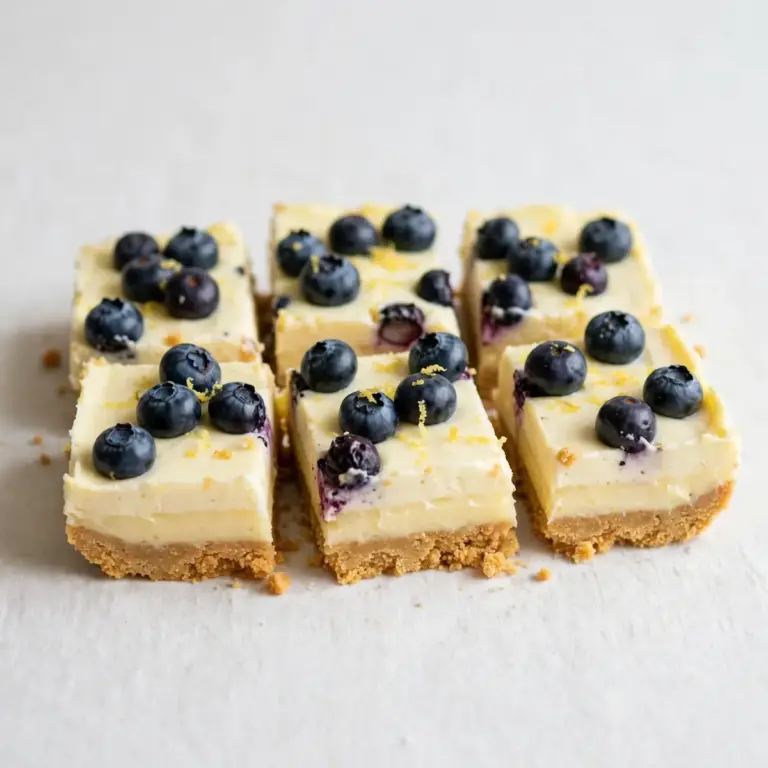
Still hungry for ideas? You might also love No Bake Lemon Blueberry Tart, Chocolate Almond Butter Protein Balls from our sister kitchens.
Frequently Asked Questions
healthy no bake protein balls
Ingredients
Method
-
Line a baking sheet or large tray with parchment paper. In a large mixing bowl, combine the rolled oats, protein powder, ground flaxseed, chia seeds, cinnamon, and sea salt. Stir with a wooden spoon until the dry ingredients look uniformly speckled and there are no obvious clumps of powder.
-
Add the peanut butter, honey, and chopped dates to the bowl. Using a sturdy spatula or your hands (lightly oiled if needed), work the wet ingredients into the dry ones. The mixture will start off crumbly, but as you press and fold, it should become a cohesive, slightly sticky dough that feels dense and holds together when squeezed.
-
Fold in the dark chocolate chips, distributing them evenly throughout the dough. You should see small dark flecks scattered throughout the golden-brown mixture, with no large patches of chocolate clustered together.
-
If the dough feels too dry and cracks apart when pressed, add one tablespoon of water and mix again. The texture should be moist enough to shape without being wet or sticky on your hands—think of a soft play dough that leaves no residue behind.
-
Scoop out roughly one tablespoon of the mixture and roll it firmly between your palms to form a smooth ball. Place each ball onto the prepared tray, leaving a little space between them. The surface should appear matte and slightly textured from the oats, with no visible cracks.
-
Once all the mixture is rolled, transfer the tray to the refrigerator and chill for at least 30 minutes. During this time, the balls will firm up significantly, and the flavours will meld together. When ready, they should feel solid to the touch and hold their shape perfectly.
Notes
I would love to hear how these healthy no bake protein balls turn out in your kitchen. Drop a comment below to share your experience or any creative twists you added—your ideas might just inspire someone else’s next batch.